Things You'll Need
Used felt hat
Bucket
Broom handle
Iron
Ironing board
Spray bottle
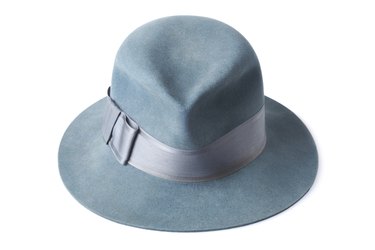
A hillbilly costume is not complete without a conical felt hat to add to the look. You can make your own felt hillbilly hat easily with hat blocking. The blocking technique is popular in millinery for creating a brand new hat, but it is also useful for reshaping old ones. You can use any style of hat, from fedora to cloche -- and the wider the brim, the floppier the final result.
Step 1
Cut out the inner lining of the hat if there is one. Lined hats do not stretch as well.
Video of the Day
Step 2
Immerse the hat in a bucket of water. Soak the hat until it is completely wet throughout.
Step 3
Place the hat over the top of a broom handle. Gently pull down on the outside of the hat, while pulling the inside over the handle. This elongates the hat into that classic conical, hillbilly style. Keep moving the hat over the broom handle. Do not just pull on the center -- you could end up with an unattractive bulge in the top of the hat.
Step 4
Heat up the iron and then use it to flatten out the hat brim. This helps to unroll brims and increases the floppy nature of the hillbilly hat. Spray the brim with water as it starts to dry out. You can also use the iron to reduce unsightly warps or bulges in the hat, as heat helps to shrink felt.
Step 5
Leave the finished hat in the sun to dry out for a few hours. Once dry, it is ready to wear.
Tip
This technique only works with felt hats. Look for a used hat in local secondhand shops.
Warning
Do not pull too hard on your hat or it will rip.
Video of the Day