Things You'll Need
Fabric to match/coordinate with dress
Measuring tape
Scissors
Sewing machine
Pins
Double-fold bias tape to match fabric, 1/2-inch wide
Tights to match/coordinate with dress
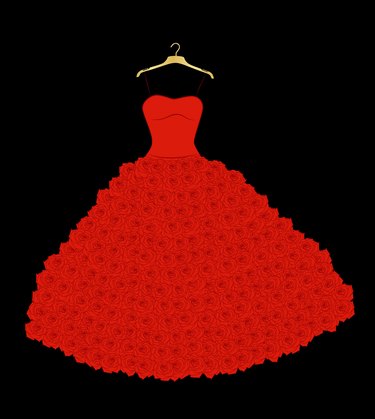
Whatever your concerns -- modesty, temperature or variety -- searching for an evening dress or a summer sundress can be a frustrating experience if you only find strapless dresses. However, all is not lost; you can add sleeves to a strapless dress and do it in such in a way that allows you to wear the dress with or without the arm coverings.
Sweet and Simple
Step 1
Measure from the top of the bodice on the front to the top of the bodice on the back. Add 1 inch to this measurement and record the figures. You may find it easier to measure while you're wearing the dress. For example, if the tape measure shows 10 inches from front to back, record 11 inches for this measurement.
Video of the Day
Step 2
Determine how wide you want the sleeves. Multiply that by 2.5, add 1 inch, and record the measurement. For example, if you want the sleeves to drape over your shoulder 6 inches, measure from where the edge of the sleeve will fall on your shoulder -- on the side by your neck -- to 6 inches down your upper arm. If you measure 2 inches across your shoulder and 6 inches on your arm, then multiply 8 inches times 2.5 for a 20-inch measurement, then add 1 inch.
Step 3
Cut four rectangular pieces of fabric with the dimensions from your measurements. Using the earlier examples as a guide, cut 10-by-20-inch rectangles.
Step 4
Lay the fabric pieces on your work table, right-sides facing. Pin them together.
Step 5
Stitch around the pinned pieces, using a 1/2-inch seam allowance. Leave about 2 inches open for turning the piece.
Step 6
Trim the seams to 1/4 inch. Cut diagonally across the corners, taking care not to cut the stitching.
Step 7
Turn the piece right-sides out and hand-stitch the turning space closed, folding the seam allowance inside. Press the seams toward the center of the piece.
Step 8
Set your sewing machine's stitch length to the longest setting and make two rows of stitching. Across each short end of the rectangles, make one 1/2-inch line from the edge of the fabric and one 1/4 inch from the edge. Leave 2-inch tails of thread at each end of the stitch lines.
Step 9
Hold the tails at one end of the fabric and gently pull the threads at the opposite end to gather the fabric to the desired width. Tie an overhand knot at each end and trim the threads to 2 inches.
Step 10
Repeat the steps to make the second sleeve.
Step 11
Cut four pieces of bias tape to match the width of the sleeves.
Step 12
Open the bias tape and place one gathered end of a sleeve inside, placing the fabric edge against the center fold. Close the tape and pin it in place. Repeat for the remaining three sleeve ends.
Step 13
Sew the bias tape in place, stitching as close to the edges of the tape as possible.
Step 14
Pin the sleeves in place on the inside of the bodice and hand-stitch them to secure them to the dress. Be careful to stitch only through the inside layer of the original bodice so that the stitches don't show on the front.
Stretch the Drama
Step 1
Determine the desired length of the sleeves and add 1 inch.
Step 2
Measure the length on both legs of the tights. Cut the tights to make two tubes.
Step 3
Pin the sleeves in place. You can pin one side of the tights tube to the dress at the armpit, right-sides together. Or, you can pin one side to the front of the bodice and one side to the back. In this case, pin the right sides of the tights to the right side of the bodice. When you pull up the sleeves, the outside of the sleeve and your arms will hide the seams.The first option will create a sleeve that covers more of your shoulder.
Step 4
Hand-stitch the sleeves in place.
Step 5
Add a clean-finish hem to the sleeve by turning 1/8 inch to the inside and then folding it again the same amount. Pin and stitch the hem in place.
Tip
Any type of fabric will work for your new sleeves, although a sheer fabric, like organza, will likely look best. Take the dress with you when selecting the coordinating material and hold them together to see how they work. Generally, a fabric of the same or a lighter weight than the dress will produce the most attractive results.
Add sequins, beads or other embellishments to the sleeves and the bodice to tie them together visually.
Instead of stitching the sleeve to the dress, add snaps to the bias tape and the dress, about 1 inch apart. This allows you to remove the sleeves when you'd rather go strapless.
Video of the Day