Things You'll Need
Screwdriver
Sewing machine lint brush
Soft cloth
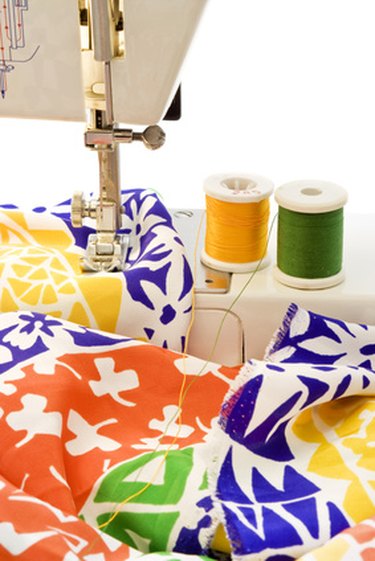
Janome has a long history of producing quality, easy-to-use sewing machines. The company makes machines for embroidering, quilting, general sewing and serging. Regular maintenance is usually enough to keep your machine running smoothly, but sometimes you may run into problems with broken needles, skipped stitches, bad tension or seam puckering. The following troubleshooting tips will fix most of your problems.
Clean the Hook Race
Step 1
Unplug the machine and remove the pressure foot and needle. Remove the screw on the left hand side of the needle plate and remove the plate.
Video of the Day
Step 2
Take out the bobbin and the bobbin holder.
Step 3
Clean the bobbin holder, the hook race and feed dogs with a cloth and small lint brush. Make sure there is no thread stuck in the mechanism. Dust and stray threads can cause the cloth to feed improperly, needle breakage and the bobbin to function improperly.
Step 4
Replace the bobbin into the bobbin holder and screw the plate back on. Put the pressure foot and needle back into place.
Insert the Needle Correctly
Video of the Day
Step 1
Press the up/down needle position button to raise the needle bar. Lower the pressure foot. Turn the power off.
Step 2
Loosen the needle clamp screw by turning it counter-clockwise. Remove the needle.
Step 3
Insert a new, clean needle into the clamp and push it up as far as it will go. The flat side of the needle faces away from you.
Step 4
Tighten the clamp. An improperly inserted needle can cause needle and thread breakage, skipped stitches and seam puckering.
Set the Machine to the Correct Tension
Step 1
Set the tension dial to "4." This is a good starting point for most fabric types.
Step 2
Check the top side and under side of a sewn piece of fabric. The thread should look evenly stitched on both sides.
Step 3
Loosen the tension by setting the tension dial to a lower number, if the bobbin thread shows on the right side of the fabric. This means the tension is too tight.
Step 4
Tighten the tension by setting the tension dial to a higher number if the needle thread shows on the wrong side of the fabric. This means the tension is too loose.
Bring the Bobbin Thread Up
Step 1
Thread the sewing machine needle.
Step 2
Hold the needle thread in your left hand. Raise the pressure foot.
Step 3
Turn the handwheel forward until the needle goes down. Continue turning until the needle comes up, bringing the bobbin thread with it.
Step 4
Pull up on the needle thread to bring the bobbin thread up through the stitch plate. Pull 5 inches of both pieces of thread and lay them to the back under the pressure foot before sewing.
Tip
Check the needles regularly to make sure they are sharp and straight. Bent or damaged needles can cause snagged fabric.
Warning
Always raise the needle and unplug the machine before doing any troubleshooting.