Things You'll Need
Sewing machine
Thread
Scissors
Sewing machines have a reverse-stitch feature that allows you to back up over stitches you previously made. Reversing the stitch a few stitches locks in stitches and secures your seams, and is an easy way to ensure that your project won't be ruined because of unraveled stitches. Additionally, the reverse stitch works well for items such as bag handles and dress ties, where you can reverse over stitches you made to make them stronger.
Step 1
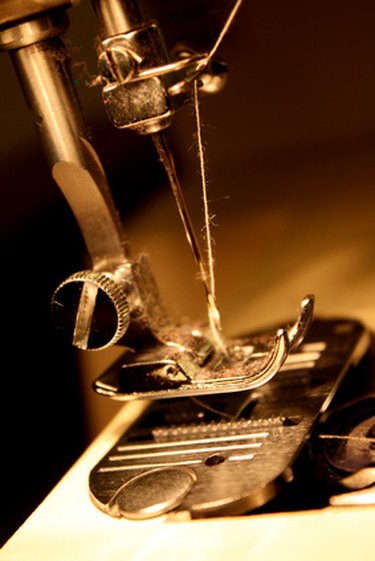
Stop sewing with the needle down in the fabric.
Video of the Day
Step 2
Locate your reverse stitch knob, button or switch. Reverse stitch mechanisms are most often located on the front of your machine, either on the center of the faceplate, above the needle or on the left-most front. These mechanisms come in all shapes and sizes, so consult your owner's manual to find the type and location of yours. Press the reverse switch.
Step 3
Depress the sewing pedal slowly to start the reverse stitch, keeping the reverse switch depressed. Go very slowly, as most often reverse stitches are only a few stitches in length.
Step 4
Sew a few stitches. To lock in your seam, sew a series of four or five reverse stitches. To enforce a seam for handles or ties, reverse over the area you want to be reinforced. Stop sewing with the needle down.
Step 5
Release the reverse switch. Slowly depress the sewing pedal and sew forward as you normally would over the reverse stitches you sewed. Remove your project from the sewing machine and cut off any excess threads.
Video of the Day