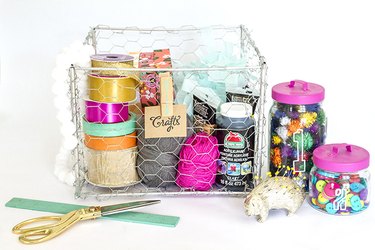
Control your clutter by making customizable wire baskets from chicken wire and aluminum pipes. The industrial tone of the metal on metal, hand-crafted baskets gives them extra appeal, and they can easily be retrofitted to suit any measurement or shape with a few simple adjustments.
Things You'll Need
5/16-by-36-inch aluminum tube, 1
Ruler
Fine-tip permanent marker, black
Adjustable pipe cutter
3/16-by-12-inch aluminum tube, 8
Spool of 20-gauge wire
Heavy-duty wire cutters
Roll of 20-gauge chicken wire
Work gloves
Needle-nose pliers
Card stock or thick kraft paper
Scissors
Wooden clothespin
Step 1: Mark the Thicker Aluminum Tube
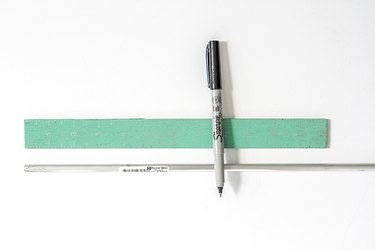
Measure and draw marks on the 5/16-by-36-inch aluminum tube every 9 inches, using a black, fine-tip permanent marker.
Video of the Day
Step 2: Cut the Thicker Aluminum Tube

Use an adjustable pipe cutter to cut the aluminum tube into four pieces, using the marks drawn earlier. These will later be used as the side supports for your box.
Step 3: Connect the Smaller Aluminum Tubes
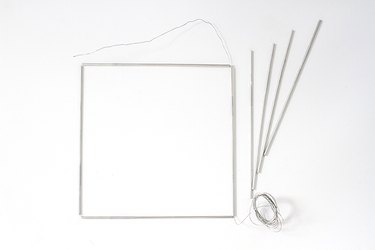
Connect the smaller aluminum tubes into a square shape using wire. Cut a length of the 20-gauge wire roughly 70 inches long. Note that this wire will not be cut or trimmed during the construction process but kept intact as a single length of wire to be threaded through the aluminum pipes in a continuous fashion. This methodology will help to keep the pipes tightly connected as there is no opportunity for the wire to come apart in the junctions.
To create the box form, slip the first of the eight 3/16 aluminum tubes onto the wire. Push the wire all the way through the tube and pull it out the other end, and then string on a second tube. Repeat until all four tubes are strung onto the wire. Then pull the four tubes so that there is an even amount of wire coming out the ends of the first and last tube. Next, slip one end of the wire into the opposite end of the first tube. Push the wire through until it comes out the other end. Pull it tight to create a square shape.
Step 4: Add the Thicker Aluminum Side Pieces
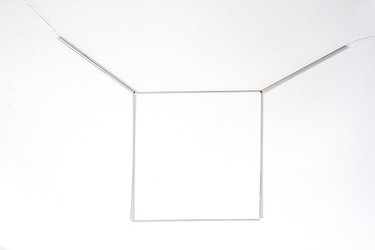
You should now have one thin aluminum tube with wire coming out both ends. Connect the larger aluminum tubes to the corners of the square using more of the wire. Slip one thicker aluminum tube (from the pieces you cut earlier) onto each of the protruding wires. Do not cut or trim the wire, as you will need it for the next step.
Step 5: Connect the Rest of the Tubes to Create a Box

Using the rest of the wire and the rest of the tubes, continue threading the tubes onto the wire and bend the pieces into a 3-D box form. Pull your wire and pipes tight after each step to ensure adequate tension. You'll want to thread the pipes onto the wire one by one as you create the box. Thread your wire through the nearest pipe to secure each pipe as you build out the 3-D shape.
If you need to connect areas that are across from one another, just slip the wire through the pipes until the wire comes out at the correct junction. There is not necessarily a pattern to do so — simply follow the lines needed to create the 3-D box, and string the wire through the pipes to create the form.
Step 6: Finish the Box Shape
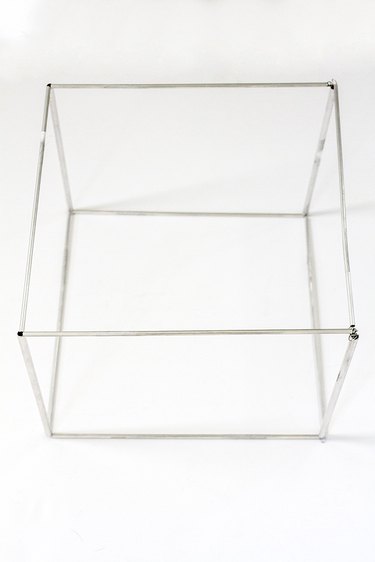
When you finish creating the box form, twist the last of the wire up and around where the three pipes come together so that it is tightly wound and will not come loose — roughly four to five twists — and then cut the excess wire off with wire cutters. Repeat on the opposite end of the wire and trim off the excess. If needed, use needle-nose pliers to hide, in the opening of the nearest aluminum tube, any small portion of the wire left exposed.
Step 7: Cut the Chicken Wire Into Side Pieces

Using heavy-duty wire cutters, cut four pieces of chicken wire to match the width and height of each of the box's sides, with 2 inches added to both length and width for a necessary 1-inch overlap on each side to attach them to the box. Use the even grid of the chicken wire to help keep your lines as straight and even as possible. Set each cut piece of wire off to the side.
Warning
Wear safety work gloves for this step, as the wire can be very sharp.
Step 8: Wrap the Side Pieces Onto the Box
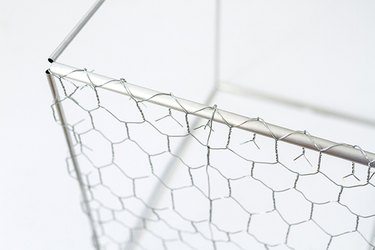
Turn the box on its side so that the edge you intend to work on is facing up. With your work gloves still on, flatten the pieces of cut chicken wire between your flattened palms. Lay the first piece of cut wire on the box. Gently fold the wire edges up and over the aluminum tubes on all four sides to attach it to the box frame. Repeat the steps on all four sides of the box.
Step 9: Cut the Chicken Wire to Match the Box's Underside

Measure and cut a fifth piece of chicken wire to match the underside dimensions of the box plus 2 inches to both sides to accommodate the necessary overlap.
Step 10: Attach the Underside Piece to the Frame
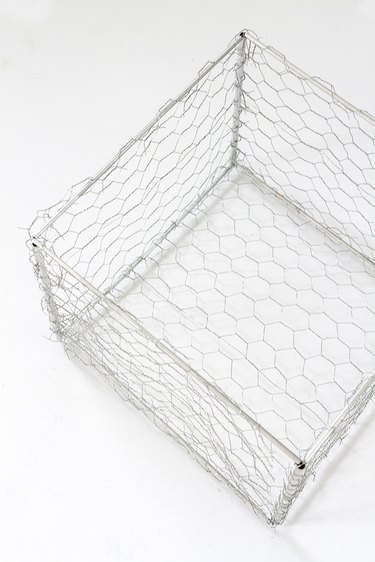
Flatten the cut chicken wire with your work gloves on again, and then use the same wire bend-and-overlap method to attach the piece to the underside of the box.
Step 11: Clean Up the Rough Wire
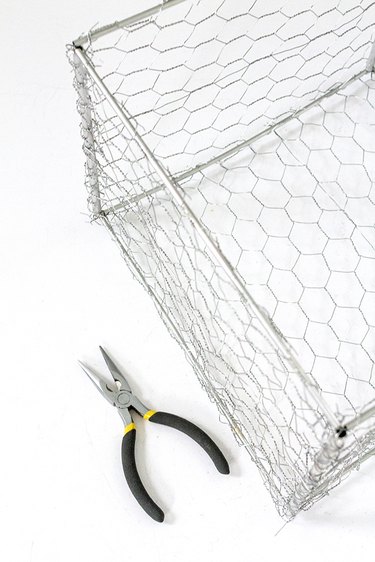
Use needle-nose pliers to bend back and/or trim off the excess wire and to eliminate all sharp, protruding edges. Again, because it may not be possible to eliminate all sharp edges, this craft is best kept out of reach of children.
Step 12: Add a Label to the Box

Cut a piece of card stock or thick kraft paper into a square or rectangle. Write a labeled word on the cut card to denote what you plan to store, and use a wooden decorative clothespin to attach it to the chicken wire on one side of the box.
Step 13: Fill the Box
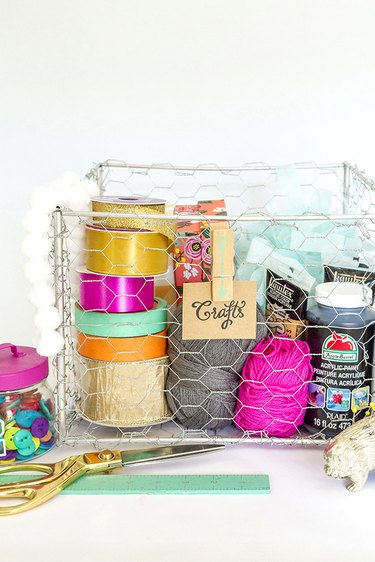
When complete, fill the box with whatever you plan to store in it. If you plan to keep the box in place without having to lift it to access its contents (think: simple compartmentalized storage on an easy-to-access shelf), then you can place heavy items in the box. If you need to be able to lift the box down to access its contents, fill it with lighter objects so that you don't compromise the somewhat pliable nature of the aluminum chicken wire used on this box.
Tip
For added durability, consider using steel chicken wire, but know that you may need to use stronger wire manipulation tools during the crafting process to bend it into place on the pipe box form.
Warning
Note that because it may not be possible to eliminate all sharp edges from the wire material used in this project, the craft is best kept out of reach of children.
Video of the Day