Things You'll Need
Drill
Utility knife
Scraper
Pry bar
Solid wood lumber
Planer
Jigsaw
Sandpaper
Paint brush
Primer
Paint
Awl
Hammer
3/16-inch drill bit
Silicone caulk
Treated deck screws
The line between the top of the weatherstrip and the bottom of the door should always be snug. A small gap can best be corrected by replacing the weatherstrip. If you have a gap wider than a quarter-inch it is probably due to an improperly sized door. Replace the weatherstrip first before attempting to raise the threshold. Your second option would be to purchase a taller threshold and install it. If this is not an option, remove the threshold, add a solid wood spacer, and reinstall the threshold.
Step 1
Measure the remaining distance between the top of the weatherstrip and the bottom of the door. Add one-eighth inch to that. This is the thickness of spacer you will make to lift your threshold.
Video of the Day
Step 2
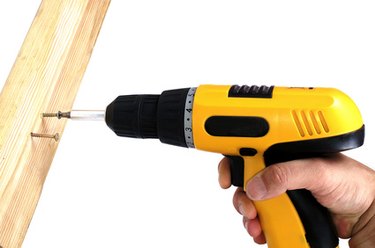
Remove the mounting screws from the top of the threshold with a cordless drill. Cut around the front, back and side edges of the threshold with a utility knife to cut through any old caulk that may hold the threshold to the floor.
Step 3
Tap the end of a flat pry bar underneath the edge of the threshold at one end and pry it away from the floor gently to prevent bending the edges. Work along the edge of the threshold, prying it up away from the floor until it sits loose in the bottom of the frame.
Step 4
Lift up at one end to remove the threshold from the frame. Scrape any old caulk from the floor and the bottom of the threshold to make sure you have a smooth surface.
Step 5
Plane a piece of solid wood, such as oak or pine, to thickness from Step 1. If you do not have a planer available, a local cabinet shop will gladly plane this for you for little or nothing. Mark the bottom outline on top of your planed spacer. Cut the outline out with a jigsaw. Sand the edges smooth by hand with 80-grit sandpaper.
Step 6
Apply a coat of oil bonding primer, with a paintbrush, to all sides of the spacer to seal it. Allow the primer to dry. Apply two coats of latex semi-gloss paint in a color matching the surrounding floor or woodwork so that it blends in.
Step 7
Place the threshold on the spacer and tap an awl into the spacer through each screw hole with a hammer to mark the locations for pilot holes. Drill through the spacer with a three-sixteenth-inch bit in each spot you marked.
Step 8
Apply a bead of 100-percent pure silicone caulk around the bottom edge of the spacer and set it in position in the bottom of the door frame. Place the threshold on top of it, with the edges flush with the spacer.
Step 9
Drive one 3-inch treated deck screw through the hole in the threshold, through the spacer, into the sill below, with a drill. Caulk along the bottom and sides of the spacer and threshold to seal it.
Video of the Day