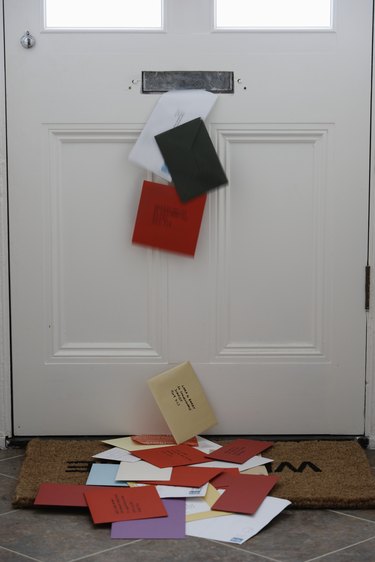
Store-bought greeting cards generally come with their own envelopes, but if you enjoy making your own greeting cards, you also need the proper-sized envelopes to put them in. The standard envelope size for greeting cards is 4 by 6 inches. Homemade envelopes are easy to make, and you can choose from a variety of different papers -- from construction paper to card stock to wallpaper remnants.
Things You'll Need
Video of the Day
- Letter-size (8 1/2-by-11 inch) paper
- Ruler
- Pencil
- Scissors
- Greeting card
- Clear tape, or glue
Video of the Day
Choose Your Paper
Envelopes can be made from just about any kind of paper, so choose one that best fits the type of card you're making. For example, if you're sending invitations to a child's birthday party, consider construction paper or a colorful wallpaper remnant. For holiday greeting cards, choose colored card stock or a heavy-duty wrapping paper. Experiment with any nice paper you get your hands on -- you're limited only by your imagination.
Square Your Paper
Place your paper vertically in front of you, as though you were going to write a letter. Using your ruler and a pencil, lightly draw a line 2 1/2 inches from the bottom of the paper. Carefully cut along this line with your scissors to remove the strip of paper. This gives you a piece of paper 8 1/2 inches square.
Template for Folding
Turn your square so that it resembles a diamond. Place your finished greeting card horizontally in the center of the diamond, to use as a guide or template while folding. This ensures you are making an envelope large enough for your card, and it eliminates guesswork.
Fold and Crease
Fold and crease the bottom point over your card, forming the bottom of the envelope. Fold and crease the side points toward the center of the card, forming the sides of the envelope. Leave a small amount of space between the sides of the card and the envelope. This gives your card some breathing space. Making the envelope too snug can make it difficult for the recipient to remove the card.
Tape or Glue
Secure the bottom and sides of your envelope together by applying clear adhesive tape along the seams, where the sides and bottom meet. You can use craft glue if you prefer, but keep in mind that glue can be messy, so use caution. Remove your card from the envelope if you're gluing it, and replace it with a piece of scrap paper to catch any drips. Allow the glue to set for about 30 seconds before removing the scrap paper. Do not replace the greeting card until the glue is dry. Drying time for glue varies, so refer to the directions on the glue bottle for more information.
Final Fold and Completion
Fold and crease the top point toward the center of the card, forming the top of the envelope. Leave a small amount of space between the card and the envelope. Trim the flap, if necessary.
Complete your envelope by adding final decoration, if any. Seal the envelope using tape or a sticker.