A Brother LS2020 is a popular basic sewing machine. This version is good for beginning sewers and quilters who need basic stitching capability without adding a lot of stitch variety. Your sewing machine must be threaded correctly for it to run and sew without errors. Thread the machine in the right order and you may avoid broken threads and skipped stitches.
Step 1
Turn off the power switch to avoid accidentally causing any of the parts to move. Locate the presser foot lifter lever, which is above the needle and to the right. Lift this lever.
Video of the Day
Step 2
Grasp the wheel at the upper right edge of the machine and give it a slight turn. This will cause the thread takeup lever and the needle to rise. Keep turning until the needle is at the highest point that it will go.
Step 3
Place the spool of thread on the thread spindle with the loose end of the thread coming out the back of the spool. If the loose thread is at the front, turn the spool upside down and put it back on the spindle.
Step 4
Pull the end of the thread to the left until you reach the thread guide, which is a small U-shaped metal part sticking out of the top of the machine. Loop the thread through the guide and then down the front of the machine from that point. A groove in the front of the machine will guide the thread at this point.
Step 5
Loop the thread between the tension disks at the bottom of the groove, wrapping from the right, down and back up on the left. You will find a slot here, which will help to guide the thread. Hold the thread end in your left hand and the spool in your right hand. Pull the thread end gently to make the thread loop slip between the two tension disks.
Step 6
Pull the thread up along the slot on the left until you reach the takeup lever, which is at the top of the slot. Slide the end of the thread through the slot in the takeup lever.
Step 7
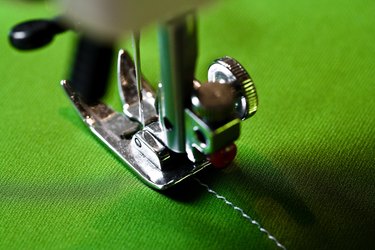
Pull the end of the thread straight down until it is at the front of the needle. Thread the needle from front to back, leaving a 2-inch tail of thread hanging out the back of the needle.
Warning
Make sure that the thread is securely held between the tension disks. If your thread is hanging loose outside of the disks, it may bunch up and knot when it gets stitched.
Video of the Day