Things You'll Need
Design outlines (optional)
Scissors
Paper hole puncher (optional)
Cookie sheet
Large paper bag or brown packing paper

Introduced in 1973, Shrinky Dinks are craft-friendly shrinkable plastic sheets that you can color with permanent markers, color pencils and acrylic paints. After completing your design, you bake the plastic, which reduces its size while increasing its thickness. Children especially enjoy Shrinky Dinks because it's fun to watch them shrink in the oven and become sturdy, compact works of decorative craft art. Jewelry, key chains and ornaments are just some of the many Shrinky Dinks crafts you can make with your children.
Step 1
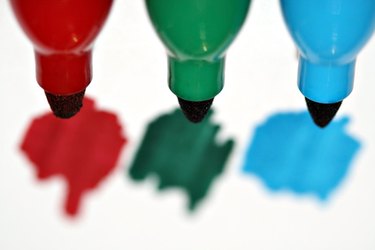
Lay a design outline on a flat surface with a sheet of Shrinky Dinks plastic over it. Trace the design with a permanent marker; you can also freehand draw a design. Remember that the finished product will be just about 1/3 of its original size.
Video of the Day
Step 2
Color the design with permanent markers. Note that the colors will intensify when the plastic shrinks.
Step 3
Cut out the design from the plastic sheet using scissors. Manicure scissors work well for small spots that are tricky for larger scissors. Use decorative scissors of the type made for scrapbooking to create interesting edges.
Step 4
Make a hole with a hole puncher, if necessary, for an item such as a charm, pendant or key ring decoration.
Step 5
Cut a sheet of brown paper bag or packing paper large enough to fit on a cookie sheet. Lay it on the cookie sheet and fold up one corner to make removal after baking easy.
Step 6
Lay the Shrinky Dinks designs with space between them onto the brown paper. Plastic that is touching will stick together.
Step 7
Bake the plastic designs in an oven pre-heated to 325 degrees Fahrenheit for one to three minutes, with the colored side up. The pieces will stop curling and lie fat when they are done.
Tip
You can shape the plastic for up to about 10 seconds after shrinking, if necessary, for items such as napkin rings and jewelry.
You can use #6 plastic containers in place of Shrinky Dinks plastic sheets. Bakeries and delis frequently pack their food in #6 plastic containers, so check these items for a triangle with the number "6" inside of it. Use only #6 plastic, as others do not shrink this way.
Warning
Handle the hot plastic very carefully to avoid burns.
Work in a well-ventilated room, as permanent markers and the shrinking plastic both emit a strong, toxic odor.
Video of the Day