Things You'll Need
Screws
Screwdriver
Power drill
Sewing machine with mounting holes
Sewing machine table
Although a sewing cabinet will give you more out-of-sight storage space with its drawers, a sewing table or desk offers nearly as much functionality in a smaller package. Most sewing tables have only the main compartment, which houses the sewing machine, and one other drawer. But tables can have more counter-top space for larger projects, containers for sewing tools, thread or cutting tools. Another advantage to a sewing table as opposed to a cabinet is that the table will take up less space and can be moved more easily if you decide to rearrange the sewing room.
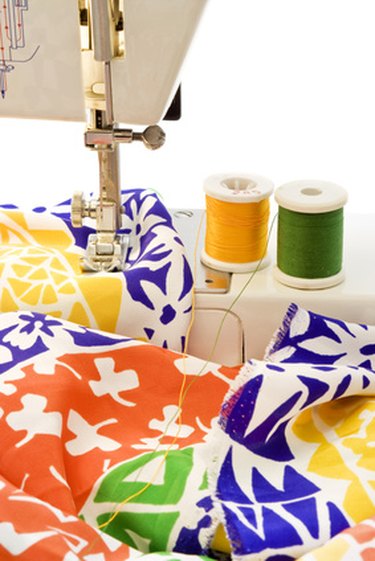
How To Attach a Sewing Machine to a Sewing Table
Step 1
Line up the sewing machine with the table mounts. The screw holes in your sewing machine should match the mounts on the table. The table may have mounts already in place. On your sewing machine, the attachment holes will usually be on the bottom of the machine--some machines have holes on the lower back.
Video of the Day
Step 2
Make any adjustments needed to correctly align the table mount with the sewing machine. Most times the table and machine will already be aligned, but if not there are two options. First, some tables will arrive to you with additional holes already drilled so you only need to place the mounting hardware in the holes that match up with the holes in your machine. Second, if no additional mounting holes are on the table you can make your own holes using a power drill.
Step 3
Screw the mounting hardware to the table using the screws or bolts provided with the table kit. This will raise and lower the sewing table mount into place.
Step 4
Bolt the sewing machine in place on the mount or table. Bolts should be included with the cabinet but if not they can be purchased at a hardware store.
Step 5
Lower the sewing machine into the table for storage and close the lid. The machine can now be lifted from the storage space, a recessed area beneath the table, for use, or placed in the storage space when not in use.
Tip
Most tables are created to fit maximum limitations of 13 1/8 inches deep, 13 1/8 inches high, and 19 3/4 inches wide, so measure the machine before buying a table.
Most table specifications will list the machines with which they are compatible.
The mounting hardware--screws, bolts and hinges--should be included with your table. If not, you can purchase these items at a hardware store.
Check the lower back of your machine to make sure there are holes for the screws to attach the machine to the table. If there are no holes, your machine was not made to be used with a table.
When attaching the hinges to the table it will be easier if you have a helper to hold the machine in place.
Warning
Only air-lift cabinets should be used for newer, computerized sewing machines. If you use an airlift, you will not need to bolt the machine in place (Step 4) because the machine will sit securely on the lifting platform.
Portable sewing machines should not be attached to cabinets.
Never buy a used table unless you have some woodworking skills to make new mounting holes because your machine and the previous owner's machine probably won't be the same.
Video of the Day