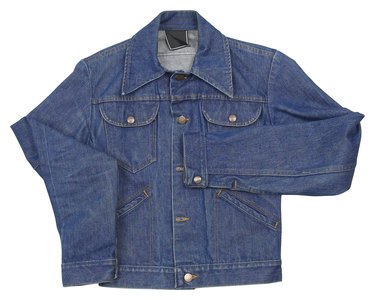
A well-fit jean jacket looks very trendy; an oversized one, however, can look sloppy and feel uncomfortable. The right length of sleeves on a jean jacket is key to a good fit. Professionally sewn denim may seem impossible to alter, but once you get inside it, you will discover that it isn't so difficult after all.
Things You'll Need
Seam ripper
Straight pins
Sewing machine
Thread
Video of the Day
Step 1
Take the cuff off the jacket sleeve using a seam ripper. Carefully slip the sharp point of the seam ripper under the stitches, and break them free. You will need to rip through more than one line of stitching to completely separate the cuff from the sleeve. Rip one row of sewing at a time. You will have a finished edge and an open edge to the separated cuff.
Video of the Day
Step 2
Mark the raw edge of the jacket sleeve to the desired length. Remember to take into account that the cuff will be replaced. Also remember to allow a 1/2 inch for sewing the cuff back on. Cut the sleeve to the desired length.
Step 3
Set the machine stitch length to the longest possible, and machine baste two times around the raw edge of the newly cut sleeve. Leave enough thread at both ends of your stitching to be able to grab and pull the bottom threads later when you attach the cuff.
Step 4
Turn the cuff inside out. Place the cuff over the outside of the sleeve. Pull the bottom threads of the basting on the sleeve edge, so the sleeve fits into the circumference of the cuff. You should be able to fit them together without any puckering or gathering in the sleeve. Pin the outer edge of the cuff to the sleeve, matching raw edges. Be sure to keep the inside layer of the cuff free. Machine stitch. Turn the cuff back and press the seams toward the cuff.
Step 5
Turn under the raw edge of the inner layer of the cuff, and pin it over the pressed seam. Hand stitch the inside of the cuff in place. Top stitch all around the cuff.
Tip
If the sleeve is too big to fit into the cuff without puckering or gathering, you should narrow the end of the sleeve by sewing a dart along the original sleeve seam. Simply pinch the seam at the bottom of the sleeve enough, so it fits into the cuff and pin it in place. Then sew along the original sleeve seam from that point, slowly tapering into the original seam. You should be able to meet the original seam in 2 inches or less.