Sliding glass door seals can help stop air from leaking into or outside of your home. However, because of the design of most sliding doors, it is not always possible to stop air from leaking around the seals, especially with age and heavy usage. Damaged seals can increase your utility bills, but with a good tuneup, those sliding glass doors once again will become a great investment. Your properly sealed sliding doors will continue to not only improve the appearance of your patio or backyard entrance, but also reduce your utility bills.

Video of the Day
Things You'll Need
Putty Knife
Sawhorses
Weather Stripping
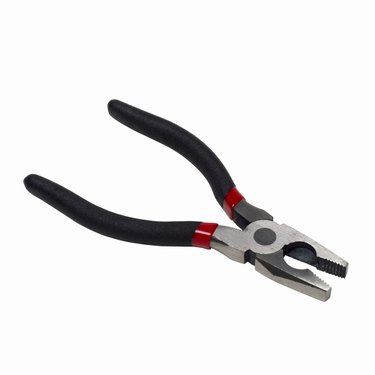
Pliers
Hammer
Flathead Screwdriver
Step 1
Setup two sawhorses on the outside and add padding to the top of each. Remove the plugs from the roller adjustment screws located on the bottom or the edges of the sliding door frame. Retract the rollers to lower the door by turning the screws counterclockwise using a flathead screwdriver.
Video of the Day
Step 2
Take down any window shades or drapes. Slide the sliding door open and take out the screws to remove the head stop. Stand on the inside of your home and lean the top of the door panel toward you, lifting it off the track. Place the panel gently on top of the sawhorses.
Step 3
Remove the staples from around the entire jamb of the door with the screwdriver and pliers. Hammer in broken staples. Pull off the seals before scraping off any remnants and glue adhesive with a putty knife until you obtain a smooth surface.
Step 4
Attach the new seals to the sliding door in one continuous piece or according to the directions on the package. Place the door back on the track and tilt up. Support the sliding door with your body and then reattach the head stop. Move the door in until it is within a half-inch of the latch side jamb. Turn the adjuster screws until the door is parallel to the jamb. Loosen the screws and move the plate up or down to adjust the receiver so that the latch mates with the receiver on the jamb.
Tip
Purchase replacement seals that can handle extreme weather conditions or according to the manufacture of your particular door. Clean and lubricate the sliding door tracks while the door is already down, along with replacing any bent or broker rollers to avoid having to take the entire door down again to perform this maintenance later.
Warning
Sliding glass doors are very heavy, so bend at the knees to take the weight off your back if doing the project alone. You could ask for help from a friend.