
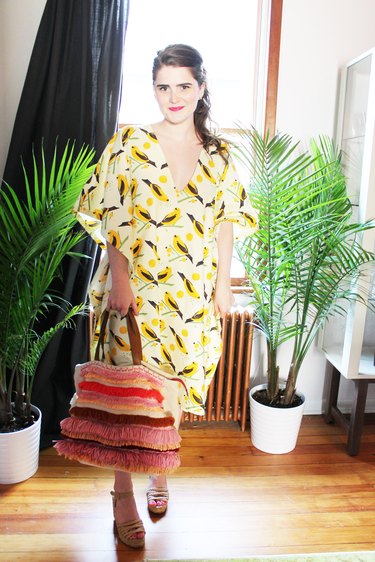
This mid-century inspired muumuu is a great intermediate sewing project and is perfect for throwing on at a pool party or for a stroll down the boardwalk! Pick a punchy cotton print or laid back linen to suite your style.
Things You'll Need
Sewing machine
Scissors
3 yards of printed cotton fabric or linen
Measuring tape
Ruler
Coordinating thread
Straight pins
Fabric chalk or pencil
Needle and brightly colored thread
Iron and ironing board
Video of the Day
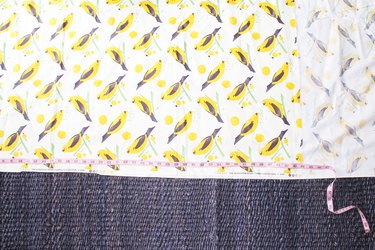
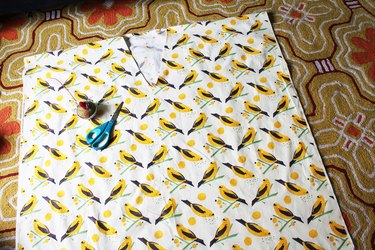
Step 1: Measure Fabric
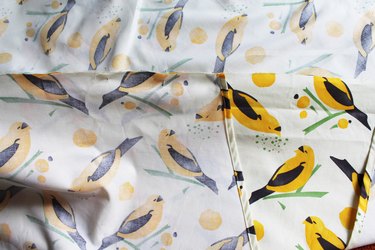
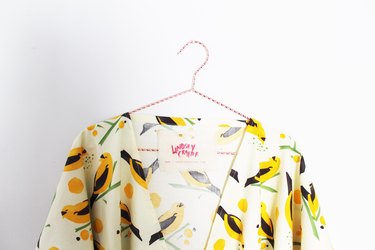
Measure and cut two large rectangles the full width of the fabric (selvage to selvage) and 45 inches in length -- these will be the front and back of your muumuu. If you're using a printed fabric with one orientation, be sure it's facing the right direction when cutting, pinning and sewing or you'll have upside down motifs.
Video of the Day
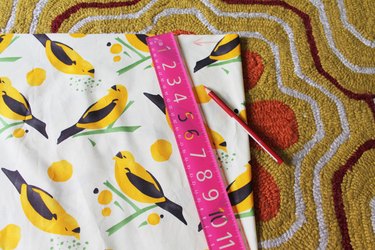
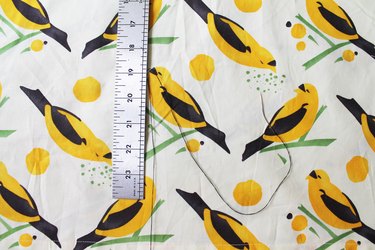
Step 2: Create Neckline
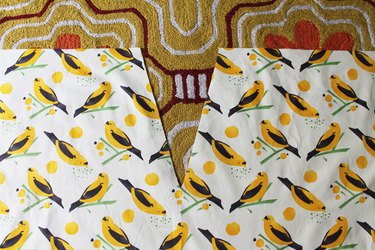
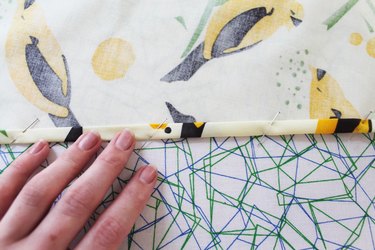
Fold one rectangle in half with both selvages aligned to the left and a folded edge on the right. Make a mark at the top edge with fabric chalk 4 inches from the folded edge. Using a straight edge or ruler, draw a diagonal line from this mark 10 to 12 inches down the folded edge, depending on your desired neckline.
Maintaining the fold, cut along the marked line to create a plunging neckline.
Tip
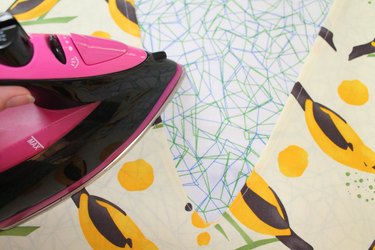
Pressing seam allowances before pinning and sewing keeps widths consistent and reduces puckering.
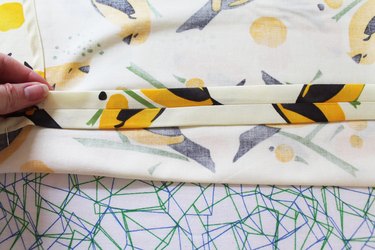
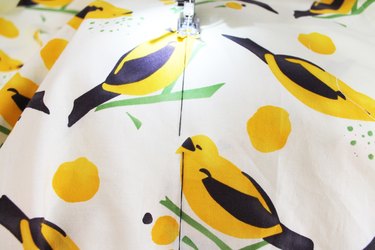
Fold over a 1/4-inch width of your neckline and press to create a clean edge.
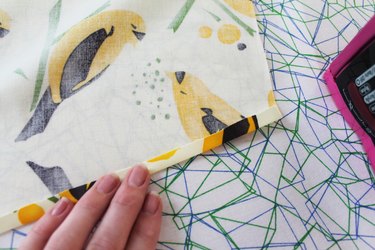
Fold over another 1/4 inch to encase the raw edge and pin before sewing.
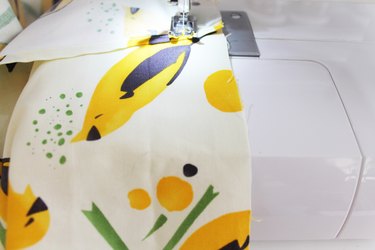
Sew a straight stitch along pinned neckline, keeping the presser foot aligned with the folded edge.
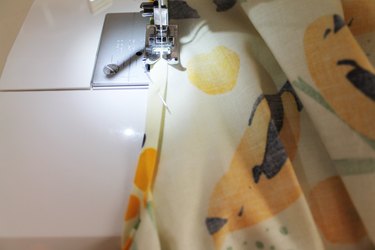
Remove pins, trim extra threads and press your freshly sewn seams.
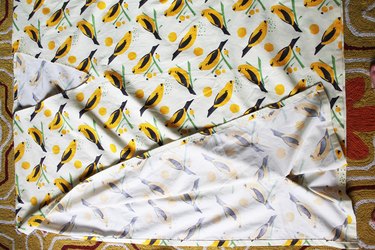
Step 3: Pin and Sew Shoulder Seam
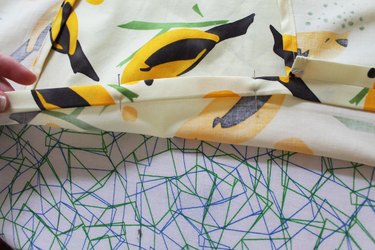
Line up the top edges of your fabric with both printed sides facing each other.
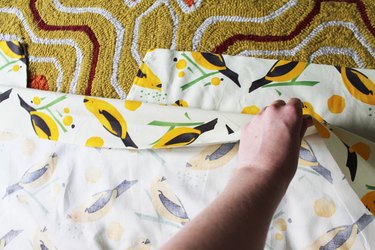
Pin along the top edge (shoulder seam), starting from each side and working towards the neck to avoid over-stretching the neckline.
Sew a 1-inch straight seam along the shoulder line starting from each far side and stopping at the neckline seam.
Fold seam allowances under a 1/2 inch and press before sewing to finish the raw edge.
Fold the back-neck seam allowance under a 1/2 inch to encase the raw edge. Press before sewing.
Step 4: Finish Edges
Finish the hem and sides of the garment by folding and pressing the edges a 1/2 inch before sewing straight seams.
Step 5: Mark and Stitch Inseam
To mark the inseams of the caftan, thread a needle with a contrasting thread color. Using a long basting stitch, mark a vertical line 8 inches into the side your garment to act as a guide for sewing.

Your inseam should be about 24 inches in length, but may be altered if you desire a shorter hemline.
Machine stitch over your basted stitches to create straight inseams on both sides of the garment. When finished sewing seams, remove basting threads by pulling gently.
Give your chic muumuu a final press and trim any stray threads before sporting at soirees!
Tip
Use printable iron-on transfers to create custom labels for your handmade garments!
Have questions about fabric or where to find more sewing patterns? Leave them for us in the comments below! --Happy Crafting