Add some sparkle to your next family craft day by involving the kids in making glitter from salt and food coloring. They'll enjoy mixing colors into the salt, watching it turn from plain white to bright turquoise or coral, for example, or using scissors to turn foil gift-wrap into super-shiny glitter. Your little helpers will be eager to see how their glitter looks in a picture, so have colored markers, white PVA glue and construction paper on hand. When it's time for a snack, serve goodies decorated with your own edible glitter.
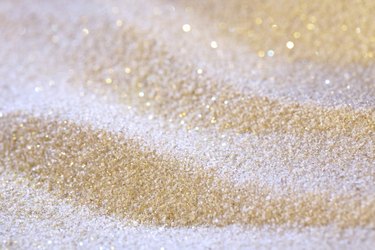
Salt Glitter
Video of the Day
Measure one-fourth cup of table salt or Epsom salt into a small ziptop plastic bag. Add about 5 drops of food coloring. You can mix colors to get cool shades, such as 3 drops blue with 2 drops green for turquoise, or red and blue for purple. Seal the bag and have your helper squeeze and shake it for about a minute, until the coloring is mixed evenly through the salt. Spread the salt evenly on a paper plate and set it aside to dry for several hours or overnight. If you're impatient, microwave table salt for one minute or until dry, stirring halfway through. Epsom salt can go in the microwave for no more than 10 to 20 seconds; too much microwaving will change the Epsom salt into a useless lump, so watch it carefully. Store the dried glitter salt in a clean ziptop bag or small, airtight jar.
Video of the Day
Foil Glitter
Cut a square of gift wrap about 6 inches across and roll it into a cylinder, then flatten it slightly. Holding the foil over a paper plate, cut narrow lengthwise strips, about 2 inches long, in the folded foil. Turn and cut the strips crosswise to make tiny pieces, letting the pieces fall on the paper plate. Repeat until you've cut enough glitter, then use the plate to pour it into a plastic bag or container for storage. You can also use a hole punch to make confetti-like glitter. If you don't have foil gift wrap, try coloring aluminum foil with a permanent marker. Let the marker ink dry before cutting.
Using Homemade Glitter
Each of the three types of glitter has a different look. Table salt is the least glittery, but looks bold and almost fluffy when glued to paper. Epsom salt is naturally glittery and behaves the most like "real" glitter. Foil glitter is shiny but coarse, so it's useful for filling in shapes and areas. Have your child draw or trace a picture on construction paper or poster board, using a pencil or fine-point colored markers. Go over the outline with white PVA or school glue, working quickly so the glue stays wet. Sprinkle your glitter generously into the wet glue and let dry for 5 to 10 minutes. Gently shake the excess glitter onto a sheet of foil or a paper plate, so you can put it back in its container to use again. Allow the glue to cure for several hours and remove the excess glitter once more. To keep the glitter in place while displaying the picture, drip clear decoupage medium over it, or spray with a clear fixative or varnish, and let dry.
Edible Glitter
To make edible glitter, mix one-fourth cup to one-half cup of granulated sugar with 5 to 10 drops of food coloring in a plastic storage bag. Line a baking sheet with parchment paper for easy handling, and spread the colored sugar over it. Bake in a 180-degree oven -- higher temperatures could melt the sugar -- until the sugar starts to glisten, about 5 to 10 minutes. Remove and allow the sugar to cool before you sprinkle the edible glitter on your cupcakes or cookies. Any leftover sugar can be stored in an airtight jar. For even shinier edible glitter, follow a recipe that uses gum arabic and edible metallic dust.