Things You'll Need
Moccasin pattern
2-square-feet of rawhide leather
3-square-feet of soft leather
Leather cutter
Artificial sinew
Leather needle
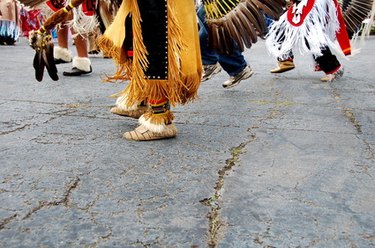
The thick and sturdy soles of hard sole moccasins were made by Native American tribes in the plains and in the desert to protect their feet from rough ground and sharp plants. You can make your own hard-sole moccasins using rawhide and soft leather. The hard-sole moccasins can be worn inside and outside for both comfort and stability, since they are made with a combination of flexible and strong materials.
Step 1
Use a leather pattern, such as the pattern from the website in the resources section. Pick a pattern size that will allow for an additional 1/8 of an inch around the perimeter of each foot to allow for stitching.
Video of the Day
Step 2
Cut out the pieces of the pattern for the soles of your moccasins out of rawhide for each foot using a leather cutter. The sturdy material of rawhide is what will make the hard sole of your moccasins.
Step 3
Now cut out the pieces of the moccasins that are known as the "upper" pieces out of soft leather. On your pattern these pieces will be the same length as each sole that you cut out, but the width of about two soles combined.
Step 4
Use a leather cutter to cut up the middle of both upper pieces out of soft leather. Cut up half the length of each upper, then make two slits at the top of this cut on each piece. You will cut one inch to the right, and one inch to the left. This should make a T-shape in the center of each upper piece of soft leather.
Step 5
Stitch the hard soles of your moccasins to the upper pieces by stitching with artificial sinew and a leather needle, on side of each upper piece around the perimeters of the soles, beginning at the toes and working back toward the heels of the rawhide sole pieces.
Step 6
Cut out the pieces from the pattern of each moccasin's tongue out of soft leather. Stitch the wide end of each tongue to the upper at the top of the T-slit. The edges of each tongue should extend over the sides of the top of each moccasin so that there is no opening in the moccasins.
Tip
You can add an inner liner to your moccasins by sewing a soft material like fleece inside each moccasin.
Video of the Day