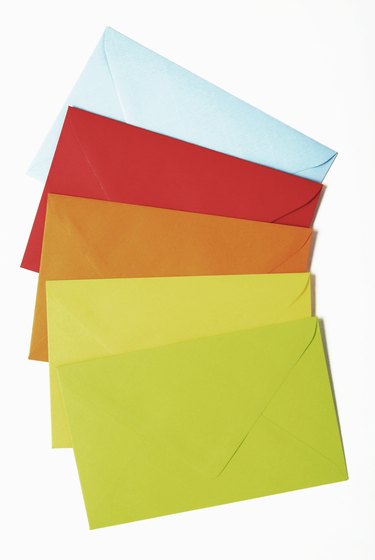
According to the Craft and Hobby Association, as of 2010, card-making is a $1.04 billion industry, with 14 million households participating in handmade card-making that year. If you've made your own custom greeting card using stamps, stickers, card stock, die cuts, or other embellishments, you need to know how to make a C5-sized envelope. A standard C5 envelope measures 6 1/2 by 9 inches.

Video of the Day
Making your own handmade envelopes not only saves money, but it also gives you an opportunity to customize the envelope to match the card with stamps, paper and embellishments.
Video of the Day
Things You'll Need
12-by-12-inch piece of paper
Bone folder
Ruler
Scissors
Glue stick
Instructions
1. Cut an inch off both the right side and the bottom of the piece of paper so that an 11-inch square of paper remains.
2. Position the paper, wrong-side up, on your work surface in a diamond shape.
3. Measure down from the top corner 6 3/8 inches on both sides and make a light mark with your pencil.
4. Align the ruler with both marks and use a bone folder to crease across the paper from one mark to the other.
5. Flip the diamond over and repeat steps 3 and 4 from the top corner again.
6. You should now have two faint horizontal fold marks running across the diamond. Use the ruler to create vertical lines to complete the rectangle in the center of the paper.
7. The square in the center of the paper should now measure 6.5 inches by 9 inches.
8. Fold along the two 6.5-inch lines, folding in toward the wrong side of the paper so that the right side of the paper is showing on the two triangles. Repeat the process on the two 9-inch lines.
9. Using the glue stick, run glue on the place where the bottom triangle overlaps the two side triangles; press to secure the glue.
10. Put the card inside the envelope and fold down the final triangle. Use the glue stick to seal the envelope.
11. Embellish the envelope as desired.
Just stamp and address the handmade envelopes as usual, and you are ready to mail your custom cards to friends and family.
Tip
Substitute double-sided tape for the glue stick if preferred.