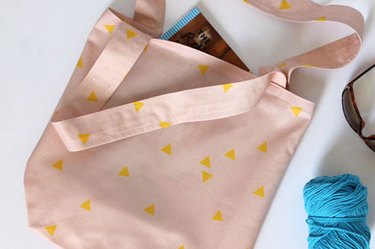
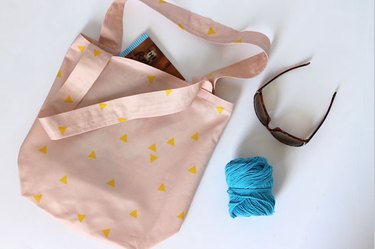
There's always room for one more tote bag in your wardrobe – especially when you can create your own out of any fun fabric you'd like. As the weather heats up, the latest in our How to Sew series makes it easy to bring page-turners, sunglasses and cover-ups to your favorite relaxation spot. It can even be on hand when you're heading out on a vacation. No matter what you choose to use it for, this carry-all is ready to go places!
Video of the Day
Things You'll Need
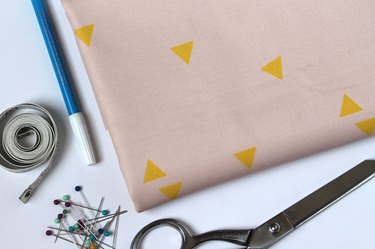
3/4 yard of canvas fabric
Sharp scissors
Straight pins
Pinking shears (optional)
Iron and ironing board
Straight edge
Washable marking pen
Safety pin
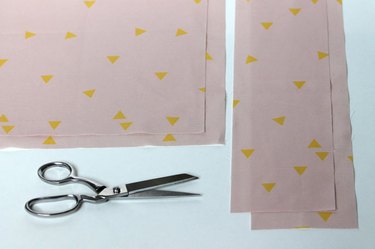
Step 1: Measure and Cut Four Pieces of Fabric
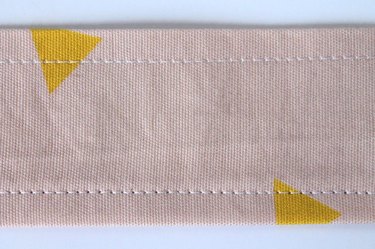
Measure and cut two pieces of canvas fabric that are 17-1/2 inches by 15-1/2 inches for the body of the bag. After, measure and cut two other pieces of canvas fabric that are 5 inches by 27 inches.
Video of the Day
Tip
If you want to save time, you could use cotton webbing or twill tape for the straps instead of making your own. Most fabric stores have this available to purchase by the yard.
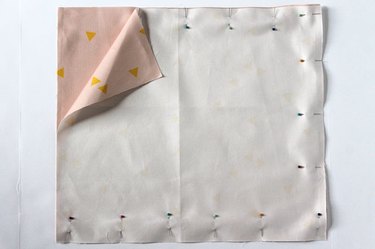
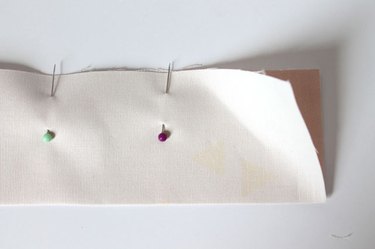
Step 2: Pin the Pieces with Their Right-Sides Together
Place the bag's pieces with their right-sides together. Pin along the two long sides and one of the short sides.
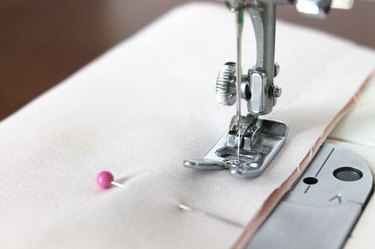
Step 3: Sew Three Sides of the Bag
Sew a 1/2-inch seam allowance along the three pinned sides, and be sure to remove the pins as you sew. Leave the top of the bag open.
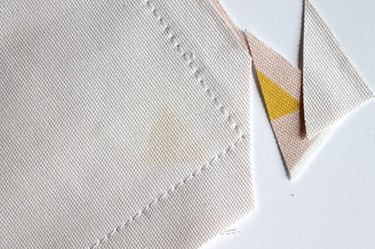
Step 4: Trim the Corners and the Seam Allowances
Trim the corners close to the stitching, and be very careful not to cut the stitches.
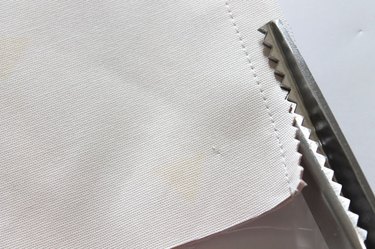
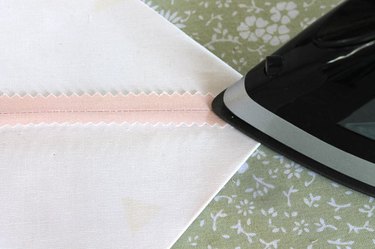
Then, trim the seam allowances with pinking shears to keep the seams from fraying. If you don't have pinking shears, finish the edges using this alternative technique. After that's done, use an iron to press the seams open.
Step 5: Fold, Press and Sew a Hem in the Top of the Tote Bag
Fold a 1/2-inch at the top edge of the bag toward the wrong side and press it flat with an iron. Then, fold another 1/2-inch toward the wrong side, and press it again to hide the raw edge. This will create a nice, crisp hem.
Sew the top hem in place by stitching close to each fold.
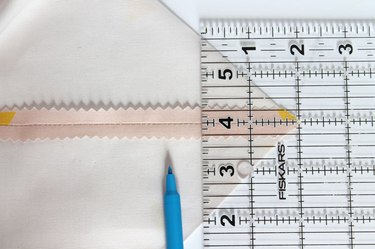
Step 6: Create a Right Triangle From the Side and Bottom Seams
Now you're ready to box-out the bottom of the tote bag. Putting a boxed corner in the bottom helps the bag stand up when you fill it with things. Plus, it just looks better.
Place the bottom seam and the side seam together to create a right triangle. It's super important to take your time and make sure the two seams are lined up perfectly. Be precise so the corners will be even on both sides.
Press the triangle corner with an iron so it lays flat. Repeat this on the other side of the bag.
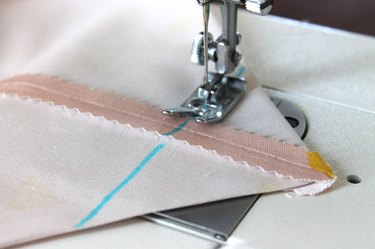
Step 7: Measure, Mark and Sew Two Inches in From the Corner
Use a clear ruler to measure and mark two inches in from the corner. Sew along the marked line and repeat this process on the other side of the bag.
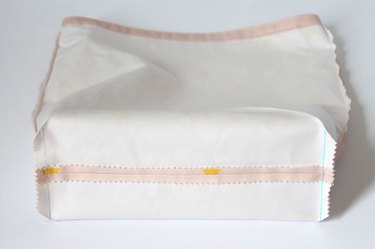
Step 8: Trim the Corners and Turn the Bag Right-Side Out
Use your pinking shears to trim the corner, and then turn the bag right-side out. Press with an iron.

Step 9: Pin and Sew the Straps
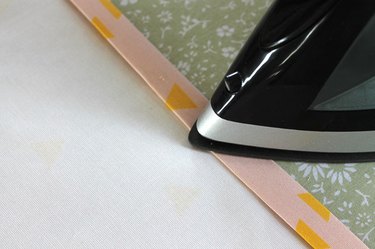
Now it's time to make the straps for your tote bag. Fold the strap pieces in half, lengthwise. Press with an iron and pin along the long edge.
Sew a 1/2-inch seam allowance and trim with pinking shears.

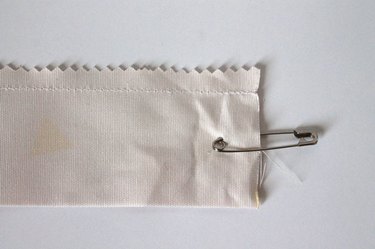
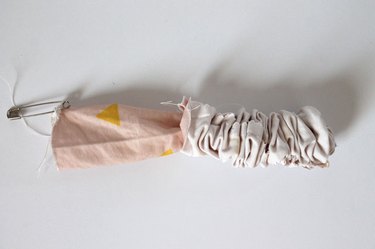
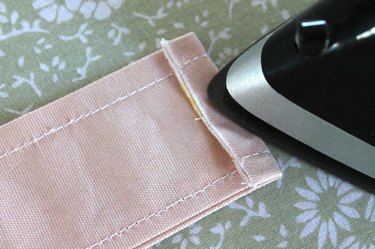
Step 10: Turn the Straps Right-Side Out
Turn the straps right-side out, and then attach a safety pin through one side of the short edge.
Thread the safety pin through the inside of the strap, and then pull it all the way out.
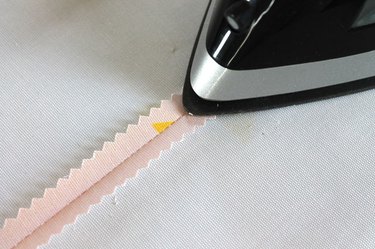
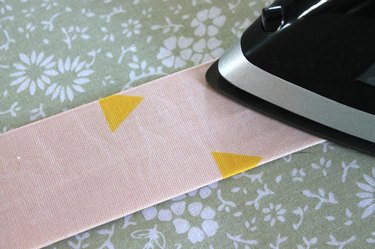
Step 11: Press and Topstitch the Straps
Use an iron to press the wrinkles out of the straps. Then, create a polished finish on your straps: topstitch 1/4-inch in from each edge.
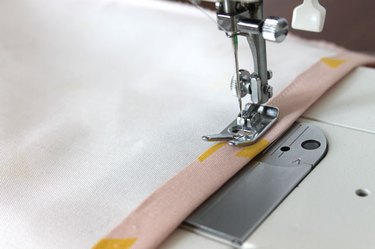
Step 12: Press Strap Ends and Attach to Bag
Fold a 1/2-inch on each strap's end and press. After, pin the straps to the inside hem of the bag. Place them 2 inches in from each end of the bag.
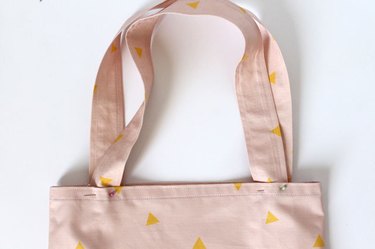
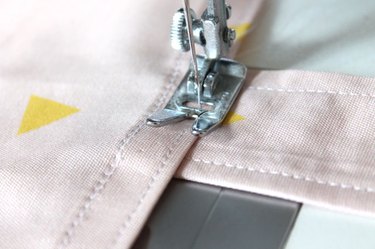
Step 13: Sew on the Straps and Fill the Bag
Sew the straps in place with a rectangle shape along the hem stitching, making sure to catch the raw edge of the strap under the stitching.
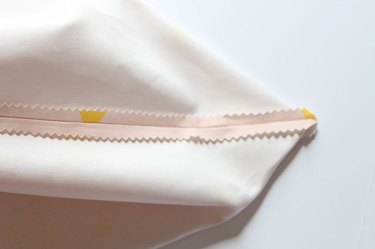
And now you're ready to throw in your essentials and enjoy some warm weather!