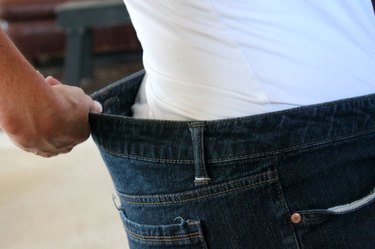
If your waist is quite a bit smaller than your hips, you may suffer from "gaposis" when you buy jeans to fit your hips. This leaves plenty of room in the waistband, creating a clear view of, ahem, you know, your unmentionables. Well, there is a fix for your jeans to help keep those unmentionables unmentionable. Watch our video tutorial How to Take in the Waist on a Pair of Jeans.
Things You'll Need
Video of the Day
- 1-inch elastic band
- Scissors
- Seam ripper
- Safety pin
- Sewing machine
Video of the Day
Step 1
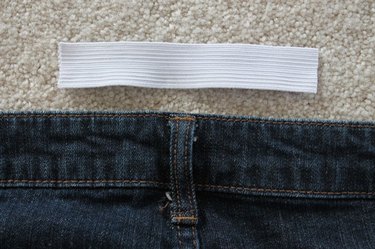
Start by cutting a 5-inch piece of 1-inch elastic. It can be longer if you'd like a more gradual cinch.
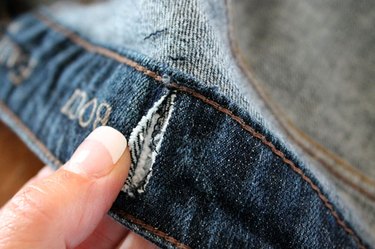
Step 2
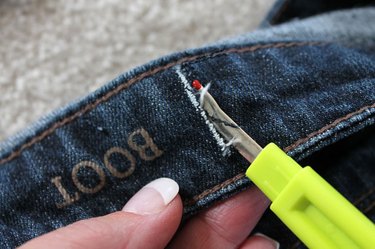
Use your seam ripper and cut two slits that are 7 inches apart on the inside of the waistband. Or, if you are using a longer piece, cut the slits 2 inches wider apart than the piece of elastic you are using. Make sure you are only cutting the inside of the waistband and not all the way through. Use the center back belt loop to help you center the slits.
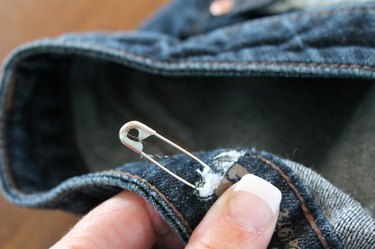
Step 3
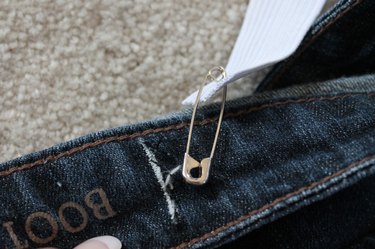
Attach a safety pin to one end of your elastic.
Step 4
Insert the pin into one of the slits.
Step 5
Maneuver the pin and the elastic through the waistband.
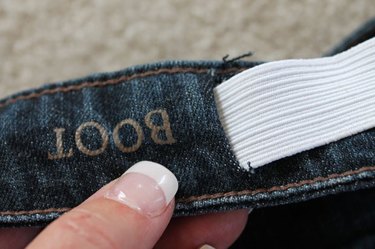
Step 6
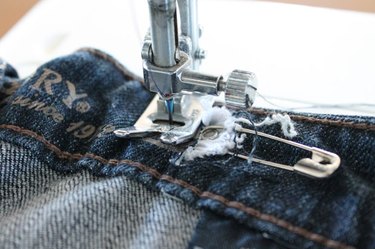
When the end of the elastic is even with the first slit, stop and sew through the elastic and the waistband to secure the elastic in place.
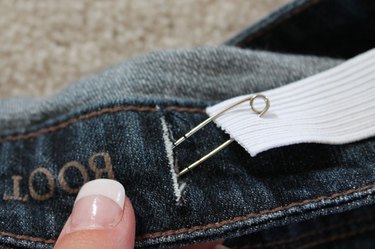
Step 7
Continue to pull the pin through the waistband until the other end of the elastic is even with the second slit. Remove the pin from the elastic.
Step 8
Secure the second slit by sewing through the elastic and the waistband.
Finished Waistline
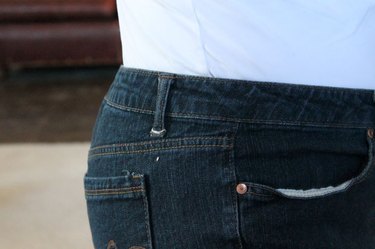
Now your unmentionables won't create a scandal each time you bend over. Your "gaposis" is gone for good!