Authentic handmade southwest Native American baskets are certainly lovely to behold. Created by talented artisans who've passed on their skills from generation to generation, each one-of-a-kind piece features painstakingly hand woven patterns that are not just beautiful, but carry cultural significance as well. Needless to say, they can be quite costly! But while you're saving up for the real deal, you can celebrate the beauty of southwestern art by painting a native-inspired design on a regular old basket readily found in craft or thrift shops. We've even included a couple tribal-inspired designs to get you started!
Video of the Day
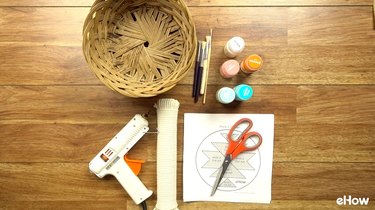
Things You'll Need
Bowl-style basket (without handles works best)
Acrylic paint in your desired colors (we recommend orange, teal, light blue, and pink)
Stencil paintbrushes
Design stencils, printed and cut out. Use your own, or download ours: Desert Basket Design 1, Desert Basket Design 2
Masking tape
3/16" clothesline rope - cotton preferred, but polyester also works (optional)
Small flat paintbrush, artist size 1 or 2 (optional)
Hot glue gun (optional)
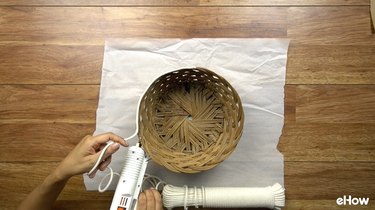
Step 1: Glue Rope Onto Basket -OR- Paint Entire Basket
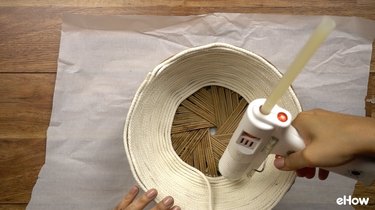
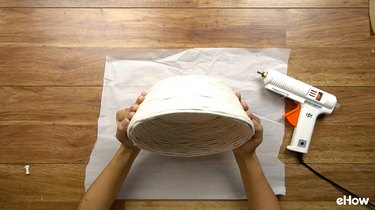
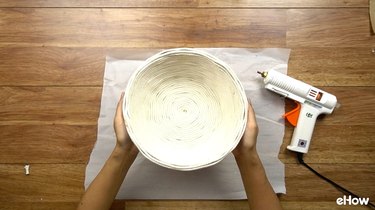
To mimic the look of traditional southwestern coil baskets, you can opt to glue 3/16" clothesline all over the surface of your basket in a coil pattern, as shown below.
Alternatively, you can choose to paint your basket as is in a light neutral color such as beige, eggshell, or white. A lighter background will allow your main paint colors to pop.

Step 2: Print and Cut Stencils
To easily create a southwest-inspired design on your basket, print out the downloadable stencils we've provided with this tutorial here: Desert Basket Design 1, Desert Basket Design 2. Of course you can also use your own stencils or, if you've got the skills, freehand your design!
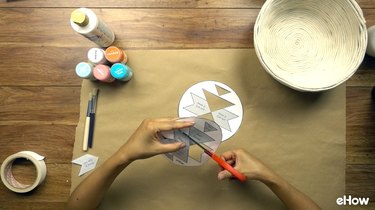
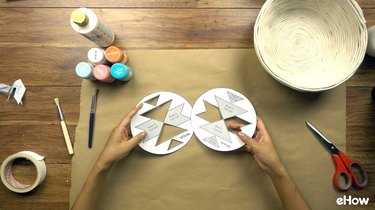
The dashed lines on the stencils indicate where you'll need to cut. Note that Design 1 requires you to print out two copies (as shown below) to create two separate stencils -- one color per stencil -- for the entire two-color design. Design 2 requires only one printout, though it contains two separate stencils -- one for each color.
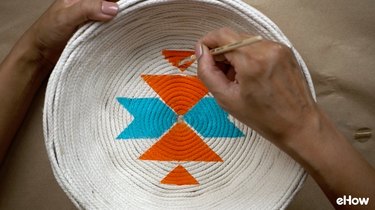
Step 3: Stencil/Paint Design on Basket
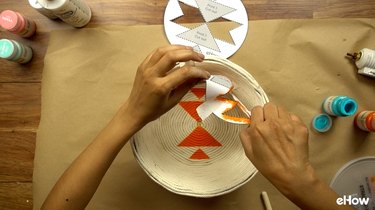
If using stencils, secure it onto the basket with masking tape before painting. In the example shown here, we're using Design 1.
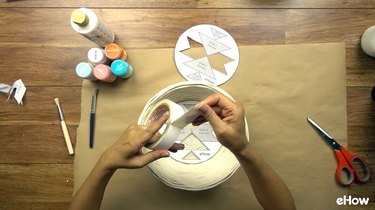
Select your first color then use the stencil brush to stipple on the paint -- that is, use a straight up and down motion for application. To obtain clean lines at the edges, use only a little amount of paint at a time -- you want your brush to be almost dry, applying several layers to build up to desired opacity.
Tip
For tips on how to stencil, check out this helpful article.
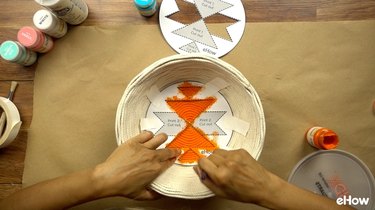
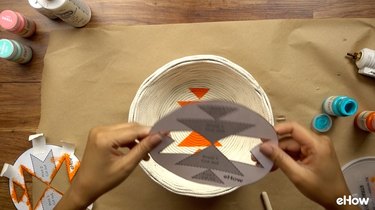
If your design requires a second stencil, wait until the paint has dried, then remove the first stencil then position and tape down stencil 2, as shown below.
Stipple on your second color.
When finished, remove stencil 2.

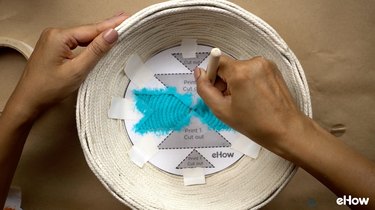
If using Design 2, print one copy and cut out both stencils. Start with stencil 1 and your first color (shown below)

Let dry, then remove stencil and apply stencil 2 and your second color.
If you like how your design looks as is, skip to step 5. If you'd like to give your basket some additional southwest flair by creating a woven design effect, proceed to step 4.
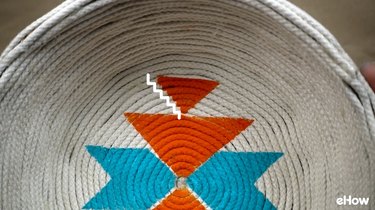
Step 4: Create a Faux Woven Effect (Optional)
To create the effect that your design was woven into the basket (rather than painted on), take your small flat paintbrush and turn any diagonal lines in the design into "stair steps" as shown below.
In textile weaving (as well as knitting) designs are composed of small blocks of color that can be plotted out on a graph, giving them a digital appearance. By turning diagonal lines into "steps," you'll mimic this look.
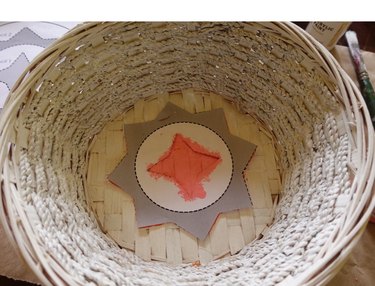
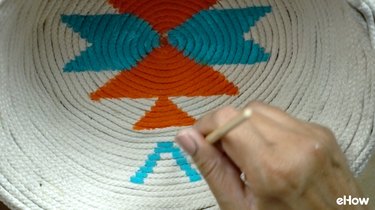
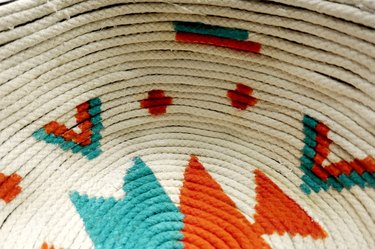
Step 5: Add Additional Patterns (Also Optional)
You can leave your basket as is, or add additional patterns to the inner and/or outer sides of the basket using stencils or freehand. Get creative! Check out our ideas below, and/or search the web for southwest patterns to inspire you.
Tip
Tend to get a tad sloppy when painting your designs? Just paint over your mistakes the same way you'd use liquid paper when writing with a pen. Use a color that either matches your rope (if you used rope, that is) or with the paint you used if you painted your entire basket in Step 1. This will cover any smudges and give you super crisp lines.
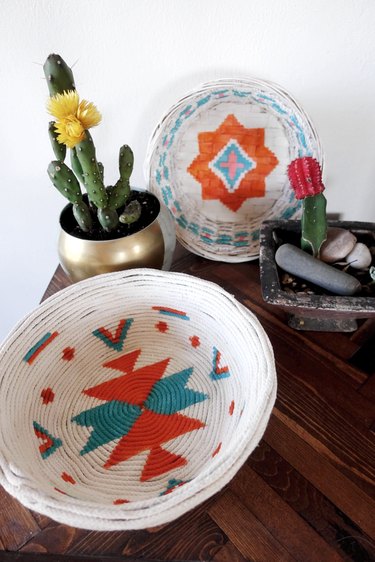
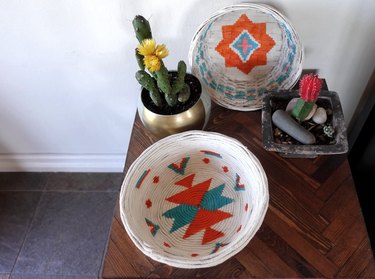
Paint all dry? Time to show off your brand new upcycled baskets!
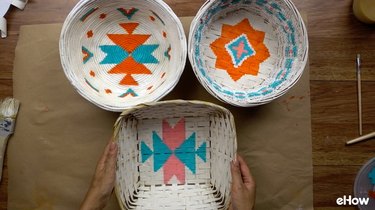
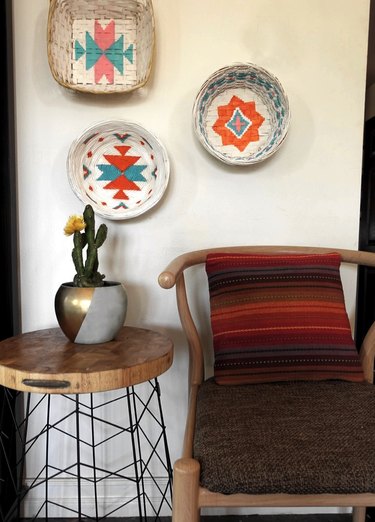
These would look chic as a entryway catch-all, gracing a coffee table, or mounted as artwork on the wall.