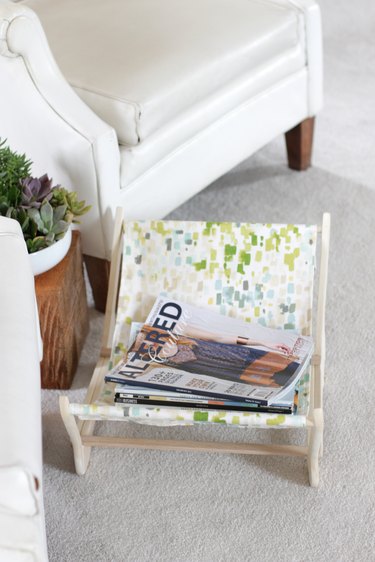
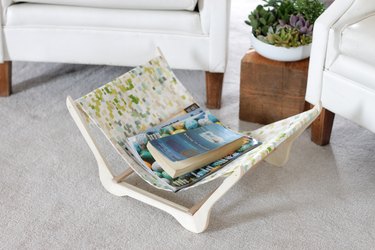
Tidy up your space and add some serious style with this magazine rack made from (yes, you guessed it!), wooden hangers. It's got that mid-century modern vibe, and because the fabric sling is removable, it can be changed to fit any decor or season. Use it for your newspapers and magazines. Use it for books. Set it next to your fireplace for kindling. You could even place it in the bathroom for your rolled up towels. Wherever you decide to put this in your home, people are sure to look twice and be amazed when they see it's actually made from wooden hangers. Score!
Video of the Day
Watch the Video!
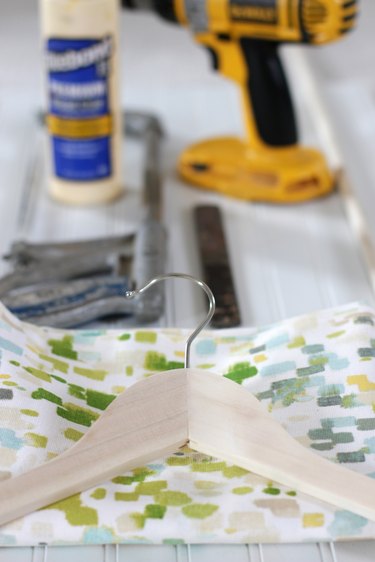
Things You'll Need
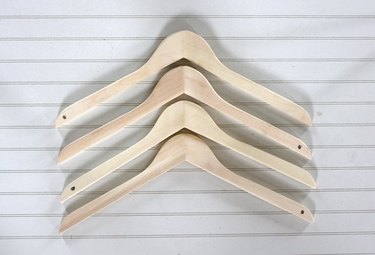
4 wooden hangers
Hacksaw
Pencil
Measuring tape
Drill
Wood glue
4 clamps
1/2 inch wooden dowels cut to 14 inches (2)
Jamb stop pieces cut to 15 inches (2)
1 yard of fabric
Pins
Sharp scissors
No-sew hook and loop fasteners
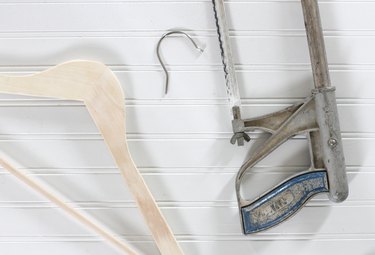
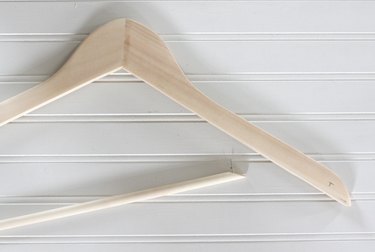
Step 1: Cut off the hanger hook
Use a hacksaw to remove the metal hooks from all four of the wooden hangers.
Step 2: Remove the bottom dowel
Pull the small wooden dowels with your hands to remove them from the wooden hangers.
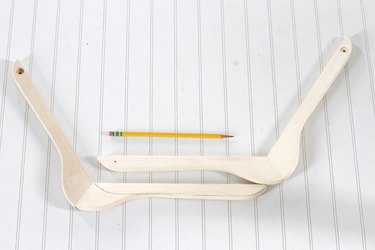
Step 3: Measure and mark
Measure 1 inch from one end of the hanger and place a mark in the center with a pencil.

Repeat this with all four hangers, alternating the side you mark.
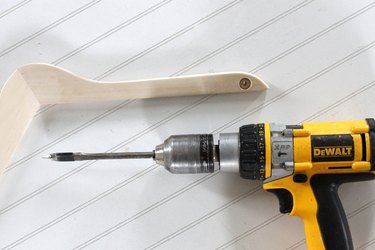
Step 4: Drill
Use a 1/2 inch drill bit to drill halfway through each hanger on the 1-inch mark. To keep from going in too deep, mark the depth on the drill bit with a piece of electrical tape.
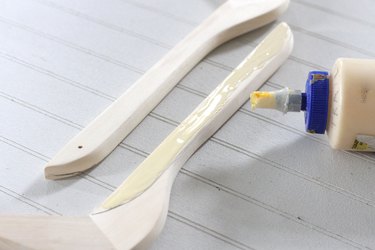
Step 5: Trace the glue lines
Place the side of the hanger with no holes directly on top of the other hanger side without a hole. This will become the base of the magazine holder. Trace around with a pencil on both edges to determine where to place the wood glue.


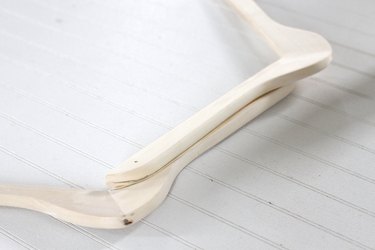
Step 6: Glue the two pieces together
Spread a thin layer of wood glue inside the traced lines on both hanger pieces and press the two pieces together. Repeat this with the other two hangers. Use a damp cloth to wipe away any excess glue.
Step 7: Clamp Together Overnight
Clamp the two pieces together and let them sit for 24 hours.
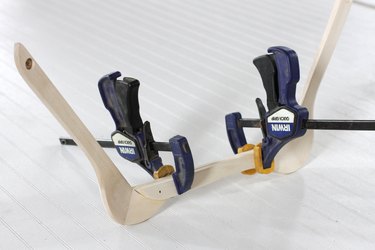
Repeat steps 5 through 7 with the other hangers to create the two sides of the base.

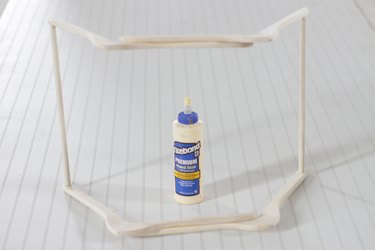
Step 8: Attach the wooden dowels
Lay out one of the side pieces with the holes facing up. Place some wood glue into each hole. Insert one end of the wooden dowel and use a damp cloth to wipe away any excess glue that might seep from the holes. Repeat this with the other dowel.
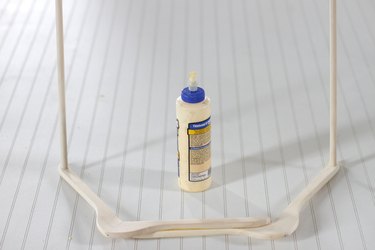
Lay out the other side piece with the holes facing up. Put some wood glue into each hole. Insert the other end of the wooden dowels into each hole. Wipe away any excess glue with a damp cloth.
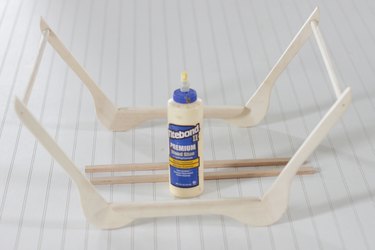
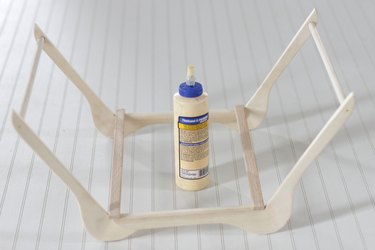
Step 9: Attach cross pieces
Turn the magazine rack upright and spread the bottom out slightly to create a more stable base. Apply some wood glue into each corner. Press the flat ends of the jamb stop cross pieces into each glued corner.
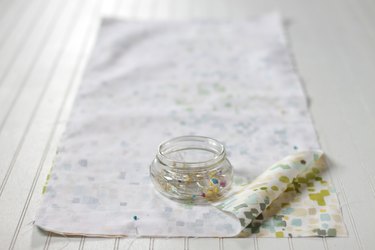
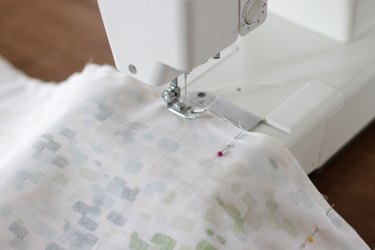
Step 10: Pin and sew fabric sling pieces
Cut two pieces of fabric 14-inches wide and 33-inches long. Place them with right sides together and pin. Leave a 7-inch opening in one of the short sides. Starting on one edge of the opening, sew around all sides with a 1/2-inch seam allowance. Stop sewing when you get to the other edge of the opening.
Step 11: Clip corners
Use a sharp pair of scissors to clip each of the corners to a 45 degree angle. Be careful not to clip the stitches.

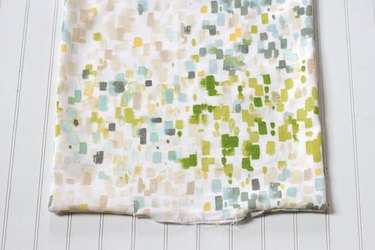
Step 12: Turn right side out
Pull the fabric through the opening to turn it right side out. Use your finger or a chopstick to push out each of the corners.

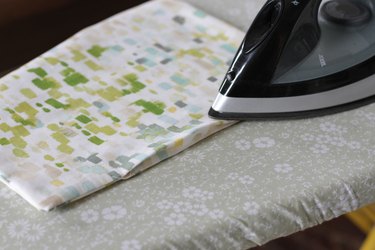
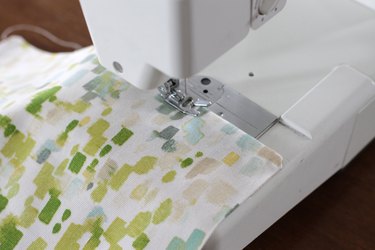
Step 13: Press and topstitch
Push the raw edges of the opening to the inside and press around all four sides. Topstitch 1/4 inch in from each of the edges.
Step 14: Attach hook and loop fasteners
Measure 7 inches from each of the short ends and mark with a pin. Adhere the no-sew hook and loop fasteners at equal distances inside the 7-inch mark.


Step 15: Enjoy!
Wrap the ends of the fabric sling around each dowel and attach using the hook and loop fasteners. Enjoy!