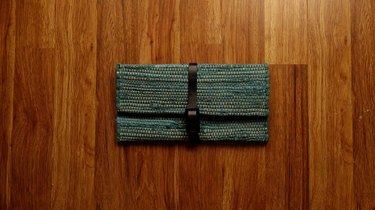
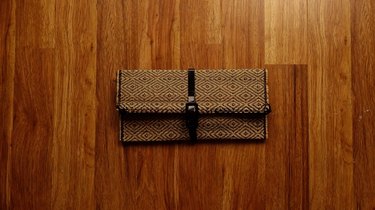
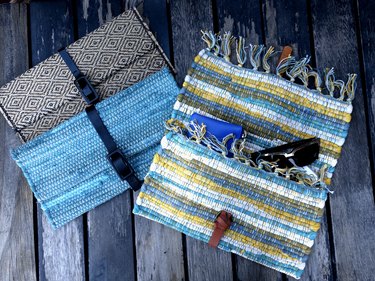
Exercise your imagination and there's no end to the upcycling potential in your everyday, unwanted household objects. Case in point -- turn an old placemat and belt into a totally-on-trend clutch. And it gets even better. You can finish this project in under half an hour without having to thread a single needle. In fact, these clutches are so easy to whip up, you'll want to make one to match every outfit. Get started already!
Video of the Day
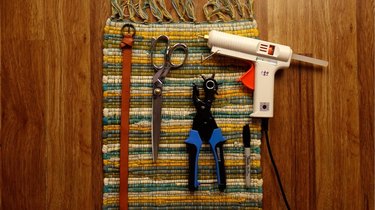
Things You'll Need
Rectangle placemat
Belt (leather or faux leather recommended)
Heavy duty shears
Hot glue gun
Heavy duty punch pliers for leather
Marker
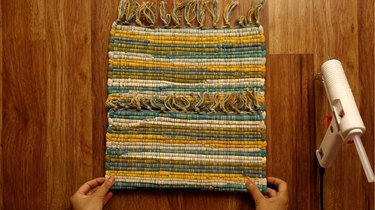
Step 1: Determine Your Clutch's Dimensions
To decide what dimensions you'd like your clutch to be, fold the placemat twice widthwise -- first from the bottom up (see image 1), and then fold from the top down (see image 2). The bottom-up fold will determine the size of the pouch portion, while the top-down fold determines the size of your cover flap.
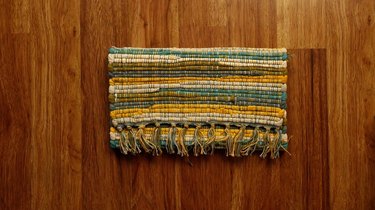
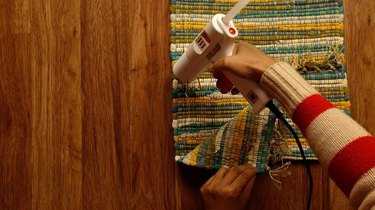
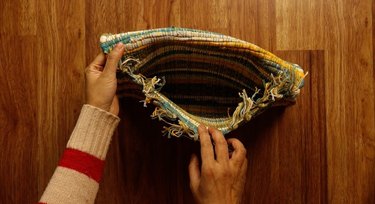
Step 2: Glue Pouch Seams
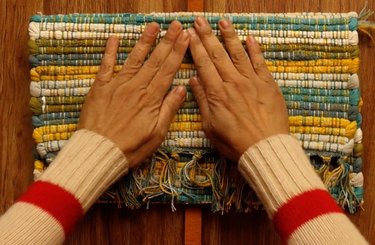
Once you've decided what size to make your pouch and flap, glue down the left and right seams to complete the pouch portion of your clutch.
Step 3: Attach Buckle Strap
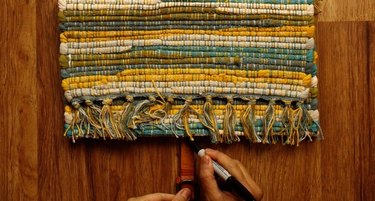
Before gluing on the belt (i.e. the buckle strap), figure out where you'd like the buckle to be placed on your clutch. Lift it up and place the belt underneath it, wrong side up and centered, with the buckle at the bottom. Now position the belt buckle in the spot where you'd like for it to be on your finished clutch (as shown below).
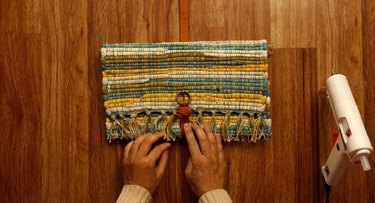
Mark the exact placement of the mat on the belt by drawing a line to mark the top edge and another to mark the bottom edge.
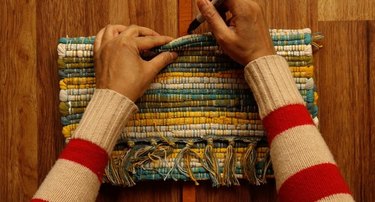
Remove the placemat and apply glue to the belt between the marks.
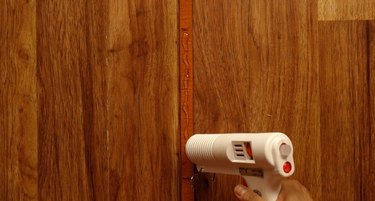
Reposition your placemat between the marks and press down firmly to attach.
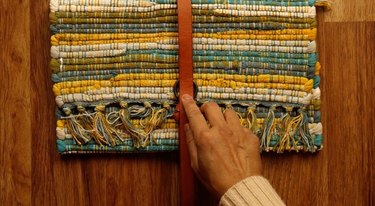
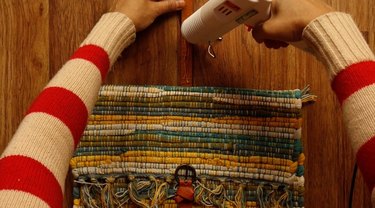
Now apply glue to the belt between the bottom edge of the pouch and the buckle.
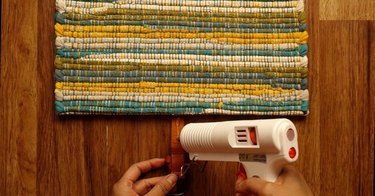
Fold the bottom of the belt up to attach it to the front of the pouch.
Step 4: Finish the Buckle Fastener and Strap
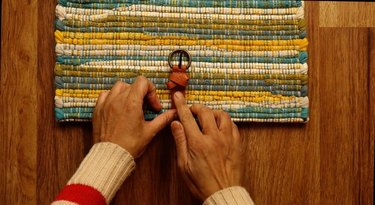
Fold the top portion of the belt down and place a finger where you'll need to create a new hole (i.e. where the buckle tongue meets the pin). Mark the underside of this area with a dot.
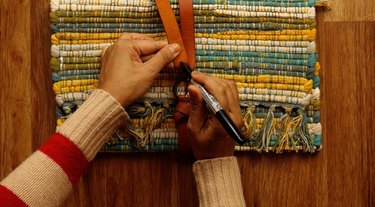
Punch a new hole with the punch pliers in the marked spot.
Finish attaching your strap by gluing down the top portion to the top flap of the clutch.
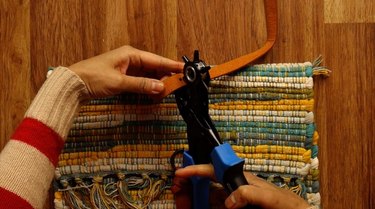
Finally, use your heavy duty shears to cut the excess belt material.

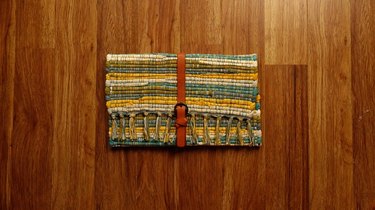
Once the glue is dry, you're ready to throw a few basic necessities into your brand new, one-of-a-kind accessory and hit the town!
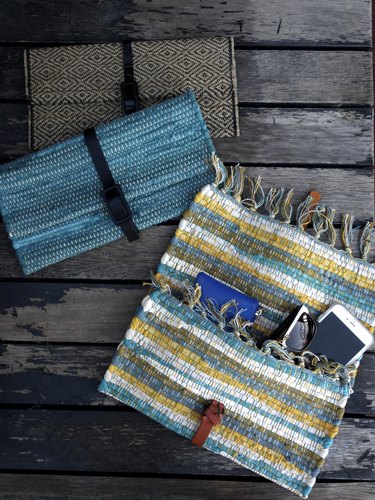
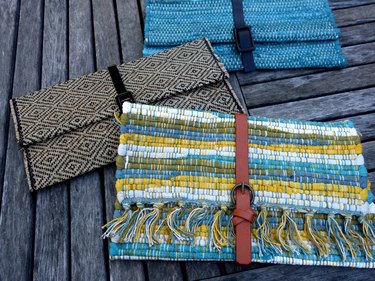
And now I'll leave you with a couple more upcycled placemat clutches to further inspire you.