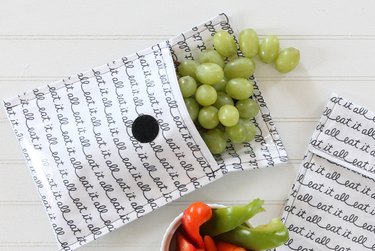
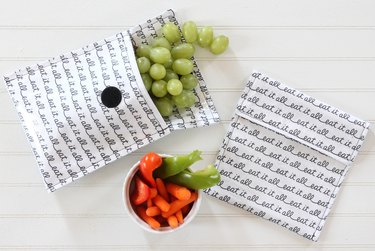
Snack time is a special time of day — after all, the break could include the likes of cookies, energy bars or good ol' fashioned fruit — but the plastic bags that usually hold your treats are far from exciting. Swap them out with these DIY, reusable snack bags instead. The iron-on vinyl makes them wipe-and-go ready, so you can "eat it all" while on the move, too. Now snack time will be a feast for your eyes, as well as your mouth, with these cute bags.
Video of the Day
Things You'll Need
2 pieces of 7 1/2-inch x 16 1/2-inch cotton fabric
2 pieces of 7 1/2-inch x 16 1/2-inch clear iron-on vinyl
Self-gripping hook and loop fastener
Sharp scissors
Measuring tape
Paper clips

Tip
If you prefer to use organic cottons, and not the vinyl, start at step 4.
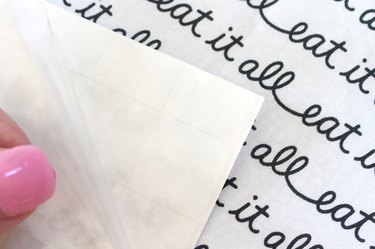
Step 1: Peel the Vinyl From the Protective Paper
Peel the vinyl away from the protective paper on one of the sheets.
Video of the Day
Step 2: Place the Vinyl on the Fabric
Place the vinyl with the sticky-side down onto the right-side of the fabric. Line up the ends and the sides of the fabric with the vinyl. Then, place the protective paper onto the top of the vinyl.
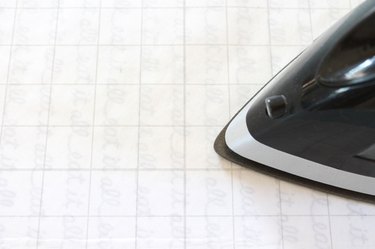
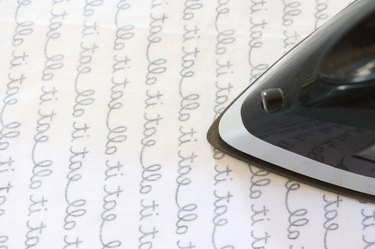
Step 3: Press With an Iron
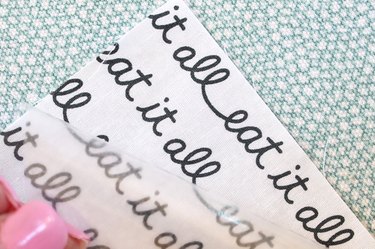
Preheat your iron to a medium heat with no steam. Press and hold the iron onto the protective paper for 8 seconds. Be very careful not to touch the iron directly onto the vinyl. When the entire surface is adhered, turn the fabric over and press the back for an additional 4 seconds. Let it cool before you continue to sew. Repeat this process with the other piece of fabric.
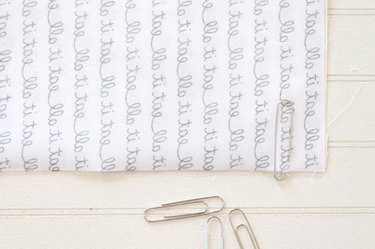
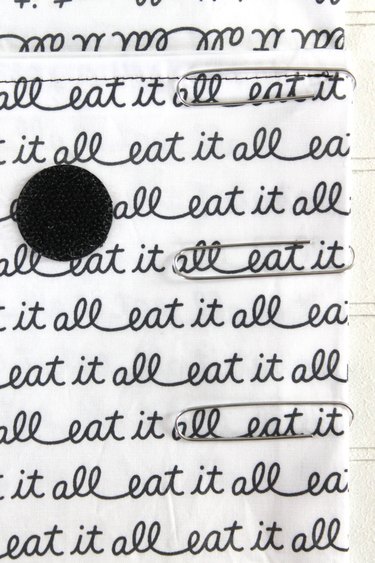
Step 4: Place Right-Sides Together
Place the right-sides (the laminated sides) of the fabric pieces together. Use paper clips to hold them in place — using the paper clips will keep the vinyl from slipping as you sew, without adding extra holes.
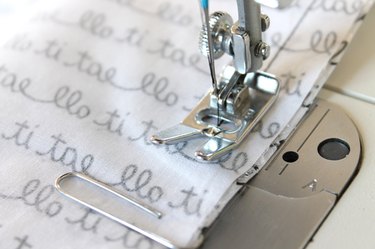
Step 5: Sew Three Sides
Sew the two long sides and one short side together with a 1/2-inch seam, removing the paper clips as you sew. Leave one short side open.
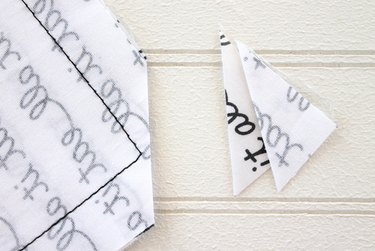
Step 6: Clip the Corners
Use a sharp pair of scissors to clip the corners at a 45-degree angle. This will eliminate the bulk from the corners.
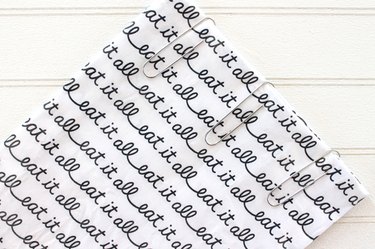
Step 7: Turn it Right Side Out
Turn the snack bag right-side out and tuck the open side in 1/2 inch. Close it with a few paper clips.
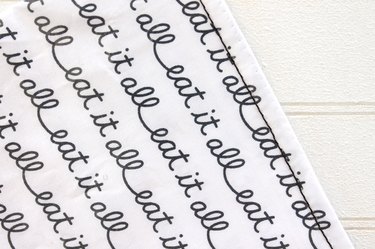
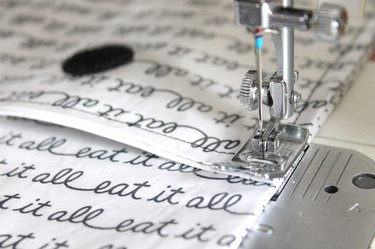
Step 8: Topstitch to Close the Top
Using a coordinating thread, close the opening by topstitching a 1/4-inch in from the edge. Be sure to remove the paper clips as you sew.
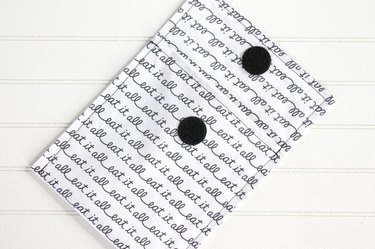
Step 9: Attach the Hook and Loop Fastener
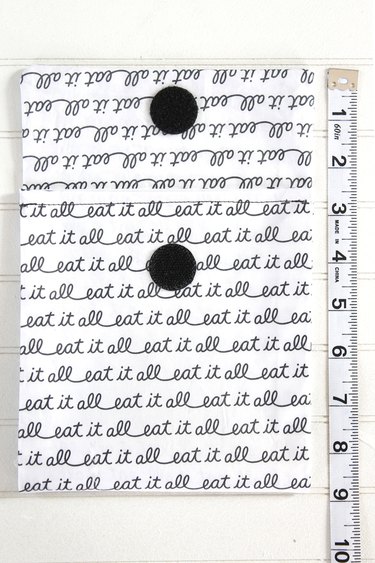
Fold the bottom edge up so it's 2 1/2 inches from the top edge, as shown. Peel the paper from the self-gripping hook and loop fasteners, and then place them in the center. One should be placed 1 inch down from the top edge, and the other should be placed 4 inches down from the top edge.
Step 10: Secure Sides and Sew a 1/4-Inch Seam
Use paper clips to secure the sides in place.
Start at the bottom edge of the bag. Sew a 1/4-inch seam up to the top edge, across the top edge and back down the other side. Stop sewing when you get to the bottom edge.
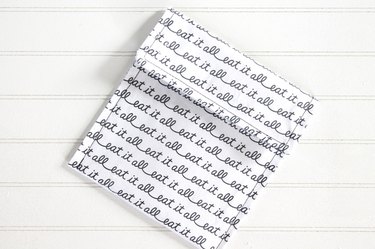
Step 11: Fill the Snack Bag
Fill the snack bag with your favorite treats, and look forward to your afternoon break.