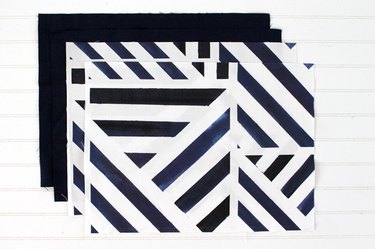
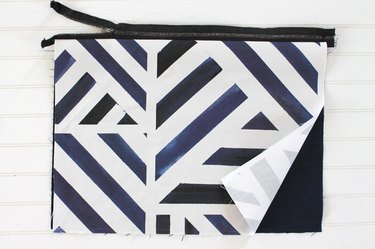
Your computer is one of your most prized possessions, and it deserves a case that's as stylish as you are. Make "back to school" more fun, or your work week more fashionable, by turning your computer case into one of your most chic accessories. This DIY sheath has a zipper that'll keep your computer clean and safe as it rides around in your bag or on the seat of your car. Bonus? You don't need to worry if some coffee or pizza spills on your cover during one of those late-night work sessions — just throw it into the wash and it'll be as good as new. Now that's how to stay on-trend and stress-free with technology.
Video of the Day
Things You'll Need
Measuring tape
1/2 yard of prewashed heavy cotton for outer fabric
1/2 yard prewashed coordinating fabric for lining
Scissors
Zipper (2 inches larger than the long edge of your laptop)
Pins
Zipper foot

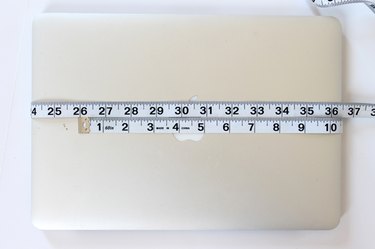
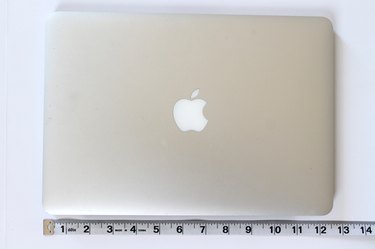
Step 1: Determine the Width of Your Fabric Pieces
To determine how wide to cut your fabric pieces, wrap a measuring tape around the width of your laptop. Divide this number in half and add 2 inches. For example, if the circumference of your laptop is 26 inches then 26/2 = 13 + 2 = 15. Your fabric's width will be 15 inches.
Video of the Day
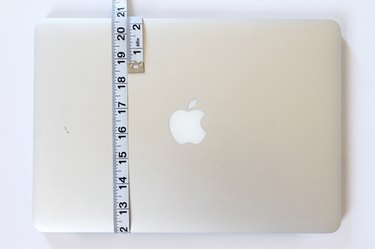
Step 2: Determine the Length of Your Fabric Pieces
To determine how long to cut your fabric pieces, wrap a measuring tape around the length of your laptop. Divide this number in half and add 2 inches. For example, if the circumference of your laptop length is 18 inches, then 18/2 = 9 + 2 = 11. The length of your fabric's pieces will be 11 inches.
Step 3: Cut Four Fabric Pieces
Use the measurements that you determined in the previous steps to cut 2 pieces of fabric for the outside of your laptop cover and 2 pieces of lining fabric. If you were using the measurements from the previous steps, you would cut 4 pieces of fabric that are 15 inches by 11 inches.
Tip
If you prewash and dry your fabric before you cut and sew, then you will be able to wash the cover at a later date without having to worry about shrinkage.
Step 4: Determine the Length of the Zipper
To determine how long the zipper needs to be, measure the width of your laptop and add 2 inches. For example, if your laptop is 13 inches wide, then your zipper needs to be 15 inches long.
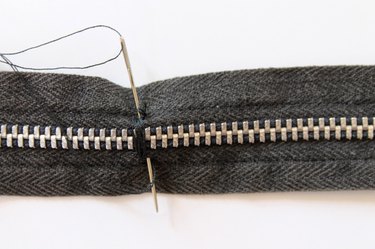
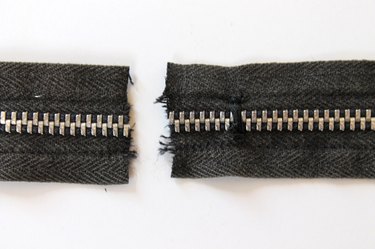
Tip
If you don't happen to have a zipper that is the correct length, you can modify a longer zipper to fit. Measure your desired zipper length, and then hand-sew around the zipper's teeth to form a stop. Then use a pair of scissors to cut off the extra zipper length.
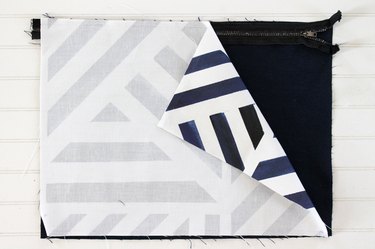
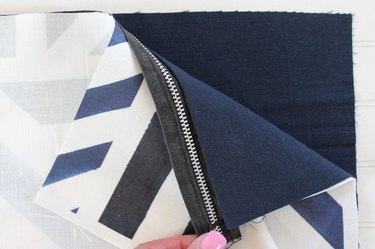
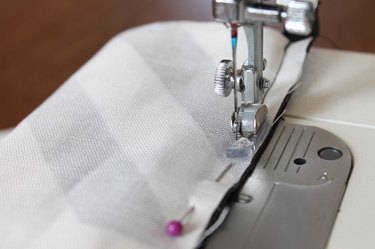
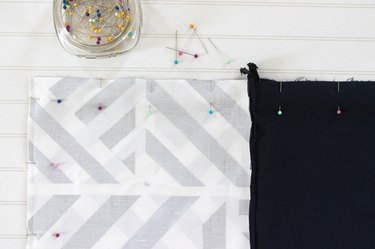
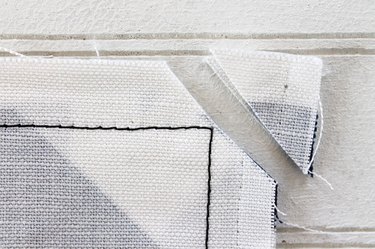
Step 5: Place the Zipper Across the Long Side of Fabric
Place the long edge of the zipper across the long edge of the lining fabric's right side. Place the outer fabric face down over the zipper. Then, even up the raw edges with the lining fabric and the zipper. (The outer fabric in the photo is folded over just to show you that the right sides are together. Your outer fabric will lay flat on top of the zipper.)
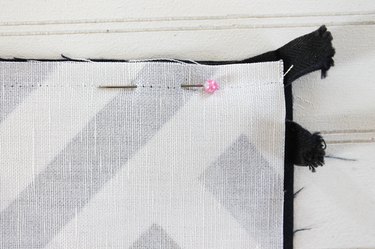
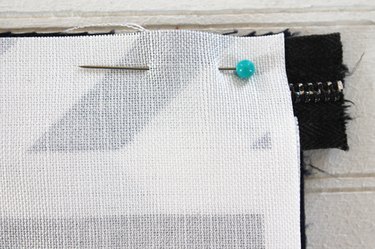
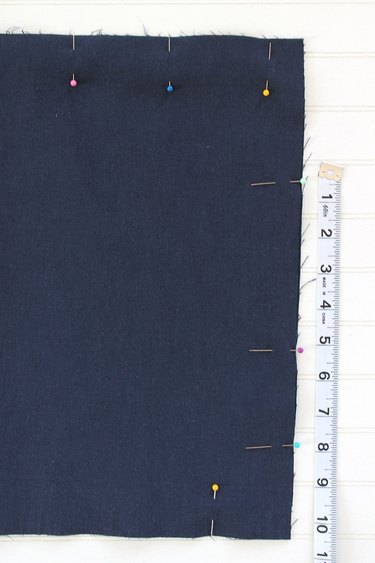
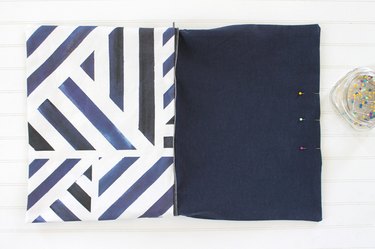
Step 6: Pin the Edges
Pin along the edge of the three layers to hold them together as you sew.
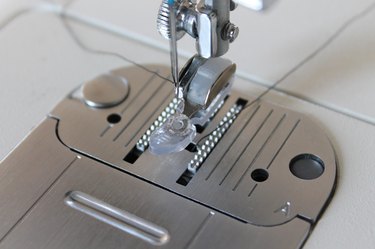
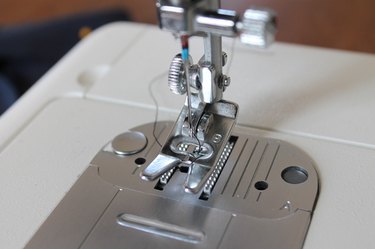
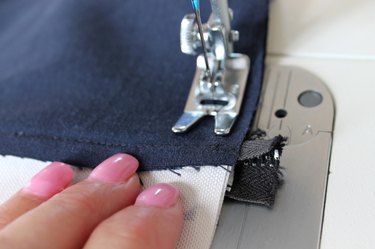
Step 7: Use a Zipper Foot on Your Machine
Switch the foot on your sewing machine to a zipper foot. Sew through the three layers, close to one edge of the zipper. Be sure to remove the pins as you sew.
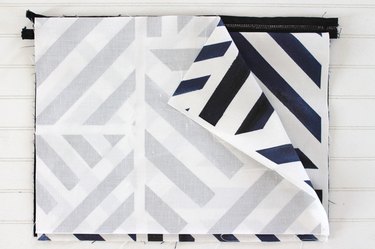
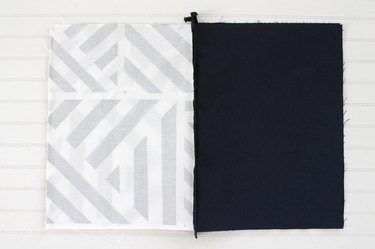
Step 8: Fold the Lining Piece Under the Outer Piece
Fold the lining piece under the outer piece so that the wrong sides are together. The zipper should be along the top edge.
Step 9: Sew the Other Side of the Zipper
Repeat the process on the other side of the zipper. Place the zipper face down along the edge of the lining fabric. Then, place the outer fabric on top of the zipper so the right sides are together. (Here again, the outer fabric in the photo is folded over just to show you that the right sides are together. Your outer fabric will lay flat on top of the zipper when you sew.)
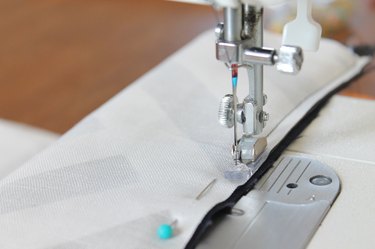
Step 10: Pin the Layers in Place and Sew
Pin the three layers in place. Then, use a zipper foot and stitch down the other side of the zipper. Be sure to remove the pins as you sew.
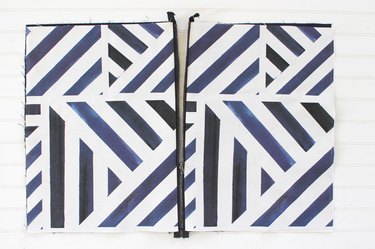
Step 11: Flip Pieces Around to Make Outer Pieces Show on Top
Flip the pieces over so that the outer fabric is on top and the lining fabric is on the bottom. The wrong sides of the fabric will be facing each other now.

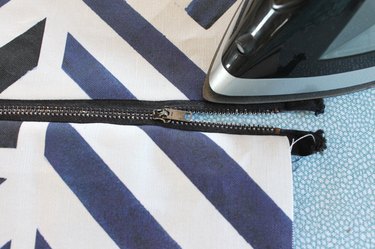
Step 12: Press With an Iron
Use an iron to press the seams along the zipper. If your zipper is plastic, be very careful not to touch the zipper teeth with the iron.
Step 13: Open the Zipper
It's important to open the zipper almost all the way before completing the next step.
Step 14: Place Right Sides Together
Now flip the pieces so that the right sides of the lining and the outer fabric are together. The zipper should be down the center. Then, pin all of the raw edges in place.
Step 15: Leave a Five-Inch Opening
When pinning the long side of the lining pieces, leave a 5-inch opening in the middle.
Step 16: Use a Regular Presser Foot
Change your machine back to a regular presser foot for the next step.
Step 17: Sew a Seam and Clip the Corners
Start at one side of the 5-inch opening and sew a 1/2-inch seam all the way around the laptop cover, removing the pins as you sew. Stop when you get to the other side of the opening. Then, clip all four corners at a 45-degree angle to remove some bulk.
Step 18: Turn Right-Side Out, Pin and Sew the Opening
Reach your hand through the opening and turn the entire laptop cover right-side out. Pin the 5-inch opening closed and topstitch it very close to the edge.
Step 19: Tuck the Lining Into the Cover
Push the lining into the outer cover and push the corners out with a chopstick or your finger. Slide your laptop into your new cover. Now you can head to the nearest coffee shop and look like a million bucks while you work.