Adding a DIY touch to store-bought jewelry is an easy, inexpensive way to make it your own. Try your hand at transforming a simple pair of teardrop earrings with this project inspired by a $320 pair of Tom Binns earrings. All you need to do is add pearls and safety pins for some serious punk chic style.

Video of the Day
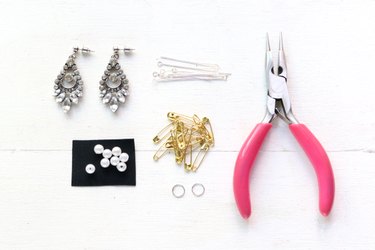
Things You'll Need
Rhinestone teardrop earrings
Eye pins
Pearl beads
Small safety pins
12 mm jump rings (2)
Jewelry pliers
Tip
Not sure where to find rhinestone teardrop earrings? Check out inexpensive clothing and accessory retailers such as Forever 21, H&M, and Claire's.
Your earrings don't have to look exactly like the pair used in this project. The most essential feature is that there is an opening in the center of each earring. This will give the pearl chain a spot to latch on to. As long as your earrings fulfill this requirement, you're good to go!
Video of the Day
Step 1
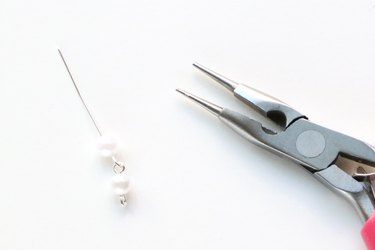
Add a pearl bead to an eye pin. If necessary, trim the eye pin. There should be 1/2 inch of wire left.
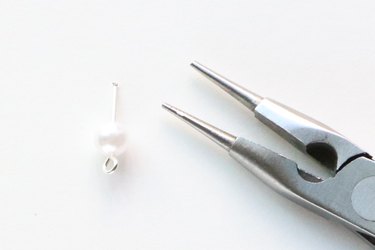
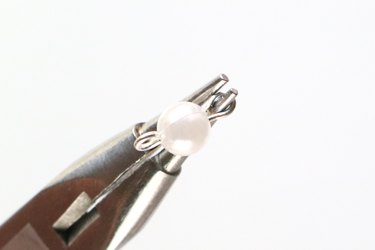
Step 2
Using the needle nose tip of the pliers, bend the extra 1/2 inch of wire into a loop. This step creates a pearl connector link. In this project, we'll create several of these and attach them together to create a pearl chain.
Step 3
Connect a second eye pin to the pearl link. To open the eye pin's loop, bend it outward with the pliers.
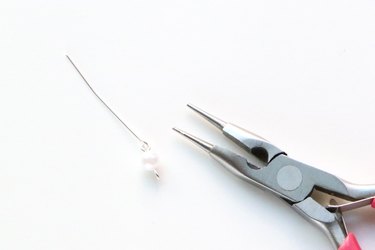
Step 4
Slide a pearl bead onto the new eye pin.
Step 5
Repeat Steps 2–4 to continue creating the pearl chain link. To recreate earrings influenced by the inspiration piece, stop at four pearls. Of course, you can use more pearls, if you'd like. The more pearls you use, the longer the pearl chain will be.

Step 6
Bend open a 12 mm jump ring with the jewelry pliers.
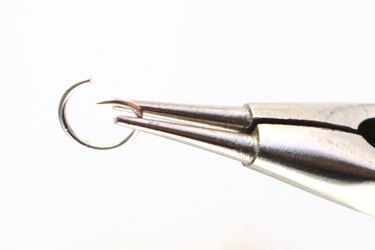
Step 7
Attach the jump ring to the teardrop earring. Add the pearl chain.
Step 8
Bend the jump ring closed to secure the pearl chain to the earring.
Step 9
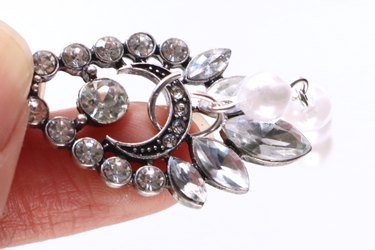
Attach safety pins in between the pearl beads. For a strand of four pearl beads, you will need three safety pins.
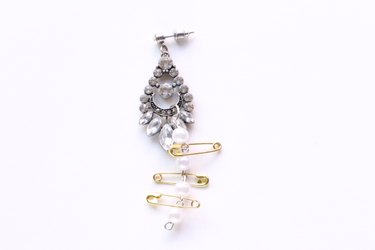
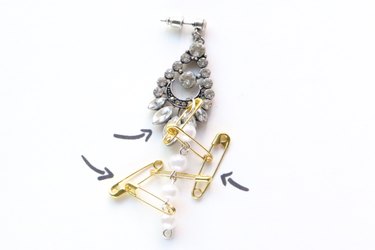
Step 10
Connect the safety pins together using an additional safety pins. For a strand of four pearl beads, you'll need another three safety pins.
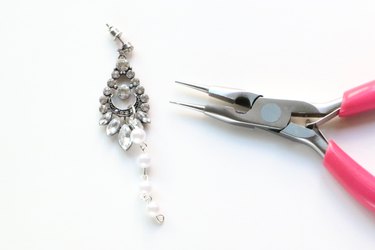
Step 11
Repeat Steps 1–10 to create the second earring.

How easy was that? These earrings are awesome because they can add major oomph to basic clothing. And since this project makes such a statement, you won't have to worry about the rest of your jewelry.