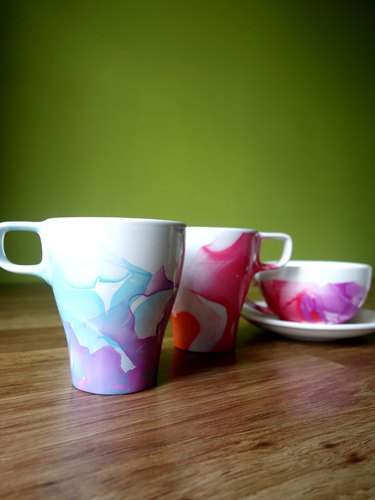
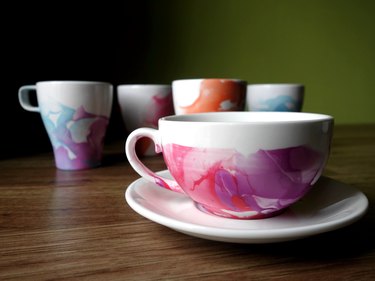
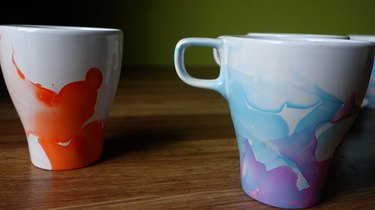
We all love craft projects that are way easier, quicker, and cheaper than they look, am I right? Take, for instance, this set of uber-classy marbled mugs that look like something you'd pick up at a museum gift shop. Even more amazing -- these beauties pretty much make themselves. I'm not even kidding. All it takes is some warm water, plain ceramic mugs (or teacups), some nail polish and a few spare minutes to create a gorgeous, one-of-a-kind set you'll be proud to own.
Video of the Day
Watch the Video Tutorial
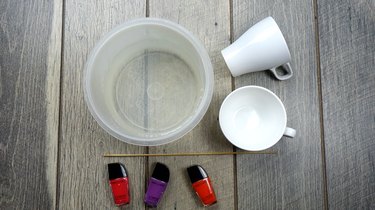
Things You'll Need
Plain ceramic drinkware (white or off-white works well)
Warm water (if you've got especially hard water in your area, use filtered or distilled water)
A container large enough to completely submerse your mugs in (Should not be used for food afterward)
Skewer or toothpick
Bottles of nail polish in complementary colors (the newer the polish, the better)
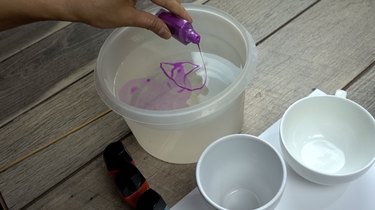
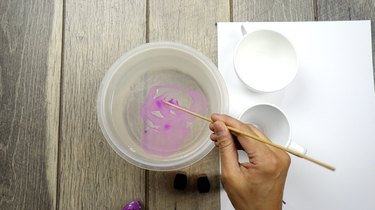
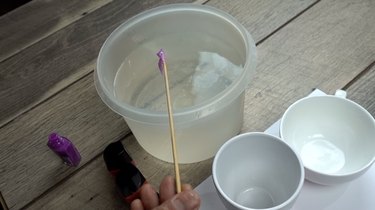
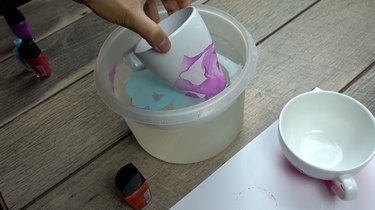
Step 1: Pour Polish
Fill your container with warm water. With the bottle close to the water's surface, pour in a little bit of polish (in random squiggles). The polish should spread upon the surface.
Tip
If your polish sinks to the bottom, you're probably pouring too high above the surface. If your polish doesn't spread across the surface of the water, try one or both of the following: a) use distilled or filtered water instead of tap water; or b) use newly-opened nail polish.
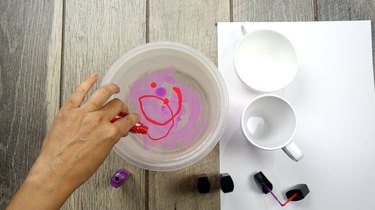
Step 2: Swirl
Working quickly, use your skewer or toothpick to swirl the polish, breaking up any concentrated clumps as you go.
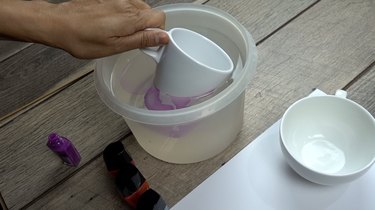
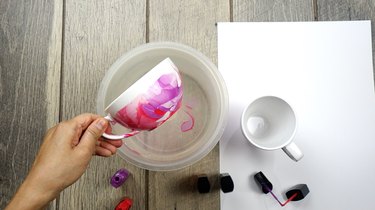
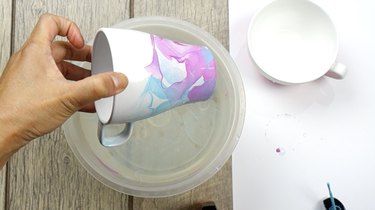
Step 3: Dip Slowly
Once the polish has spread thinly across the surface, slowly dip your mug into the water, avoiding the rim of the mug so your lips won't be touching nail polish while drinking from it.
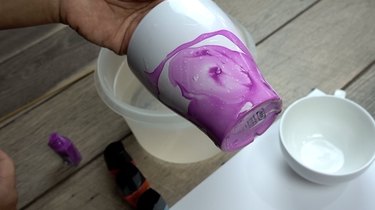
Lift your mug. The thin layer of polish should have transferred from the surface of the water to your mug to create a marbled effect. Pretty, eh? Set your mug on a piece of paper to dry.
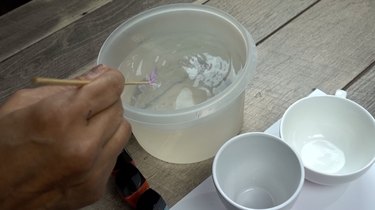
Step 4: Skim Off Excess Polish
If you plan to make more, use your skewer or toothpick to remove any excess polish that remains on the surface of the water so that it doesn't cling to your next mug.
Tip
It's important that you work quickly after pouring the nail polish on the water's surface, as it won't take long for the polish to congeal and become clumpy.
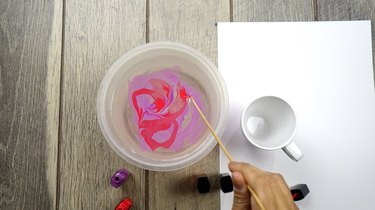
Mixing Colors
Once you've gotten the hang of working with a single color, start swirling together two or three colors together. Since you're working against the clock, I'd recommend not using more than three colors in a single dip.
Pour one color in first quickly followed by a second color (and then a third, if using). Swirl them all together with your skewer.
Dip as before, then marvel at your marbled masterpiece.
Double Dipping
Another way to create color combos that require less nimble action is by double (or even triple) dipping. Simply wait for a pre-dipped mug to completely dry, then repeat the same process as before but with a different color.
I recommend dipping in a different angle than you did previously.
Cleaning Up Mistakes
If you've accidentally gotten nail polish too close to the lip of the mug, or if there are some spots on your mug that you're just not happy with, don't worry! Just take a cotton ball or swab and clean up those unwanted areas with nail polish remover. If you don't like how a mug turned out at all, you can clean up the whole thing with polish remover and start over.
Warning
These are NOT dishwasher nor microwave safe. Treat them like the unique works of art that they are and delicately hand wash them. That said, it may be possible to seal and protect your mugs from wear by using a product like dishwasher safe Mod Podge. I haven't tried this myself, however, so can't attest to its effectiveness for this particular project.