Raw metallic textures and artisan-made baubles are great pieces that will never go out of style, but did you know you can create your own hammered brass jewelry in just a few hours with a few basic tools? This rudimentary form of jewelry making is easy enough for beginners and can result in finished pieces that look like they were purchased from your favorite Etsy shop. This project also serves as a great introductory project to try out metalworking before investing in soldering equipment. Incorporate modern shapes in a classic yellow brass finish to create original accessories you'll want to wear everyday!
Video of the Day
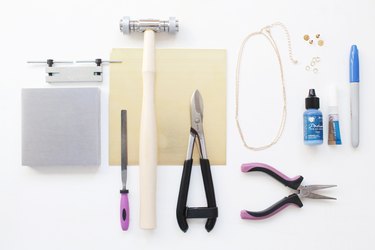
Things You'll Need
20 gauge sheet of brass' approximately 6 x 6"
Permanent marker
Cardstock
Scissors
Metal shears
Chasing hammer with decorative tips
Metalworking block
Metal file
Metal hole punch
Earring posts or hooks
Metal epoxy
Brass necklace chain with clasp
Flat-nose pliers
Brass jump rings
Optional: Brass patina
Cotton swabs
Fingernail polish remover
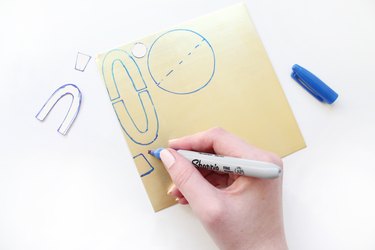
Step 1: Trace shapes onto brass sheet
After determining the metal pieces required for your design, whether it be a pair of dangly earrings or a geometric necklace, sketch out abstract shapes onto your sheet of brass with a fine tipped permanent marker to create guidelines for cutting.
Video of the Day
If you want to create multiple pieces that are the same shape, trace your designs onto a manilla file folder to cut out with scissors and use as a template. This method comes in handy when you want to create mirrored pieces for earrings.
Trace shapes onto the sheet of brass with ample space in-between shapes to maintain clean edges while you're cutting.
Tip
Any leftover permanent marker can be easily removed with fingernail polish remover and a cotton swab.
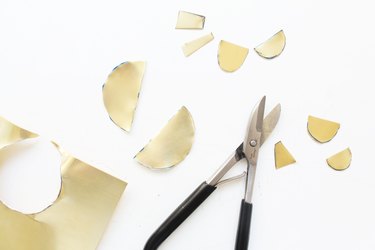
Step 2: Cut out shapes
Use a pair of metal shears to carefully trim around the guidelines and cut out the brass shapes. You may need to cut the sheet into smaller sections and bend the excess metal out of the way with pliers so that your shears can reach all of the edges and make precise cuts.
If your curved edges aren't perfect you can easily file them down to reshape them after hammering and applying the texture.
Tip
Metalworking tools and materials can be sharp, so exercise caution and take the appropriate measures for protecting your hands, clothing and work surfaces from cuts and scratches.
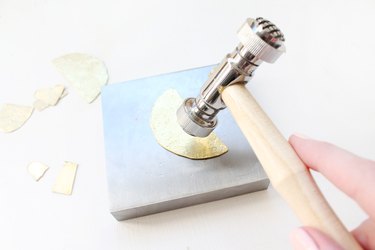
Step 3: Texturize brass shapes
After you've cut out all of your shapes, move them into a pile and set up your metal block on your work surface.
Place a scrap piece of metal onto the block and use the textured end of the chasing hammer to tap the metal and apply texture to the brass. Test combining the use of multiple tips to create your own unique textures.
Once you're satisfied with the texture formula, repeat the process on each cut brass piece you plan to utilize in your design.
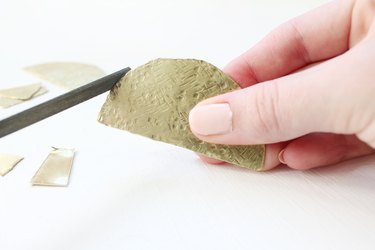
Step 4: File down edges of metal shapes
Use a metal file to wear down the sharp and jagged edges on each brass piece resulting from cutting and hammering. Filing can also aide in perfecting the overall shape of each piece.
Carefully run your finger over the edges to ensure there are no spots that could possibly scratch your skin or snag on clothing and sand them down with a few downward drags of the metal file.
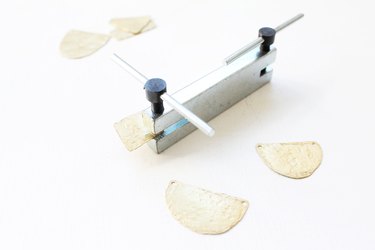
Step 5: Punch holes to link shapes together
Use a permanent marker to delineate the location of holes for connecting the brass shapes. Your intended design will require different hole placement, so lay out your pieces before punching holes. Align the mark in the metal hole punch and tighten the screw to punch a hole.
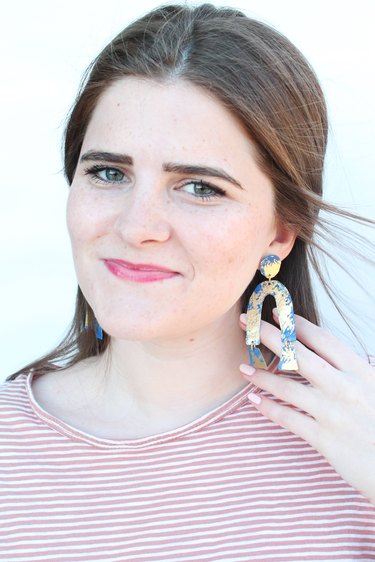
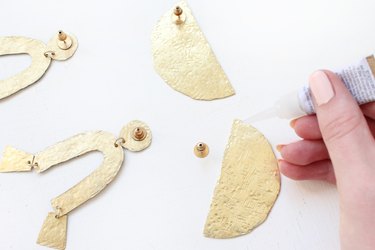
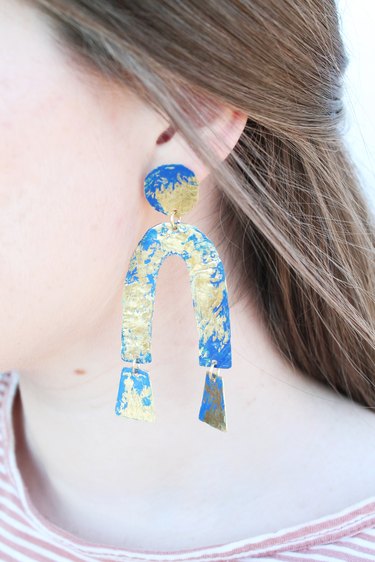
Step 6: Make earrings by applying post backings
Link shapes together in a vertical orientation to create dramatic drop earrings.
Use a dot of metal epoxy to adhere a post earring onto the back of your hammered brass shapes and let cure overnight. Follow the manufacturer's instructions for application and drying times.
Alternatively you can punch a hole in the top of the brass shapes and attach an earring wire with a small brass jump ring and needle nose pliers.
Tip
When working with jump rings never pull the ends apart to open the seam, this weakens the metal and could cause the piece to break over time. Instead twist the ends in opposing directions towards your body and away from your body to create a gap for connecting jewelry elements.
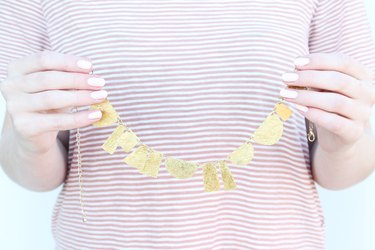
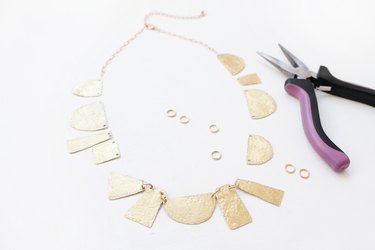
Step 7: Connect shapes to create a necklace
Connect several shapes together by linking them with brass jump rings. Twist a small brass jump ring open with flat-nose pliers and loop through a hole on one side of your shape. Loop another shape onto the jump ring and twist close. Repeat on the other side of the shape and continue to link shapes together to create a geometric collar.
Once your necklace is the desired length use jump rings to add the clasp closure to the chain ends and finish the piece.
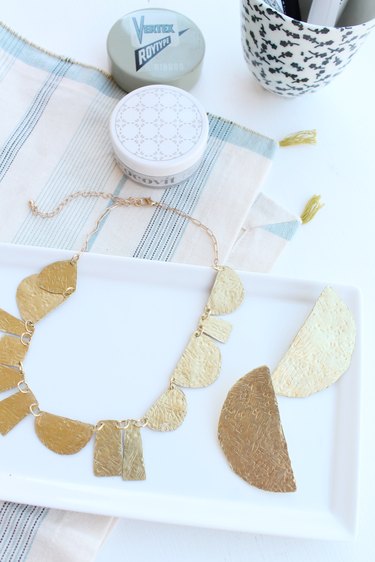
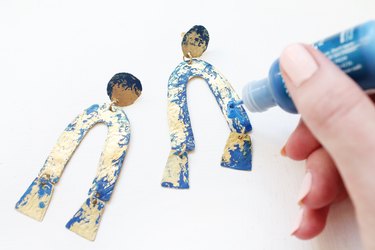
Step 8: Apply a patina for a pop of color
You can find patina solutions in various bright colors in the metalworking section of your local craft store.
Dab on the formula with a soft rag to quickly transform your accessories into colorful statement pieces. Remove or distress the patina with a cotton swab and fingernail polish remover.
Let dry according to the manufacturer's instructions before finishing and wearing the jewelry.
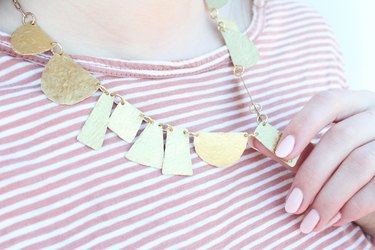
These unique shapes and bold designs can make your outfit unforgettable. I think it could be fun to incorporate threads or tassels to the edges of some earrings. How would you make these hammered brass accessories your own? Let us know in the comments below!