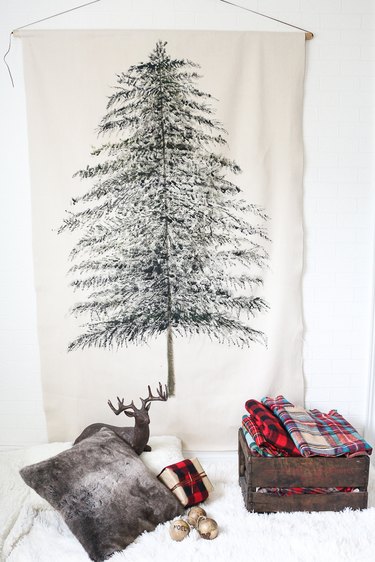
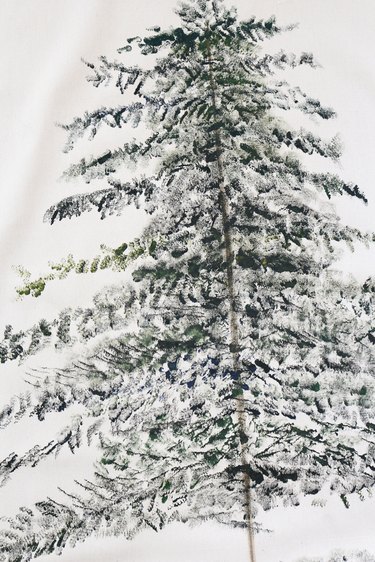
This holiday season, deck your walls with this fun and whimsical take on a traditional Christmas tree. It adds warmth and texture to an empty wall, and it's a festive alternative to an actual tree for small spaces. Made from a simple drop cloth, this wall hanging will bring joy and good cheer to your home year after year.

Video of the Day
Things You'll Need
Acrylic paint (yellow, green, brown and blue)
Palette
Laminated drop cloth cut to 4-by-7-feet
2-inch paint brush
No. 18 flat brush
Ruler
Paper towel
2 dowels (1 inch by 4 1/2 feet each)
Hot glue or fabric glue
2 eye hooks
Leather or cotton cord
Tip
Prepare various shades of green on your palette by mixing in yellow or blue (add yellow for a lighter shade and blue to create a darker shade). To achieve the effect of pine needles, you will be using the drybrush technique. Drybush is a painting technique in which a paint brush that is relatively dry, but still holds paint, is used. The resulting brush strokes have a scratchy look that lacks the smooth appearance that washes or blended paint commonly have.
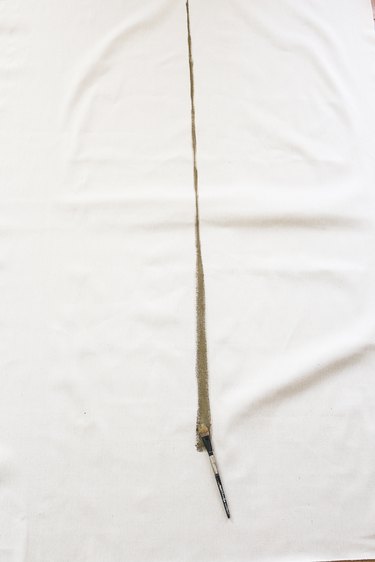
Step 1: Create the Trunk
Locate the middle of your canvas on the shorter side. Measuring approximately 10 inches down from the top, use a ruler or straight edge to paint a vertical line down the middle with brown paint using your No. 18 flat brush. The line should start thin and gradually become thicker, stopping at approximately 12 inches from the bottom. This will be the trunk of the tree.
Video of the Day
Step 2: Paint the Top Branches
Using your No. 18 flat brush, paint several perpendicular lines with green paint at the top of the tree trunk by dabbing the flat tip of your brush onto the canvas.
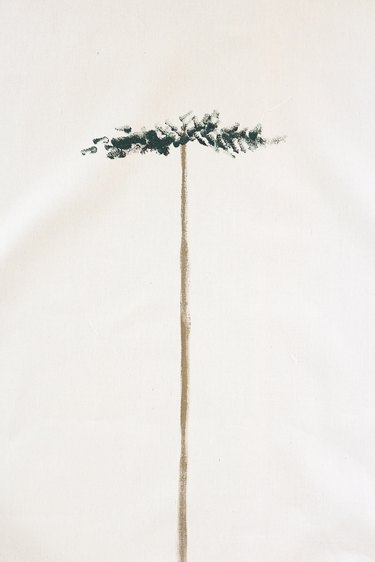
Step 3: Fill In the Top
Paint several other arbitrary lines at the very top of the tree using the same technique.
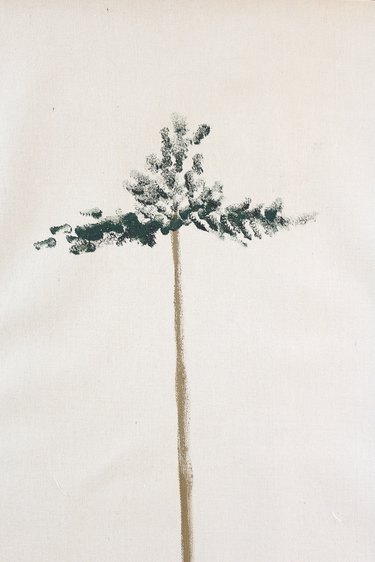
Step 4: Continue Your Branches
Continue to paint subsequent perpendicular lines or branches down the trunk, ensuring that as you proceed downwards, the next branch is larger than the previous branch.
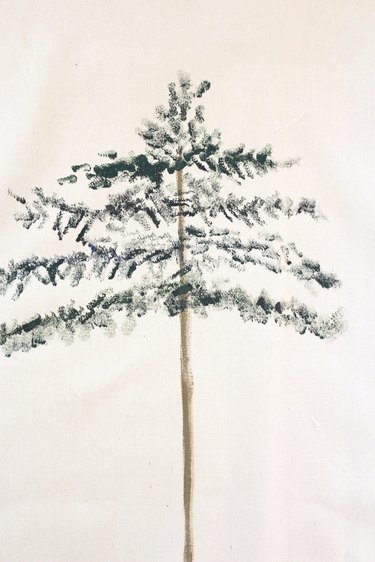
Step 5: Fill In Around the Trunk
Continue painting branches down the trunk, dipping your brush in the various shades of green to add more depth and texture as you paint each branch.
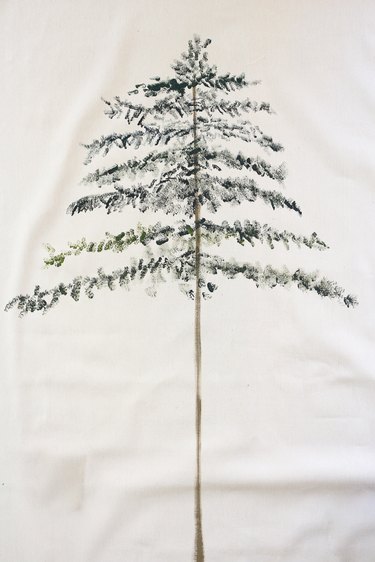
Step 6: Widen the Lower Branches
Continue down the tree to near the bottom of the trunk, with the expanding branches giving the tree the loose shape of a triangle.
Step 7: Add Darker Patches
Dip your No. 18 flat brush in the darker shade of green and fill in the empty areas between the branches towards the trunk, in the middle only. Paint very organic and arbitrary lines to create texture and movement.
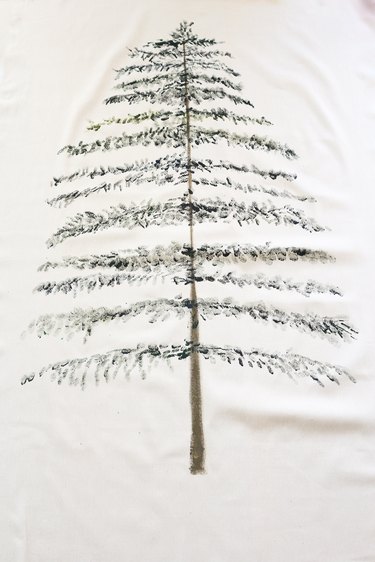
Step 8: "Bulk Out" the Tree
Continue to fill in the tree, concentrating in the center, with various shades of green.
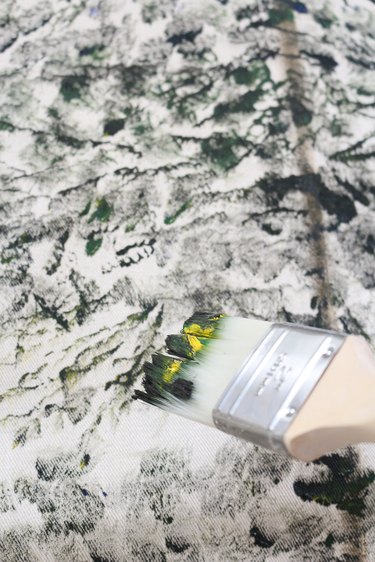
Tip
Dip your 2-inch brush in the various shades of green and dab off the excess paint on a paper towel. Hold the brush in a perpendicular manner when applying.
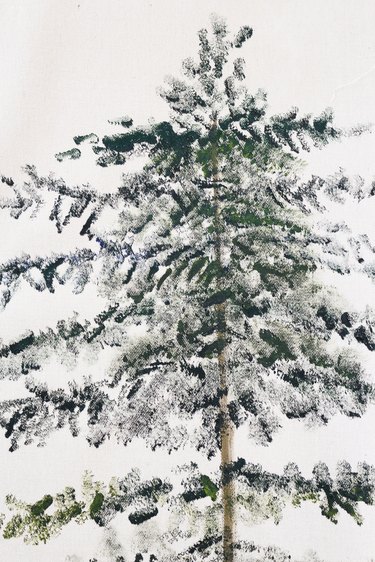
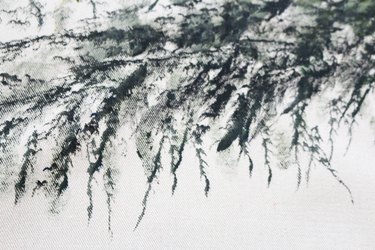
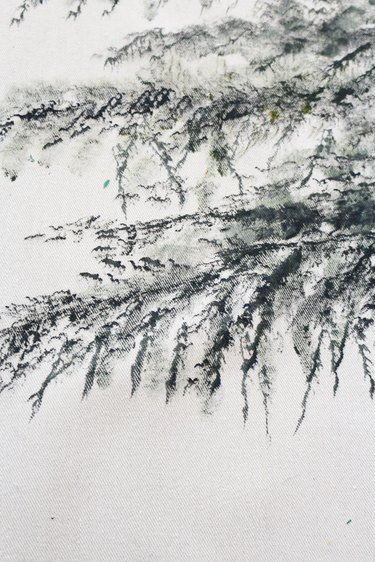
Step 9: Detail Your Branches
Dab your brush onto the canvas lightly to create thinner textured lines along the branches. To achieve thicker lines, press down with a little more force.
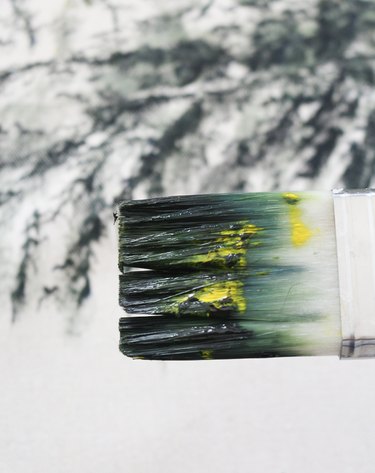
Tip
As you continue to paint, the bristles on the brush will naturally cluster together, allowing for a more realistic impression of pine needles.
Step 10: Finish and Dry the Painting
Continue to dab your brush along the branches, following the natural growth of the pine needles, and then lay the canvas flat and allow it to dry for 24 hours.
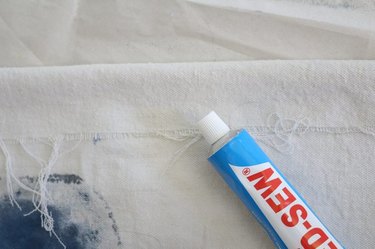
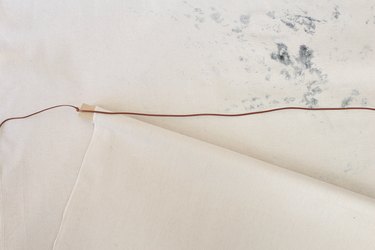
Step 11: Create Pockets at Top and Bottom
Make a seam at the top of the canvas that is large enough for the dowel to fit through by folding the top edge of the canvas over and gluing the seam with fabric glue or hot glue. Repeat this process at the bottom of the canvas.
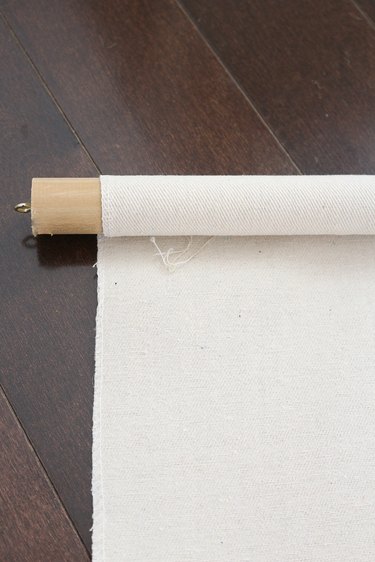
Step 12: Add Dowels for Hanging
Slide the dowels through the openings at the top and bottom of the canvas.
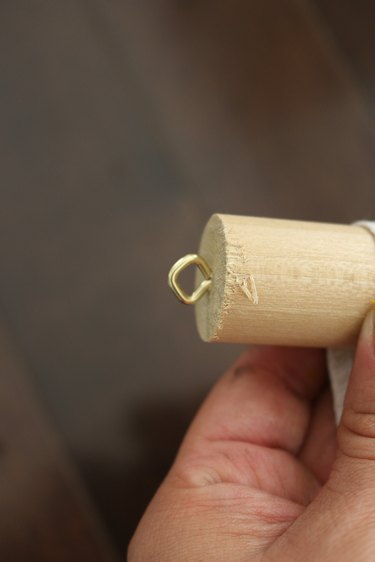
Step 13: Add Eye Hooks
Screw an eye hook onto each end of the top dowel.
Step 14: String Your Wall Hanging
Thread leather or cotton rope through the eye hooks and tie to form a tight knot at each hook.
Step 15: Hang Your Tree
Optional: Pin ornamental bulbs to the canvas.
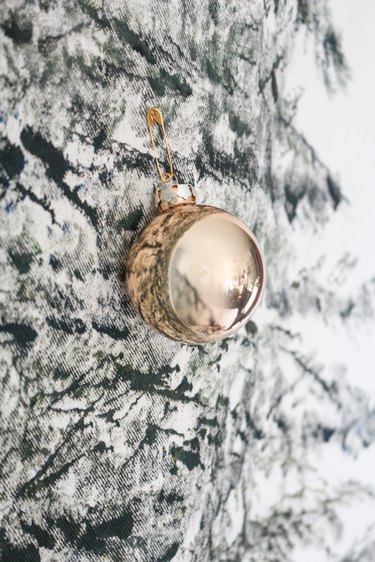
Hang your canvas and style it with presents, pillows and blankets underneath to give it a cozy Christmas tree look and feel.