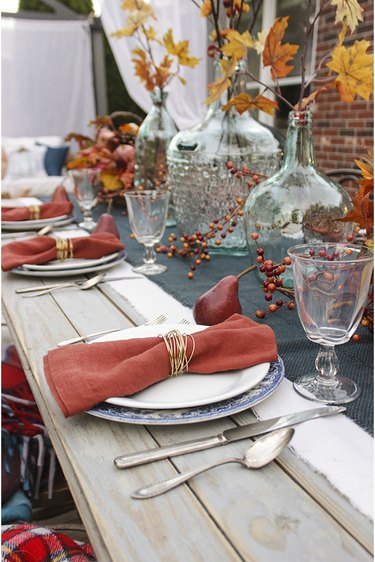
Whether hosting a casual get-together or a holiday dinner, napkin rings add a touch of elegance and style to any place setting. But why buy when you can easily DIY? These gold wire napkin rings are inexpensive to make, completely customizable, and a set of six can be made in about 15 minutes.
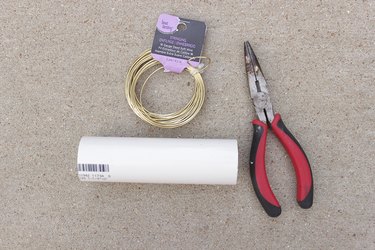
Things You'll Need
Gold jewelry wire, 16 gauge dead soft, 10 yards
PVC pipe, 1 1/4 in. diameter, 6 in. long
Needle-nose pliers
Video of the Day
Tip
A thicker gauge wire (lower gauge number) may be substituted, but it will be more difficult to manipulate. A thinner gauge wire is not recommended as it is more flexible and can get crushed or damaged easier.
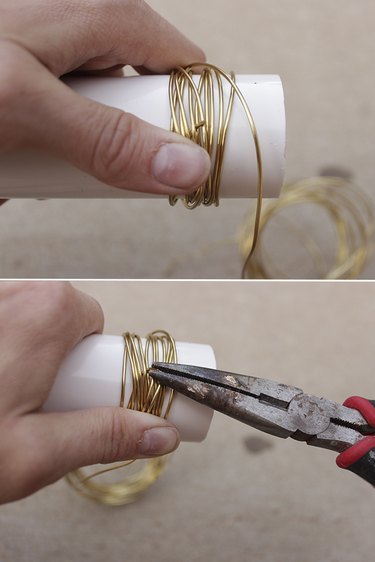
1. Wrap wire around pipe
Hold the PVC pipe as a napkin ring form in one hand and use your thumb to firmly hold down one end of the gold wire on top of it. Using the other hand, wrap the wire securely around the PVC form, crossing over the end held down by your thumb, for one complete wrap.
Video of the Day
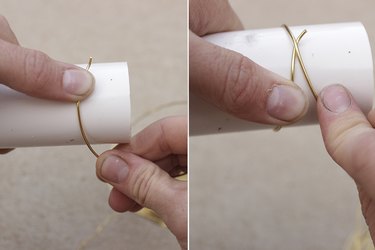
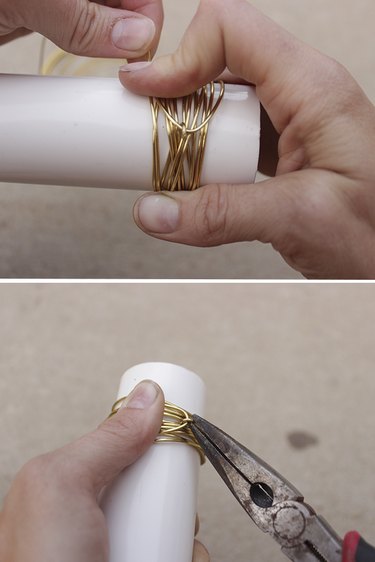
2. Wrap more and a make a hook
Still holding the end of the wire firmly with your thumb, continue to wrap the wire around the PVC form 12 times, making sure to cross the wire several times. Continue to hold the end with your thumb, as this helps the wire keep its napkin ring shape once it is finished. Using needle-nose pliers, pinch the end of the wire that is held in place by your thumb and bend it so a small hook is formed.
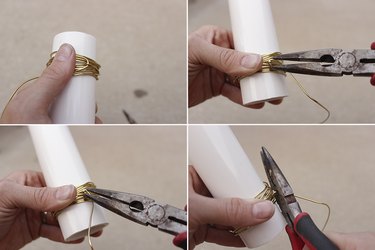
3. Close the hook
Holding the wrapped wire firmly against the PVC form, hook the loose end of the wire around the hook you just created. While holding the loose end of the wire with one thumb, pinch the hook closed with needle-nose pliers.
4. Cut away excess
Still holding the loose end of the wire with one thumb, pinch the loop formed by the loose wire tight to close it. Cut away the excess wire with the wire-cutting part of the needle-nose pliers.
Tip
Hooking both ends of the wire to each other and pinching them closed helps the wire keep its shape and prevents the wire from unravelling.
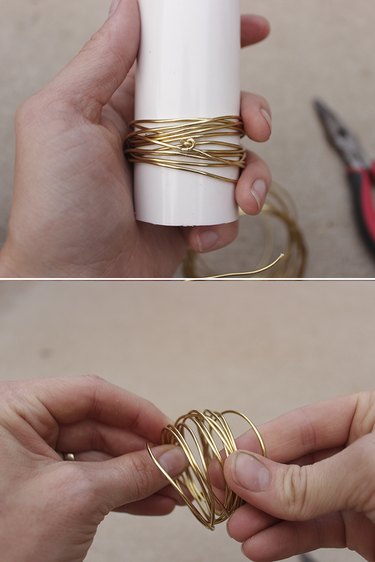
5. Remove the wire
Make sure both ends are tightly pinched closed after the excess wire is cut, and slide the wrapped wire off of the PVC form. Loosen the wrap a little so the width of the napkin ring band is a little more spaced out.
Customizing Your Napkin Rings
Customizations can be made in the form of:
- Color/Finish (silver, copper, black-coated)
- Size (using a PVC form with a larger or smaller diameter)
- Design (twisting wires before wrapping, adding additional wires, bending in a curlicue form, attaching to the top and bottom of wrapped wires)
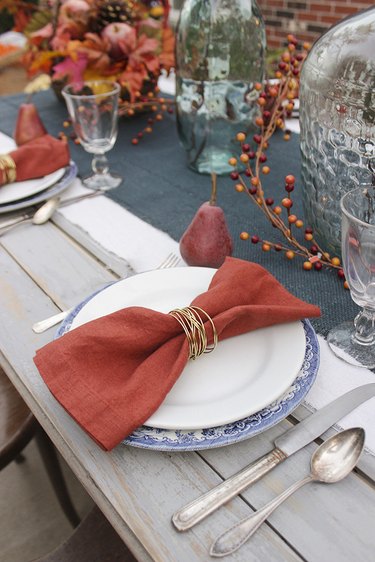
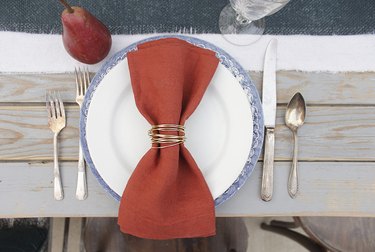
Because of the thickness of the wire, the napkin ring shape is maintained and is not easily crushed. Simply slide the napkin rings over folded napkins and place them in the middle of plates for a beautiful addition to your table setting.