Things You'll Need
Screwdriver
Hammer
Knock-out clamps
Slip-lock pliers
10-gauge ground wire
Ground rod
Sledge hammer
Ground clamp
Hammer
Utility knife
Wire stripper
Circuit breakers
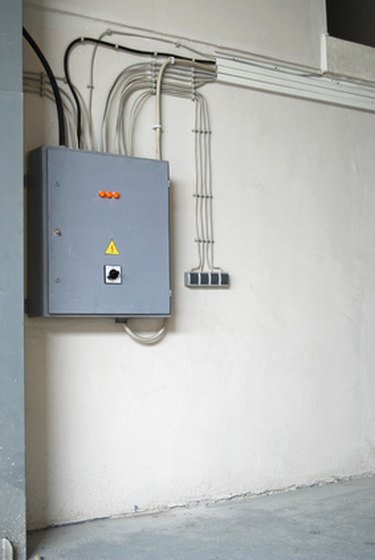
The electrical panel in a home provides the main interface between electrical circuitry and the power company's lead-ins. Safety features include a main disconnect that trips if the power load exceeds its rating. Most small homes can be serviced by a 125-amp breaker, because appliances, even though some may be rated for 50 amps, are not all on at the same time. Connect light, outlets and appliances to separate circuits and breakers on the panel. If any circuit overloads, the breaker trips before the main one does.
Step 1
Turn off the power to the main power leads, either by disconnecting them at the meter or calling the power company and having them switch off the service temporarily.
Video of the Day
Step 2
Knock out holes on the top or bottom of the panel, depending on where the service wires enter and screw on knock-out clamps, tightening them with slip-lock pliers. Pass the main leads through the clamps and tighten them with a screwdriver. Connect the black and red leads to the main lugs on the brass buss bars. Connect the white lead to the main lug on the silver bus.
Step 3
Tighten the screw on the silver bus to connect it to the ground bus. Knock out another hole in the panel and feed in the end of a length of 10-gauge bare ground wire. Connect the end to the ground bus. Run the wire to a location where you can pound a ground rod eight feet into the earth. Connect the ground wire to the bar with a ground clamp and tighten the clamp with a screwdriver.
Step 4
Place the ground rod near the point where the water lines enter the house, if you have metal pipes. Install a ground clamp on one of the pipes and connect the ground rod to it with another length of ground wire.
Step 5
Feed circuit wires into the panel through knock-out holes fitted with clamps. Pass as many wires through each clamp as will fit. Allow enough slack on each wire to make all the necessary connections, then tighten the clamp.
Step 6
Remove eight to twelve inches of sheathing from the end of each circuit wire with a utility knife. Separate the wires and strip 1/2-inch of insulation from the ends of the insulated wires with a wire stripper. Loosen an available lug on the neutral bus, which is silver, and insert the end of the white wire. Tighten the lug with a screwdriver. Attach the bare wire to the ground bus in the same way.
Step 7
Loosen the nut on the terminal of a circuit breaker and insert the black wire. Tighten the nut, then snap the breaker into a slot on the hot brass bus bar. Label the circuit on the door of the panel immediately so you don't lose track.
Step 8
Connect the red and black wires of a 220-volt circuit to the terminals of a two-gang breaker, which is actually two breakers joined together. Snap the breaker into a slot large enough to accommodate the two breakers and label the circuit.
Tip
Size the electric wire for the circuits according to the size of the circuit breaker. You can use 14-gauge wire for a 15-amp breaker, but you must use 12-gauge, which is thicker, for a 20-amp, 10-gauge for a 30-amp and 8-gauge for a 50-amp breaker.
Warning
Have the panel inspected by a licensed electrician for code violations or hazardous conditions before turning the power back on.
Video of the Day