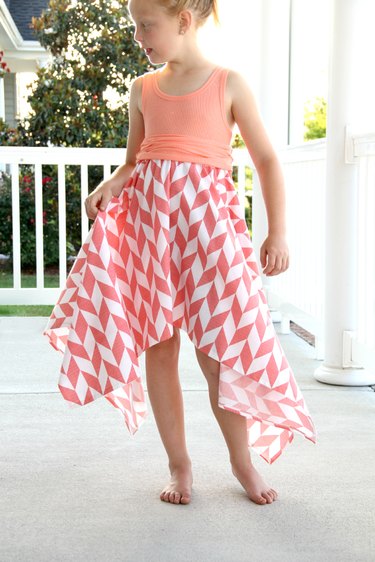
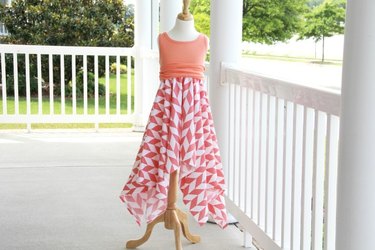
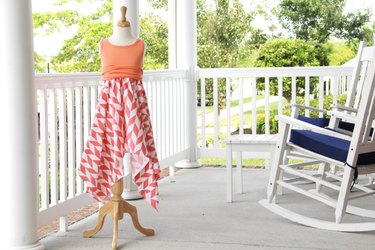
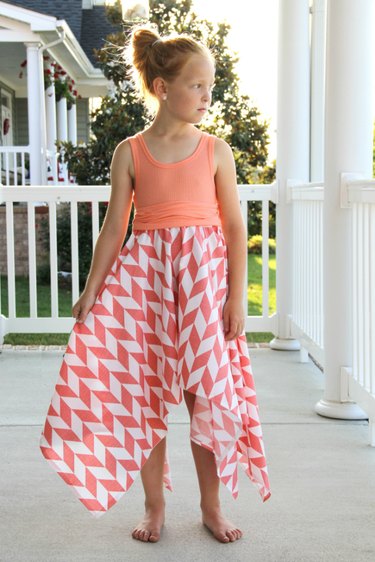
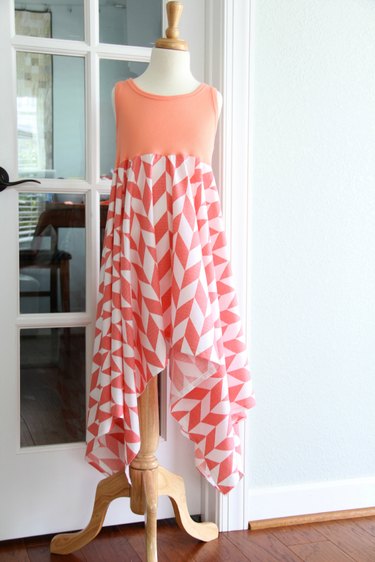
Turn that tank top into a cute little girl's dress, complete with a handkerchief skirt hem, in just over an hour! All you need is a sewing machine and some basic sewing essentials to make an easy tank top dress. With a free pattern directions for sizes 12 months thru 10 years, this is the perfect project for a beginner-level seamstress.
Video of the Day
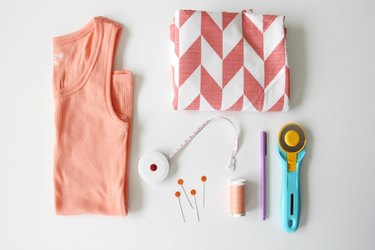
Things You'll Need
Tank top that fits well
1-1.5 yards cotton fabric
Pins
Coordinating thread
Measuring tape
Scissors/rotary cutter
Fabric marker or pen
Iron
Sewing needle
Sewing machine
Step 1: Cut Skirt Rectangle
Use the following measurements to cut your main skirt pattern:
Video of the Day
- 12 mo = 30.25"W x 36.25"L
- 2T = 34"W x 40"L
- 4T = 36.5"W x 42.5"L
- 6 yrs = 41"W x 47"L
- 8 yrs = 43.5"W x 49.5"L
- 10 yrs = 48"W x 54"L
Cut one skirt pattern using the above dimensions.
Tip
Quilting cotton is often 44" wide. This will work for all sizes except the size 10. Look for 48" wide fabric or larger for that age group.
Step 2: Fold Skirt Fabric for Cutting Pattern
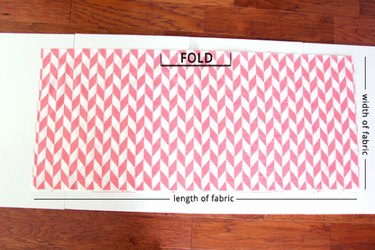
We are going to fold the fabric in fourths so that we have a right angle to work with for cutting the waist. To do this, first lay your rectangle skirt fabric flat. Fold fabric in half so that the two long 'length-of-fabric' raw edges meet.
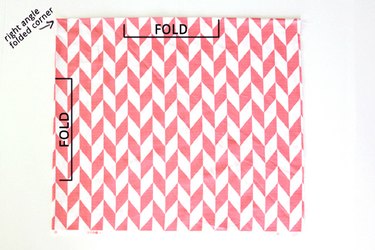
Fold your fabric in half again so that the two 'width-of-fabric' raw edges meet, giving you a right angle folded corner.
Step 3: Measure Quarter Circle Skirt Waist
Use the following measurements for your skirt's waist radius:
- 12 mo = 3.75"
- 2T = 4"
- 4T = 4.25"
- 6 yrs = 4.5"
- 8 yrs = 4.75"
- 10 yrs = 5"
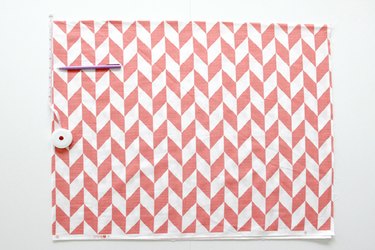
From the right angle folded edge, use a measuring tape to mark the length of your radius away from the pointed corner.
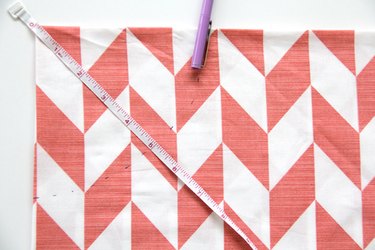
Continue to move your measuring tape in an arc, from the pointed corner out, making your way from one folded skirt edge to the other. Use your fabric marker to mark where the radius measurement hits.
Step 4: Cut Skirt Waist
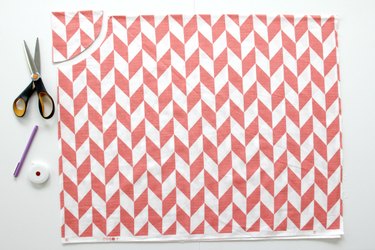
Following the marks you made in the previous step, carefully cut off the quarter circle of the right angle folded corner. This will be your skirt's waist.
Step 5: Hem Skirt

Fold the outer four edges of your rectangle skirt 1/4" towards the wrong side of the fabric and press. Fold again 1/4" towards the wrong side and press, enclosing the raw edge inside. Sew around using a straight stitch to hem.
Step 6: Cut Tank Top
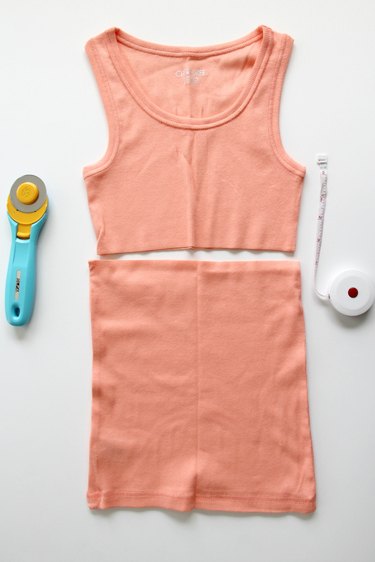
Using a pair of scissors or a rotary cutter, cut the bottom off of your tank top. Measure from the bottom of your arm opening (top of the side seam), down the appropriate number of inches and cut straight across.
- 12 mo = 2"
- 2T = 2.5"
- 4T = 2.75"
- 6 yrs = 3"
- 8 yrs = 3.25"
- 10 yrs = 3.5"
Tip
Do not throw away the bottom of your tank top! You can use that for a belt for your dress in later steps.
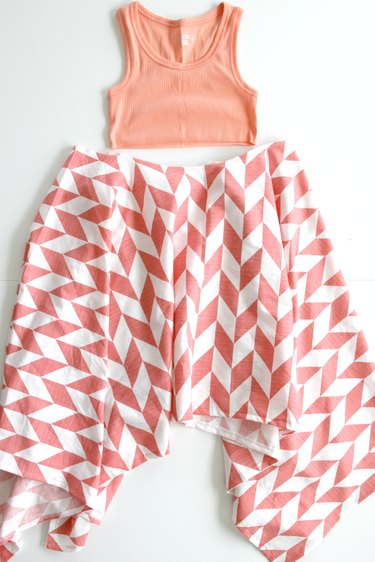
You will notice that the skirt's waist is slightly larger than your tank top hem. This is good! If it was the same size, you would not be able to get the dress over your child's head comfortably.
Step 7: Prepare Your Sewing Machine for Sewing With Knits
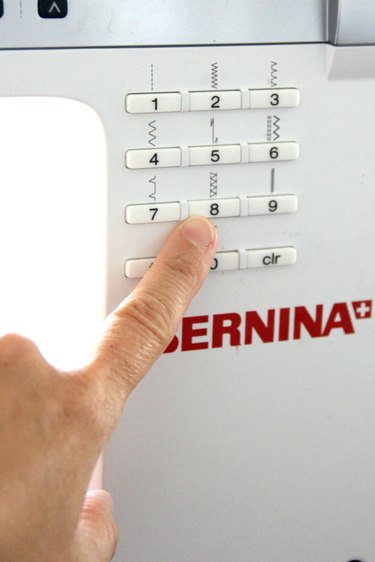
Select a stitch setting on your machine that is appropriate for working with knit fabric. This can either be a 'stretch' stitch, 'double overlock' stitch, '3-step zig zag' stitch, or regular 'zig zag' stitch. It also helps to use a 'ball point' needle when sewing with knits. Being that we are working with a knit AND woven fabric, a regular needle will work as well.
Step 8: Sew the Skirt to the Tank Top
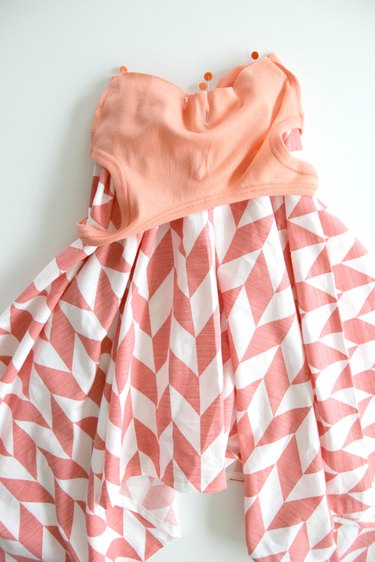
Slip the tank top over the skirt's waist, matching up the bottom edge of the tank top with the top of the skirt waist, right sides together. At this time, make sure that the shorter edges of the skirt are centered in the front and back of the tank top, and the longer edges of the skirt are on the sides. Pin the skirt to the tank top in 4 places - the front and back center, and the sides.
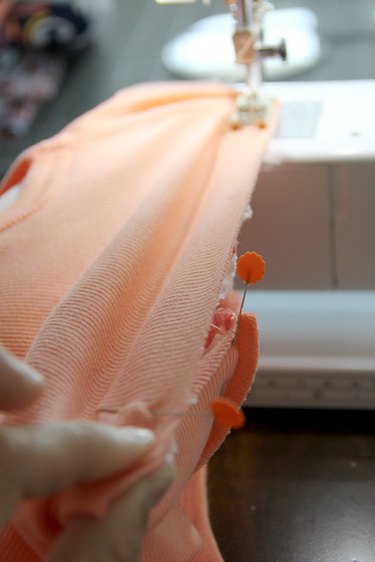
Sew the skirt onto the bottom of your tank top, stretching the tank top as you sew to match the width of your skirt waist. Finish the waist seam with either a serger, zig zag stitch (once again, stretching while you sew), or pinking shears.
Step 9: Optional Belt
Hate the thought of throwing away your tank top bottom? You can turn it into an easy belt for your dress!
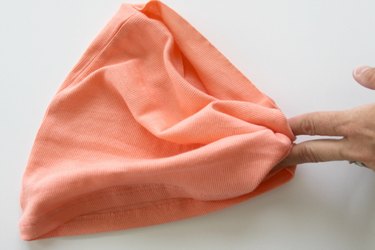
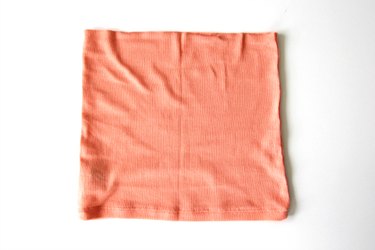
Squeeze the side seam of your tank top bottom together, so that it is no more than 2-4" wide (depending on the age of your child, smaller width = younger child).
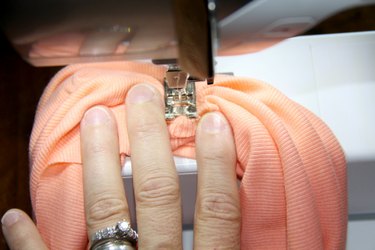
Push the side seam of the tank top through the sewing machine, with the fabric all bunched up. Sew a straight line, going back and forth over the bunched up fabric a few times. Repeat for both sides.
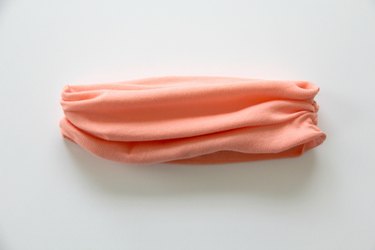
Step 10: Press and Wear
Slip the dress over your child's head, if desired slip the belt over the waist, and wear!