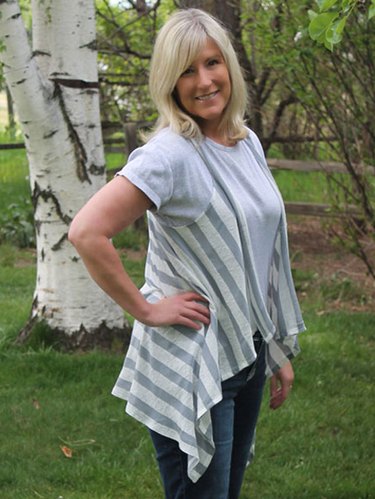
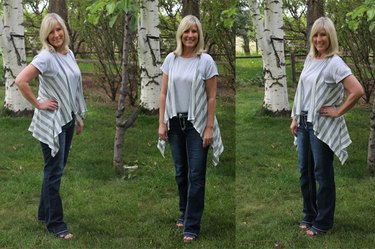
A waterfall vest, or draped vest, is flattering on many body types and can be made from a wide variety of fabrics to give completely different looks. A casual knit looks stylish over jeans or shorts while a sheer chiffon vest works well for more formal occasions. No matter what fabric you choose to use, you can easily make your own vest in a few hours with very minimal sewing skills.
Video of the Day
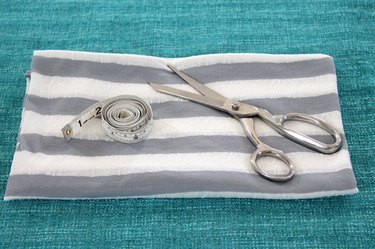
Things You'll Need
1 yard of knit or chiffon fabric
Measuring tape
Sharp scissors
Iron and ironing board
Pins
Sewing machine with a 10/70 ballpoint needle
8 1/2-by-11 inch piece of paper
Washable marking pen
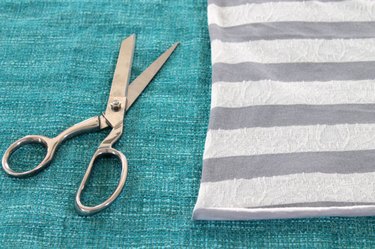
Step 1:
Cut a rectangular piece of knit or chiffon fabric that is 50 inches by 33 inches.
Video of the Day
Tip
This vest works well for many different weights of knits. Consider using a lightweight knit for a summer or spring vest and a heavier knit for a winter or fall vest.
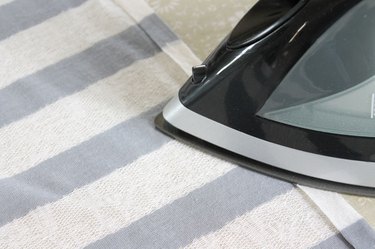
Step 2:
To create a hem on all four sides of the vest, use a steam iron to press all sides under 1/4 inch. Then fold under another 1/4 inch and press again.
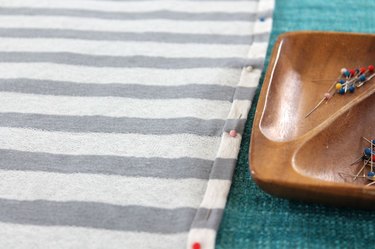
Step 3:
Pin the pressed edges on all four sides of the vest.
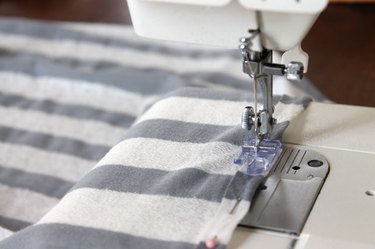
Step 4:
Use a 10/70 ballpoint needle to sew the folded edges. Be sure to remove the pins as you sew.
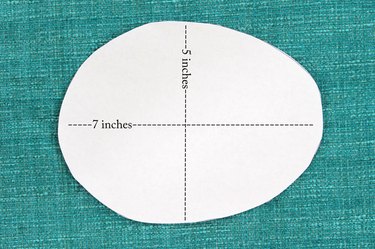
Step 5:
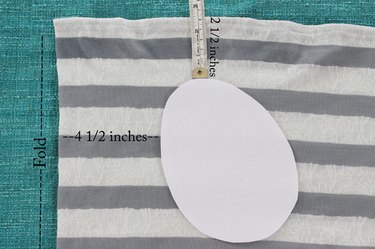
Cut a 7-by-5-inch oval from a piece of paper to use as an armhole pattern.
Step 6:
Fold the rectangular piece of fabric in half widthwise. Place the armhole pattern 4 1/2 inches in from the fold and 2 1/2 inches down from the top. Position the pattern piece at a slight angle with the wider edge pointing toward the bottom of the vest.
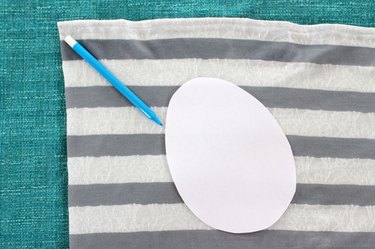
Step 7:
Trace around the pattern piece with a washable marker.
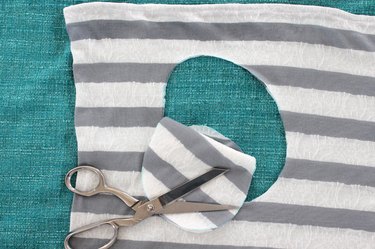
Step 8:
Cut around the marked lines through both layers of fabric, and then open the vest up.
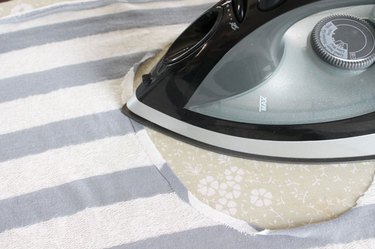
Step 9:
To finish the edges, use a steam iron to press under 1/4 inch around each armhole. Then fold each armhole under another 1/4 inch and press again.
Step 10:
Pin and then sew the pressed edges in place around each armhole, removing the pins as you sew.

Wear your new waterfall vest over a T-shirt and jeans or a cute dress for a stylish layered look.