Things You'll Need
Voltage tester
Screwdriver
Tape
Stud finder
Circular electrical boxes, 2
Drywall saw
12/2 electrical cable
Wire strippers
Plastic connector caps

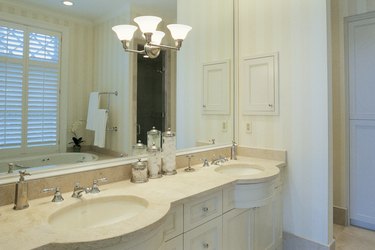
Lighting is important in bathrooms, especially over the vanity, so you can see yourself in the mirror. If your vanity lighting contains only one bulb, you can replace the single fixture with two fixtures, and gain additional light. As with any project involving electricity, be cautious.
Step 1
Turn off power to the light at your home's main electrical panel. Test the light by turning the switch on and off.
Video of the Day
Step 2
Remove the light bulb and test the circuit again with a voltage tester. If you get a reading, go back to the electrical panel and turn off the correct circuit.
Step 3
Unscrew the light fixture and pull it away from the wall. Disconnect the wiring from the fixture, and tape the electrical cable to the wall so it doesn't fall into the wall cavity.
Step 4
Locate a wall stud near each location where you're going to install the new fixture, and mark the location.
Step 5
Trace a circular electrical box onto the wall next to the studs where you're installing the lights. Cut a hole in the wall with a drywall saw at each location.
Step 6
Cut a piece of 12/2 electrical cable to fit between the two holes. Strip two inches of sheathing from the cable with wire strippers, and 1/2 inch of insulation from each wire in the cable.
Step 7
Punch out knockout holes on the back of the electrical boxes.
Step 8
Reach inside the hole you cut in the drywall in the wall between the light switch and the hole for the original light fixture and grab the electrical cable for the light fixture. Remove the tape holding the end of the cable to the wall, and pull it through the hole for the new fixture. Tape it to the wall underneath the new hole.
Step 9
Place the second cable through the wall so the ends are sticking out of the holes for the new fixtures.
Step 10
Slide the electrical cables through one of the electrical boxes, and screw the box to the stud in the first hole. Repeat this on the other hole (there's only the one cable on the second hole).
Step 11
Cut a piece of electrical cable 3 to 4 inches long, and remove the black and white wires from the cable.
Step 12
Install the wiring for the first light fixture. Connect the black wires leading from the light switch and leading to the second fixture to one end of the short black wire with a plastic connector cap, then repeat this with the white wires. Connect the bare copper wires from the cables together with a connector cap. Connect the loose end of the short black wire to the brass screw on the light fixture, and the loose end of the short white wire to the silver screw on the light fixture. If the connection for the fixture is different, follow the manufacturer's instructions.
Step 13
Tuck the wiring inside the electrical box, and mount the fixture onto the wall.
Step 14
Install the second fixture by connecting the black and white wires to the proper screws on the light fixture. Connect the bare copper wire to the grounding screw in the electrical box. Tuck the wiring inside the box, and mount the fixture on the wall. Screw light bulbs into the fixtures.
Step 15
Restore power to the circuit and test the lighting. Patch the hole in the wall from the old fixture.
Video of the Day