Things You'll Need
Measuring tape
Paper, such as butcher paper or newsprint
Fabric
1-inch wide elastic
Scissors
Ruler or straight edge
Thread
Sewing needle
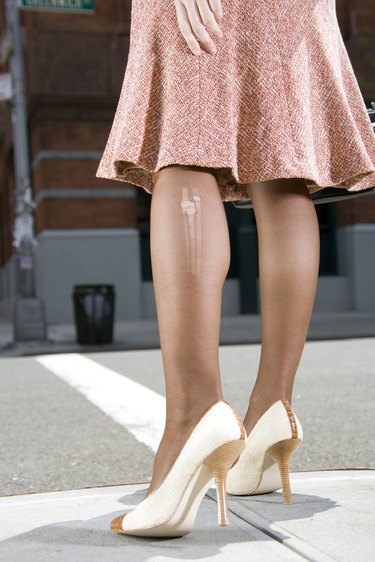
An A-line skirt is a simple sewing project you can complete in an hour or two. When you make your own pattern that fits your specific measurements instead of relying on a pattern based on standard measurements, you can create a skirt that fits exactly. Once you have your pattern, you can make a skirt out of any fabric. If you want a skirt that drapes and hugs your curves, use a knit or other stretchy fabric. If you want a skirt that holds its shape, use a heavier fabric, such as denim.
Make a Pattern
Step 1
Measure around the widest part of your hip. Add 5 inches to this measurement to get the waist measurement.
Video of the Day
Step 2
Measure from where you want the waist of the skirt to sit to where you want it to end. Add 3 inches to get the skirt length.
Step 3
Get the skirt bottom width by adding a number of inches to the waist size. The more inches you add to the bottom width, the more flared the skirt will be.
Step 4
Lay out your paper. Draw a straight line that is as long as 1/4 of your waist size. Starting at the rightmost end of this line, draw a line perpendicular to it that is as long as your skirt length. This is the center seam line. Draw a line starting from your center seam line parallel to your waist line that is as long as 1/4 of your skirt bottom width measurement. Draw a straight line that connects the left point of the waist line and the left point of the skirt bottom width line to create a more subdued flare. To create a more dramatic flare, draw a parallel line halfway between the skirt waist line and the skirt bottom width line that is 2 inches longer than 1/4 of the waist measurement, or 2 inches longer than the waist line you've drawn on your pattern. Connect the left point of the waist line to the left point of the mid-line you've just drawn with a straight edge. Draw a straight line from the left point of the mid-line to the left point of the skirt bottom line. Cut around the lines to create your pattern piece.
Make Skirt
Step 1
Fold your fabric in half, right sides together. Place the pattern piece on the fabric with the straight center seam line along the fold. Cut around the sides of the pattern piece that are not on the fold. This is the skirt front. Move the pattern piece toward the selvedge edge of the fabric and turn it upside down so that the widest part of the pattern is lined up with the narrowest part of the piece you've already cut out, keeping the center seam line parallel to the grain line of the fabric. Cut around all four sides of the pattern piece. These two pieces are the back of the skirt.
Step 2
Pin the two back pieces together along the straight center seam line. Sew the pieces together, right sides together, leaving a 5/8th-inch seam allowance. Pin the right side seam, right sides together. This is the angled edge of the skirt front and the skirt back. Sew this seam, leaving a 5/8th-inch seam allowance. Pin the left side seam, right sides together. Sew the seam, leaving a 5/8th-inch seam allowance.
Step 3
Fold the bottom edge of the skirt up 1/2 inch. Press the seam to keep it in place. Fold the bottom edge up again 1/2 inch to create a hem. Pin the hem in place, then sew it down.
Step 4
Fold the top edge of the skirt down 1/2 inch and press it to keep it in place. Fold the top of the skirt down another 1.5 inches and pin it in place. Sew along the edge to create a casing for the elastic. Do not finish sewing all the way around. Leave an inch open.
Step 5
Cut a piece of 1-inch-wide elastic that is 1/2 inch longer than the circumference of your waist.
Step 6
Insert the elastic into the casing and pull it through until it comes out the other side, being careful not to pull the end of the elastic into the casing. Pull the two ends out away from the skirt. Sew the elastic together 1/2 inch from the edges to create a joined circle. Pull the skirt to bring the elastic back into place. Finish sewing the waist seam by hand.
Tip
If you have enough fabric, you can cut two pieces on the fold and skip sewing the center back seam in Step 2.
Video of the Day