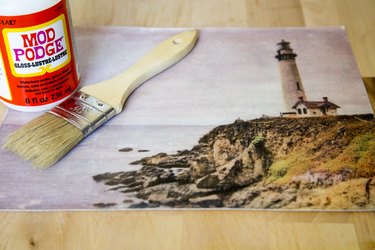
Mod Podge is a gel-based product associated with decoupage, the procedure in which paper is layered to create a design. Since 1967, the Plaid Company has offered this product as an adhesive and sealer for craft projects. Gel mediums such as Mod Podge can pull the ink off a printed image. This allows you to take a picture and transfer it onto canvas or a similar surface. The nontoxic formula makes this a suitable craft project for both young children and adults.
Video of the Day
Things You'll Need
Paintbrush
Printer
Clear Acrylic Finish
Spray Bottle
Image
Mod Podge
Canvas
Paint Roller
Water
Step 1
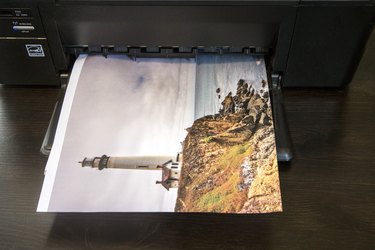
Print out your image on an inkjet or laser printer.
Video of the Day
Step 2
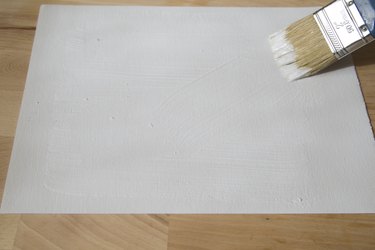
Coat the surface you wish to transfer the image to, using Mod Podge. For instance, if you are copying an image to an art canvas, paint the front of the canvas with Mod Podge.
Step 3
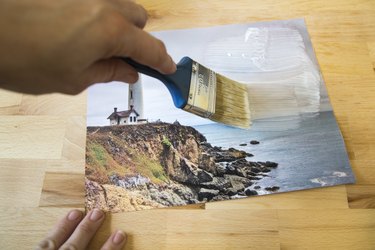
Apply the Mod Podge liberally to the picture side of the paper and place it face down on your transfer surface.
Step 4
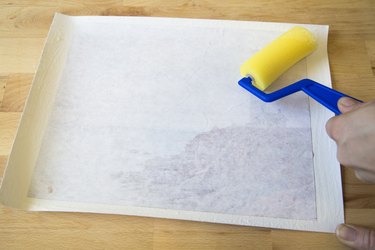
Rub out any air bubbles with your fingers or a small roller. Let the Mod Podge dry following the instructions on the product. It may take several hours.
Step 5
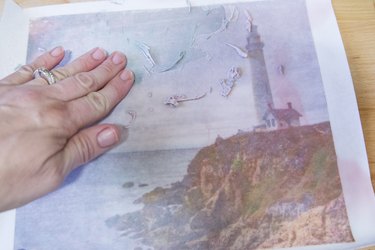
Spray the back of the paper with water once the Mod Podge dries. Rub the paper with your fingers until it comes off the transfer surface. The ink from your image should remain on the canvas. You may need to wet the paper multiple times in order to remove it entirely.
Step 6
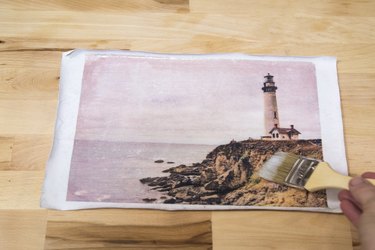
Paint over the top of the transfer surface with a clear finish.
Tip
You can also use a photocopy of the image instead of a printing it out For example, if you do not have a scanner and want to use a picture, photocopy it for use with Mod Podge.
Warning
Add any accents to the picture, such as paint or additional images, prior to sealing it with the finish.