Things You'll Need
Template of ocean wave shape
Pencil or pen
Various shades of blue and turquoise card stock or construction paper
White card stock or construction paper
White glue
White tissue paper
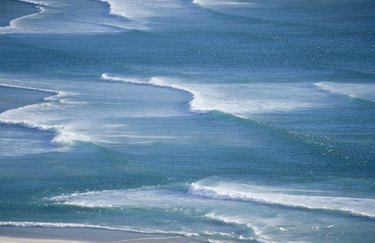
The ocean fascinates children, especially those who have never seen it before. Schools use ocean-themed units in several grades and subject areas, such as those focusing on animals, geography and weather. The ocean even figures in math equations, such as when students are asked to calculate how far a wave travels. Real-looking ocean waves for class projects or bulletin-board decorations can easily be made out of paper, tissue and similar materials.
Step 1
Cut out, on white card stock, an ocean-wave shape to use as a template, or download a ready-made one from the Internet. Using a pencil or pen, trace the wave template onto a piece of the blue card stock. Cut out the wave shape freehand if you prefer. Then glue the wave shape you've cut out to a white background.
Video of the Day
Step 2
Use one shade of blue, preferably the darkest color, as the foundation for the wave. Cut sections of the other colors and layer these on top of the waves. Some of the waves underneath should show through. Younger children may not want to add any layers, while older students can add five or more layers and colors.
Step 3
Glue white tissue paper onto the waves for a realistic foam-like effect. You can tear little pieces of tissue paper, crumple it into balls or layer it neatly. This variation in the waves will create a realistic look of swirling waves. Construction paper may bleed when you glue it, which will add to the changes in color.
Step 4
Add additional embellishments after you have finished creating your paper waves. You can add texture and dimension to your project by using glitter, crayons, markers, ink, embossing powder and paint. Dab on paint or ink with a cotton ball or an old sponge to create depth. White specialty paper, such as sheer vellum or mulberry paper, can also create the look of foam on waves.
Tip
Stagger wave strips on top of each other in sections to give the illusion of rolling waves.
For sculpting with paper, you need a 1:1 ratio of white glue and water. This mixture allows you to create three-dimensional paper waves. Cut the papers into pieces, continuing to build up the paper wave.
Video of the Day