Things You'll Need
3 pieces of 9 x 12 inch construction paper - black
2 pieces of 9 x 12 inch construction paper - any color
Scissors
Glue or glue stick
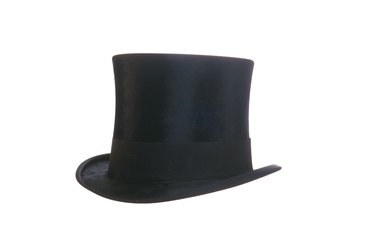
Frosty the Snowman is a beloved family classic in which an animated snowman dons a magical hat that brings him to life and sets off a variety of adventures. Variations of the story exist, but what remains the same is the signature top hat. If your child is playing Frosty in a holiday play or maybe you want to accessorize your own snowman, be sure to include the characteristic magician's top hat in your Frosty costume. Make your own Frosty the Snowman hat out of construction paper and other common craft supplies.
Step 1
Hold the construction paper so the longer side is horizontal. Wrap the construction paper around the child's head and use a pen to mark the paper where the edges overlap.
Video of the Day
Step 2
Cut the excess paper off at the mark. Apply glue along the edge of the paper and overlap the paper to form a cylinder. Press the paper together firmly with your fingertips to ensure that the glue will hold.
Step 3
Cut two strips of any color construction paper approximately two inches wide. The length of the strips should be two inches longer than the diameter of your cylinder.
Step 4
Measure one inch from each end of the strips and mark with a pen. Bend the strip down into a right angle at each mark to create one inch tabs at the end of the strips.
Step 5
Attach the paper strip across the top of the cylinder by gluing the folded tabs to the inside of cylinder. Affix the second strip in the same manner, forming an "x" across the top of the cylinder.
Step 6
Set the cylinder on the center of another piece of black construction paper and trace the cylinder to make a circle. Repeat on another piece of black construction paper so that you have two matching circles.
Step 7
Cut out one circle and attach it to the top of the cylinder by gluing the circle to the strips.
Step 8
Draw an outer circle around the second circle that you traced. The outer circle should be approximately two inches larger than the inner circle. Cut around the larger circle and cut out the inner circle to create a brim.
Step 9
Make several one inch vertical cuts approximately two inches apart around the bottom of the cylinder. Bend the tabs outward so they are perpendicular to the cylinder. Glue the brim of the hat to the tabs at the bottom of the cylinder.
Step 10
Add the finishing touches to your Frosty the Snowman hat with a ribbon around the base of the hat and a flower fastened to the ribbon. If you do not have ribbon or a flower, you can make both items out of colored construction paper.
Video of the Day