Things You'll Need
Paper
No. 2 pencil
Craft glue
Scissors
Wood or cardboard base
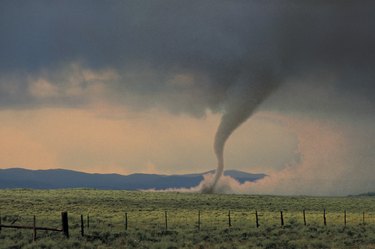
The paper tornado is a craft project for all age levels. The tornado looks realistic and is displayed alone or as part of a diorama. The paper tornado requires basic craft supplies and any sheet of white paper. Thick construction paper maximizes durability, but thin printer and notebook paper are easy to wrinkle and manipulate. Building the basic tornado is accomplished in roughly 10 minutes, but custom drawings on the exterior of the paper add time to the project.
Step 1
Crumple the paper into a ball to create a wrinkle effect. Return the paper to a flattened position without smoothing the edges to remove the wrinkles. The wrinkles create a realistic-looking exterior.
Video of the Day
Step 2
Shade one side of the paper with a No. 2 pencil. Use a light shading and cover the entire paper to build the gray color.
Step 3
Hold one corner of the paper and roll the corner until the paper assumes a conical shape. Apply a thin bead of craft glue to the inside of the exposed edge to hold the shape. Wait five minutes for the glue to dry.
Step 4
Manipulate the conical paper to refine the tornado shape. Pinch the bottom of the cone to create a tip. Trim the top with scissors to remove any pieces inconsistent with the real tornado shape.
Step 5
Glue the base of the cone to a piece of wood, cardboard or the inside of a diorama to hold the tornado upright.
Tip
Make the height of the tornado match the height of your diorama box. Glue the top and bottom of the tornado to the box for a stable position.
Video of the Day