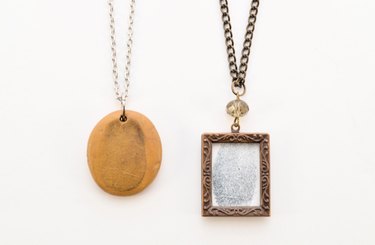
With so many ideas already out there, creating personalized jewelry can be quite the task. Instead of picking your brain for an entirely new design, try using fingerprints in your next piece. This makes an amazing gift idea for Mother's Day or birthdays and it's extremely budget friendly. The personalized element creates a darling memento to be cherished for years to come. You can use any finger, but thumbs apply the most even amount of pressure. Here are two ways to turn a fingerprint into a wearable work of art.
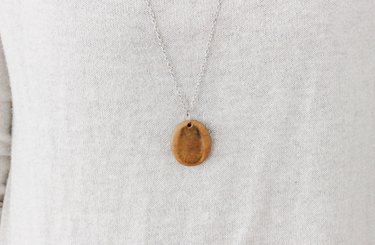
Version 1: Clay Fingerprint Necklace
Video of the Day
Oven-bake clay appears in the supplies list of many crafts, but it's especially useful for making jewelry. This version uses clay and ink to showcase a thumbprint. If you prefer a softer effect, simply skip the ink. Before you start, heat your oven to the temperature indicated on the clay package. Most brands require a temperature somewhere between 230 to 275 degrees F.
Video of the Day
Supplies
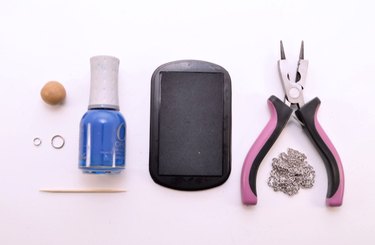
- Ball of oven-bake clay (about 3/4" wide)
- Medium (6-8 mm) jump ring
- Large (10-12 mm) jump ring
- Solid cylindrical object (such as a bottle of nail polish)
- Toothpick
- Dark-colored ink pad
- 3-in-1 jewelry pliers
- Chain (this project used 36")
- Metal cookie sheet and parchment paper (not shown)
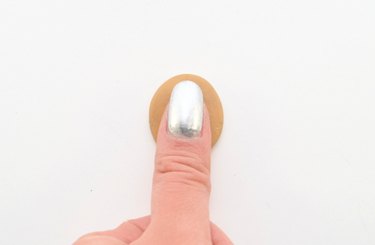
Step 1
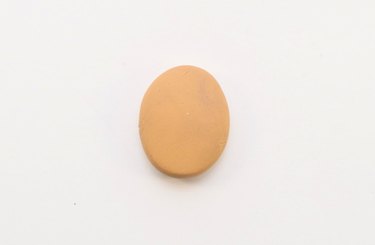
Using the cylindrical object, flatten the ball of clay into an oval shape. Make the oval slightly bigger than your thumb.
Step 2
Firmly press your entire thumb onto the ink pad, then directly onto the clay.
Step 3
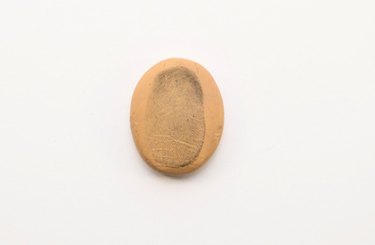
Let the clay sit for a few minutes to let the ink dry. If necessary, adjust the shape of the pendant with your fingers.
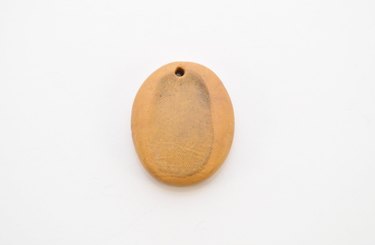
Step 4
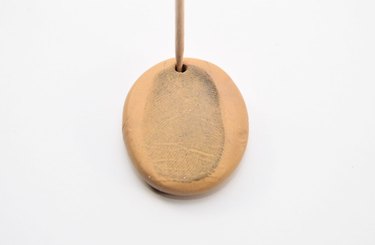
Using the toothpick, pierce a hole at the top of the oval. Center the hole as well as possible.
Step 5
Cover an oven-safe plate or cookie sheet with parchment paper and put the pendant in the oven for 15 to 20 minutes, or as indicated by the clay's directions.
Step 6
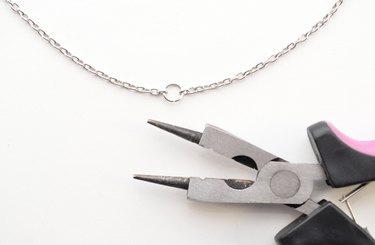
While the pendant bakes, connect the ends of the chain with the smaller jump ring. This can be done by opening the jump ring with pliers, sliding on both ends of the chain, then closing the jump ring.
Step 7
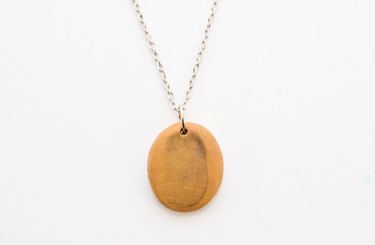
Once you take the pendant out of the oven, let it cool. Attach the pendant to the chain using the larger jump ring. You just completed a clay thumbprint necklace!
Version 2: Framed Fingerprint Necklace
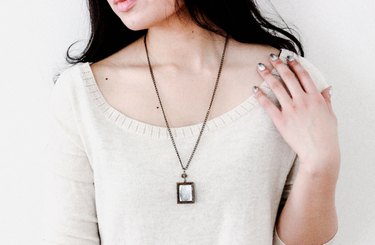
Another option is to use a frame pendant for a more modern look. Frame pendants are essentially tiny frames that hold photos, just like real frames. Just like chain and charms, they're available in a variety of metal finishes like brass and silver. From the colored ink to the bead embellishment, this version has more room for customization.
Supplies for Framed Thumbprint Necklace
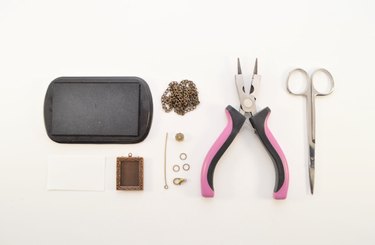
- Ink pad
- Scrap paper
- Frame pendant
- Chain (this project used 22")
- Eye pin
- Bead
- 6mm jump rings (3)
- Jewelry clasp
- 3-in-1 jewelry pliers
- Scissors
Step 1
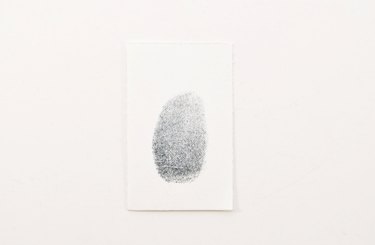
Press your thumb into the ink pad, then onto the paper. Let it dry. For a more colorful twist, try using pastel paper or vibrant ink.
Step 2
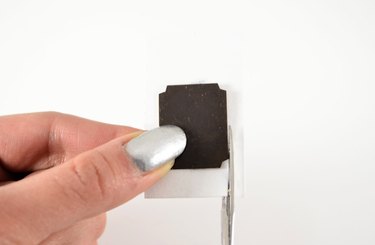
Depending on the type of frame pendant, there will be a metal backing or glass insert. Remove this and place it on top of the thumbprint, using it as a guide to cut the paper.
Step 3
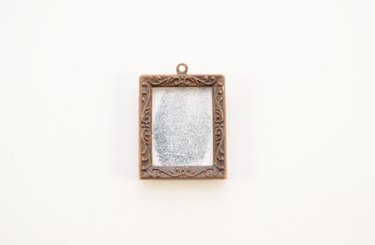
Slip the paper into the frame. Re-insert any parts that you removed.
Step 4
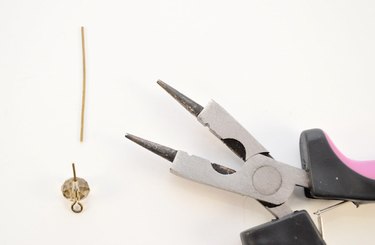
Add the bead onto the eye pin and trim the excess, leaving about 1/4". Feel free to use any type of bead that fits your style!
Step 5
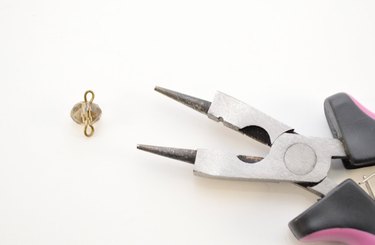
Using the round-nosed ends of the pliers, create a loop at the end of the eye pin. This step turns a bead into a connector.
Step 6
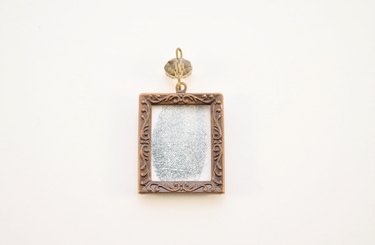
Attach the bead to the frame pendant. The beaded connector adds a little extra something to the frame pendant.
Step 7
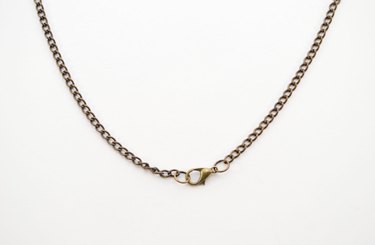
Add a jump ring to one end of the chain. On the other end, attach the jewelry clasp with a jump ring. For shorter chain necklaces, you need to add a jewelry clasp.
Step 8
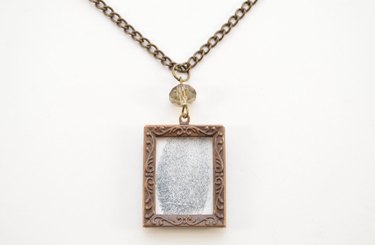
Using the last small jump ring, attach the frame pendant to the chain to complete your new necklace.