Things You'll Need
Cereal box
Scissors
Tape or stapler
1 balloon
Old sneaker
Newspaper
2 cups flour
2 cups water
1tsp. salt
Bowl
Spoon
Sandpaper
Paint or camouflage fabric
Netting (optional)
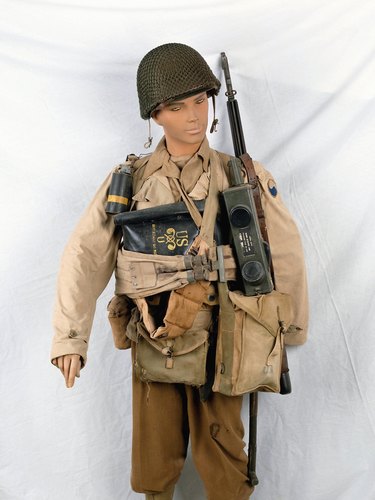
Soldiers in Word War II worel helmets to protect themselves in battle. Many helmets had camouflage coverings to help conceal soldiers from enemy observation. WWII helmets are fairly easy to obtain from the Internet, costume and antique shops. It is also possible to make your own from simple household items. Making your own helmet will take a few days, so allocate enough time for the paper mache to dry. You can camouflage your helmet with netting, paint or foliage.
Step 1
Cut the cereal box open and lay it flat on your work surface. Cut a strip that's three inches wide. Wrap the strip around your head. The band must be very loose as the helmets are not tight fitting. Secure the band with tape or a stapler and trim off any excess.
Video of the Day
Step 2
Blow up the balloon until it is as big as your head. Squeeze it into the headband you made in step one. The knot of the balloon should be facing the back of the headband. Place the bottom of the balloon into the top of your old sneaker.
Step 3
Mix the paper mache. Combine the flour, water and salt in a bowl and mix well with the spoon. The mixture should have the same consistency as paint.
Step 4
Cut the newspaper into two-inch side strips. Dip the strips into the flour mixture and lay them across the top of the balloon. Start at the back and work to the front, overlapping the strips as you go. While the headband is still wet, turn the brim up at the front and back to form a small lip. Leave the helmet to dry overnight.
Step 5
Repeat the process, leaving the helmet to dry overnight after each application, until four layers of paper mache are on your helmet. Check that the paper mache is dry. You can do so by pressing a fingernail into the paper mache. If no indent is left, the helmet is dry.
Step 6
Paint your helmet with the appropriate color paint. Leave the helmet to dry. Staple netting to the inside bottom, if you wish.
Tip
When dipping the newspaper strips into the flour mixture, gently run your fingers over them to remove excess glue. Instead of painting, you can cut a piece of camouflage fabric and, using adhesive, stick it to the helmet. If you use netting, you can stick foliage into the netting for added camouflage. Make a chin strap by cutting up an old leather belt or band elastic. Staple it to the inside of the helmet.
Video of the Day