Buckeye Brownies Recipe With Brownie Mix: Step-by-Step
This buckeye brownies recipe takes the sensible route: boxed brownie mix for the base, homemade peanut butter filling and ganache for the layers that actually define the dessert. By the time you're done, you'll have a clean, sliceable pan of three-layer bars fudgy brownie base, creamy peanut butter filling, glossy chocolate ganache with most of the elapsed time spent waiting, not working.
The recipe draws from Ohio's most famous candy: peanut butter and powdered sugar rolled into balls, chilled, and partially dipped in chocolate. As Serious Eats noted last summer, the candy takes its name from the Ohio buckeye tree nut, which resembles a deer's eye. The brownie version translates that same flavor pairing into a bar format that feeds a crowd. The homemade peanut butter filling and ganache do the differentiating; the brownie base is the foundation, not the feature.
Buckeye brownies recipe: ingredients and equipment
Video of the Day
For the brownie base:
- 1 box (16-18 oz) brownie mix, plus eggs, oil, and water per package directions
For the peanut butter filling:
- 1 stick (1/2 cup / 113g) unsalted butter, at room temperature
- 3/4 cup creamy peanut butter (commercial brand; see note)
- 1 1/4 cups powdered sugar
- 1 tsp vanilla extract
- 1/2 tsp kosher salt
For the chocolate ganache:
- 6 oz bittersweet chocolate bar (70-75% cacao), finely chopped (not chips; see note)
- 1/2 cup heavy cream
Optional finish: flaky sea salt
Equipment:
- 8x8-inch square baking pan (a 9x9-inch pan works; reduce bake time by about 5 minutes and expect thinner layers)
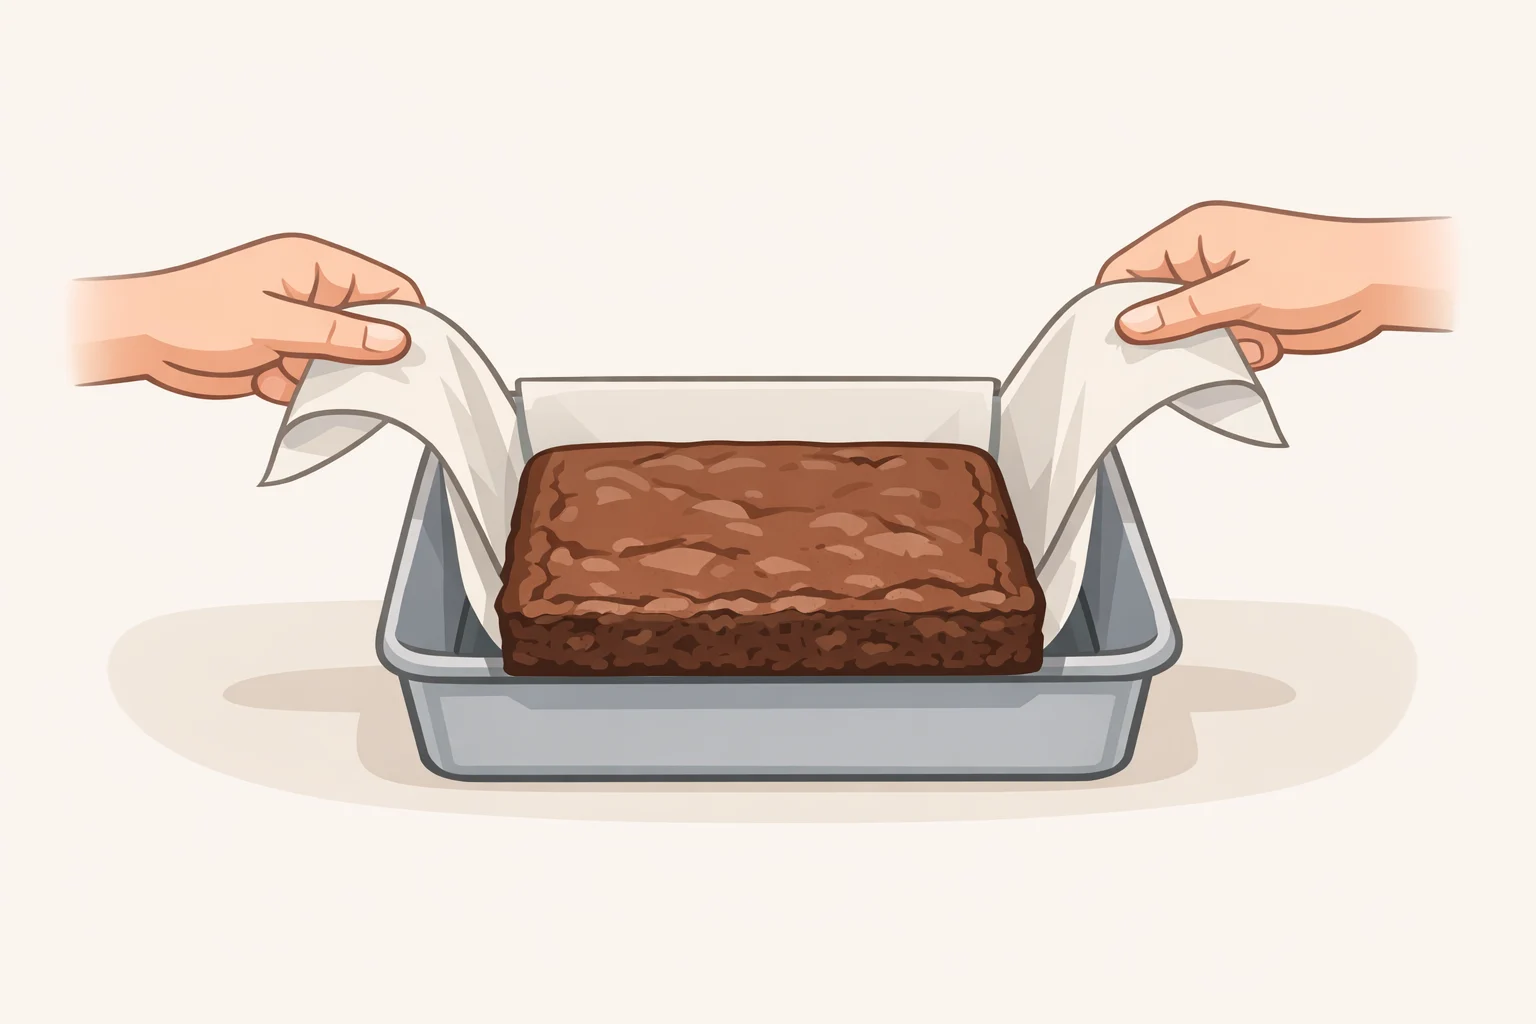
- Two sheets of parchment paper, overlapping, with several inches of overhang on all four sides this is how you'll lift the slab out cleanly
- Stand mixer or hand mixer
Ingredient notes:
- Peanut butter: Use a stabilized commercial brand Jif, Skippy, or equivalent. Natural peanut butter's separated oils can make the filling looser and less reliable; it may not hold its shape as the layers chill. The Kitchn specifies stabilized only.
- Chocolate for ganache: Bar chocolate, not chips. Chocolate chips contain stabilizers that help them hold their shape during baking, which also prevents them from melting smoothly into ganache. Serious Eats warns against anything below 70% cacao for this recipe it risks a dessert that's too sweet and falls short on chocolate flavor. Bittersweet at 70-75% cacao balances the sweetness of the peanut butter layer most effectively.
- Butter temperature: Cool and pliable, around 65°F. Butter that's too warm won't cream correctly and produces a soft, unstable filling, per Serious Eats.
- Total time: Plan for roughly three to four hours, nearly all of it chilling. Active prep is under an hour.
Variations:
- Gluten-free: The three-layer approach works with a gluten-free boxed mix. Krusteaz published a version of this last year using their own branded mix; follow whichever mix's specific directions for the base, since timing and liquid ratios vary between products.
- Scratch brownie base: If skipping the box, three tablespoons of strongly brewed coffee whisked into the batter deepens chocolate flavor and cuts sweetness without making the brownies taste like coffee. Serious Eats found in testing that the coffee enhances chocolate complexity without leaving any detectable coffee presence in the finished bars.
Video of the Day
Step-by-step: making buckeye brownies
Three phases. Finish each one, chill, then proceed. Compressing or skipping chill time is the single most common reason these bars fail.
Step 1: Bake the brownie base
- Preheat the oven to 325°F. Spray the 8x8-inch pan with cooking spray, then line with two overlapping strips of parchment paper, leaving a few inches of overhang on all sides, per The Kitchn.
- Prepare the boxed brownie batter per package directions and pour into the pan. Spread evenly.
- Bake approximately 35 minutes. Pull when a tester inserted in the center comes out clean, per The Kitchn. Don't push past that point; a dry, overbaked base won't bond as cleanly with the peanut butter layer.
- Transfer to a wire rack and cool completely, about 90 minutes. A warm brownie will soften and destabilize the filling. There is no workaround for this step.
Step 2: Make the peanut butter filling and chill
- Beat the room-temperature butter with a stand or hand mixer until light and fluffy, about one minute. Add the peanut butter and beat until smooth, about one more minute. Scrape down the bowl. Beating these two together first introduces air Serious Eats confirmed that creaming the butter and peanut butter together is what gives the filling its smooth, stable texture rather than a dense or gummy result.
- Add powdered sugar, vanilla, and kosher salt. Beat on medium until fully combined, about 30 seconds.
- Spread the filling evenly across the cooled brownie layer, edge to edge.
- Refrigerate until the surface is firm to the touch, about 45 minutes, per The Kitchn.
Pouring warm ganache onto a soft filling will cause the peanut butter layer to shift and smear. If the filling still moves when you press it gently, give it another 30 minutes.
Step 3: Make the ganache and finish
- Place the finely chopped chocolate in a heatproof bowl. Make sure the bowl is completely dry; even a small amount of water can cause the chocolate to seize.
- Heat the heavy cream in a small saucepan over medium heat until steaming and just beginning to bubble at the edges. Do not let it boil.
- Pour the hot cream over the chocolate and let it sit undisturbed for 10 minutes, then stir from the center outward until smooth and glossy, per The Kitchn.
- Pour the ganache over the chilled peanut butter layer and spread to the edges with a small offset spatula or the back of a spoon.
- Refrigerate until the ganache is fully set, at least one hour or overnight. Serious Eats notes that bars pulled before that hour is up will have a soft peanut butter filling that oozes when sliced.
Step 4: Slice and serve
- Lift the entire slab out of the pan using the parchment overhang and set on a cutting board.
- Cut into 16 to 18 pieces, wiping the knife clean between each cut. The colder the bars, the cleaner each slice, per The Kitchn.
- Finish with flaky salt immediately before serving if desired.
Troubleshooting: what goes wrong and why
- Brownie base is dry or crumbly: Overbaked. Pull earlier next time the tester should come out clean but the base should still have some give. A dry base also won't hold the peanut butter layer cleanly when sliced.
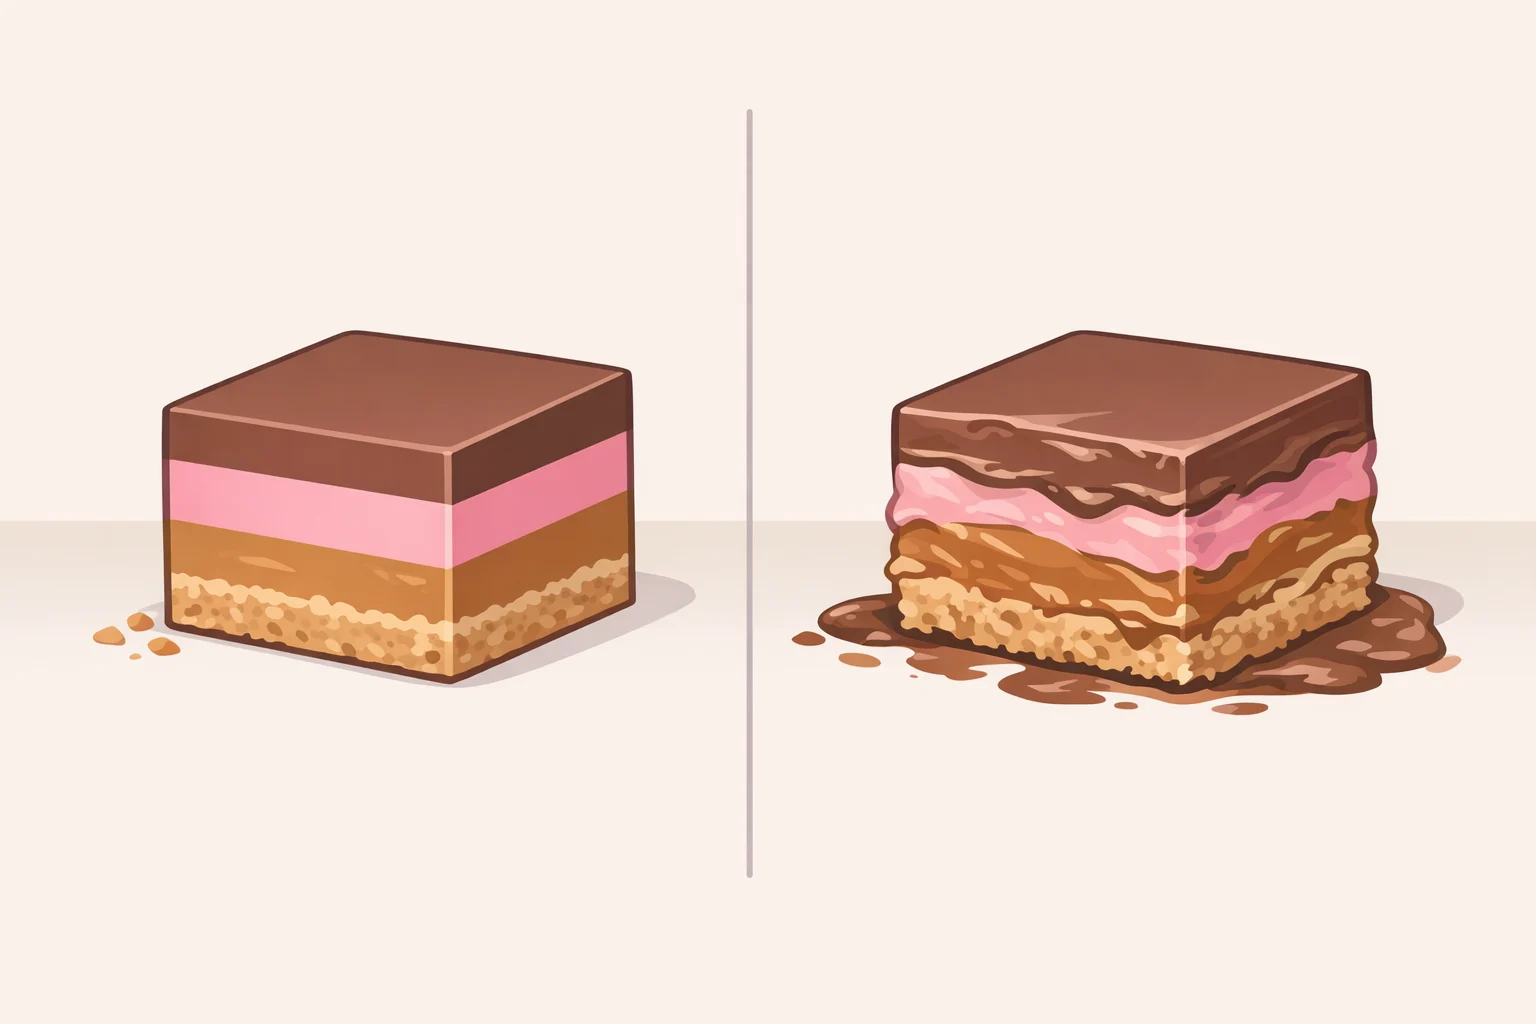
- Peanut butter filling is too soft or smears: Two possible causes. Butter was too warm when creamed, or the filling wasn't cold enough before the ganache went on. Both fixes require patience. Return the pan to the refrigerator for another 30 minutes before trying again.
- Ganache is grainy or won't come together: Usually caused by overheating the cream or water contact with the chocolate. A wet bowl is enough to wreck it. Start over with fresh chocolate and dry equipment. Using chips instead of bar chocolate makes this more likely, since their stabilizers resist emulsifying another argument for bar chocolate, per Serious Eats.
- Layers slip or peanut butter oozes when sliced: Not enough total chill time after the ganache sets. Serious Eats found that bars need at least one full hour after final assembly overnight is better. Wipe the knife clean between cuts and keep the bars cold until you're ready to serve.
Make-ahead and storage
These bars are built for advance preparation. Chilling firms each layer and the structure holds together more cleanly after a full night in the refrigerator. Serious Eats recommends assembling the day before serving for exactly this reason.
The brownie base can be baked up to a day ahead, wrapped tightly in plastic, and held at room temperature until you're ready to build the layers, per The Kitchn.
Store fully assembled bars in an airtight container for up to three days, at room temperature or in the refrigerator, per The Kitchn. At room temperature the ganache softens slightly and the peanut butter layer becomes more yielding; straight from the fridge, the layers hold their edges cleanly. For longer storage, freeze sliced or unsliced bars in an airtight container for up to three months and thaw at room temperature for at least an hour before serving.
Make them the day before, slice cold, and serve slightly chilled. The timeline is built into the recipe it's not a limitation so much as the point.