How to Make a DIY Match Striker Holder From a Thrifted Jar
A TikTok creator named Julia bought a small green glass jar at a thrift store for $1.50, stuck an adhesive strike paper sticker to the base, and posted the result. Viewers immediately started doing the math. "Anthropologie would be like $69.99. Love this!" one commenter wrote, per Apartment Therapy. Another called it "one of the best easy thrift flips I've seen."
That reaction makes sense. This DIY match striker holder costs around $7 on a first build, looks like something you'd find in a design-forward home goods store, and holds up because the functional element is designed to be replaced. When the abrasive surface wears out, peel it off and apply a fresh sticker. The glass vessel stays; only the consumable gets swapped.
By the end of this guide, you'll know what vessel shapes to look for, how to prep and apply the strike paper, and what to do when things go wrong.
What you'll need before you start
Video of the Day
- A thrifted glass vessel (selection criteria below)
- Adhesive match strike paper stickers, or sheet strike paper with scissors
- Rubbing alcohol
- A cloth or paper towel
- Safety matches
Match strike paper stickers run under $10 on Amazon, with some sets including both round and rectangular shapes to fit different vessel bases, per Apartment Therapy. One pack covers multiple vessels, so the per-unit cost drops on any project after the first. Sheet paper is also available if you'd rather cut a custom shape.
Video of the Day
Step 1: Find the right vessel for your DIY match striker holder
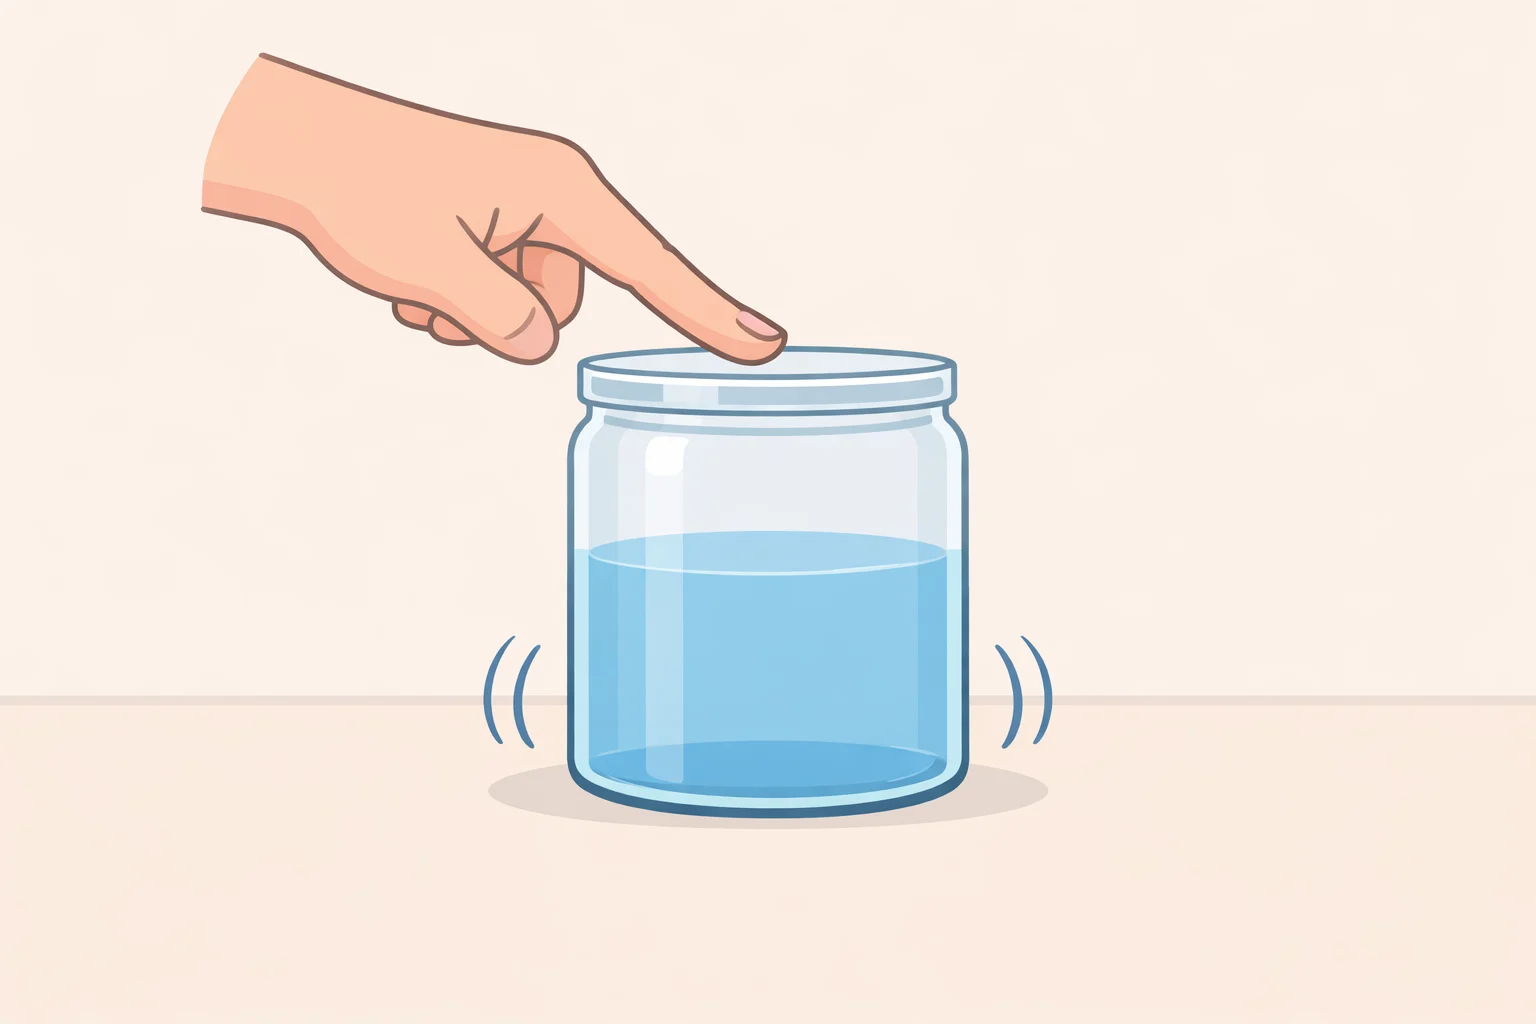
This is the only decision in the project that requires actual judgment. Everything else is prep and application.
The working rule: short, wide-mouthed, flat-bottomed.
Why flat base first. The strike paper sticker attaches to the base of the vessel. For it to sit flush and bond reliably, the base needs to be level and stable. Before committing to anything at the thrift store, set the vessel on a hard surface and press lightly at the rim. Wobble means the base isn't flat. Put it back.
Why the opening matters. The vessel's interior needs to hold matches upright without crowding them or letting them list sideways. Short apothecary jars, squat tumblers, vintage condiment jars, and low bud vases are all good candidates. The opening doesn't need to be wide enough to reach your hand in, just wide enough that matches drop in cleanly and stand up.
What to avoid. Tall, narrow vessels create a stability problem that's easy to overlook in the store. Lighting a match requires a short, firm lateral motion against the base. A vessel with a narrow footprint relative to its height tends to shift under that pressure. The same issue applies to anything heavily tapered at the base: the sticker surface can't make consistent contact with an uneven or very small footprint, which makes for an unreliable striker.
What to do with irregular shapes. An unusual base isn't automatically disqualifying. Sheet strike paper works well for thrifted items with irregular bases, as Apartment Therapy noted. Trace the outline, cut just inside the line, and apply. Pre-cut packs cover standard geometries well enough; sheet paper is worth ordering when neither round nor rectangular stickers fit cleanly.
A practical note on lids. If a vessel comes with a lid, that's genuinely useful, especially for bathrooms or anywhere humidity is a factor. Matches stay dry, the lid keeps dust out. The only thing to check is whether it opens comfortably one-handed. A lid that requires two hands to remove is a small but real annoyance over time.
Quick checklist for the thrift store floor:
- Does it sit flat without wobbling?
- Is the base footprint wide enough to feel stable when you press lightly at the rim?
- Can matches stand upright inside with some room to spare?
- Is the profile low rather than tall and narrow?
Four questions. Yes to all four, and the vessel will work.
Step 2: How to make a match striker jar with match strike paper stickers

1. Clean the base.
Wipe the bottom of the vessel with rubbing alcohol and give it a moment to dry. Thrift store items often carry residue from old price stickers, grime from shelving, or surface oils that interfere with adhesion. This is the step most people skip, and skipping it is the most common reason a sticker fails early.
2. Size the strike paper.
If using a pre-cut sticker, pick the shape that fits within the base footprint. The fit doesn't need to be exact, but no part of the sticker should overhang the edge. Any portion extending past the base catches wear immediately and starts lifting at the corner. If you're cutting from sheet paper, trace the vessel's base and cut just inside that line.
3. Apply and press.
Peel the backing, center the sticker on the base, and hold firm pressure for 30 to 60 seconds. Work from the center outward to push out any air bubbles underneath. If the sticker is smaller than the full base, keep it centered so the vessel still sits level. An off-center sticker creates a slight tilt that makes the whole thing awkward to use.
4. Let it set, then fill.
Give the adhesive a few minutes before putting the vessel into service. Load it with safety matches, striking ends up.
That's the project. When the strike surface eventually wears out, peel it off and apply a fresh one. The glass is unchanged; the sticker is just maintenance.
Troubleshooting your thrifted glass match striker
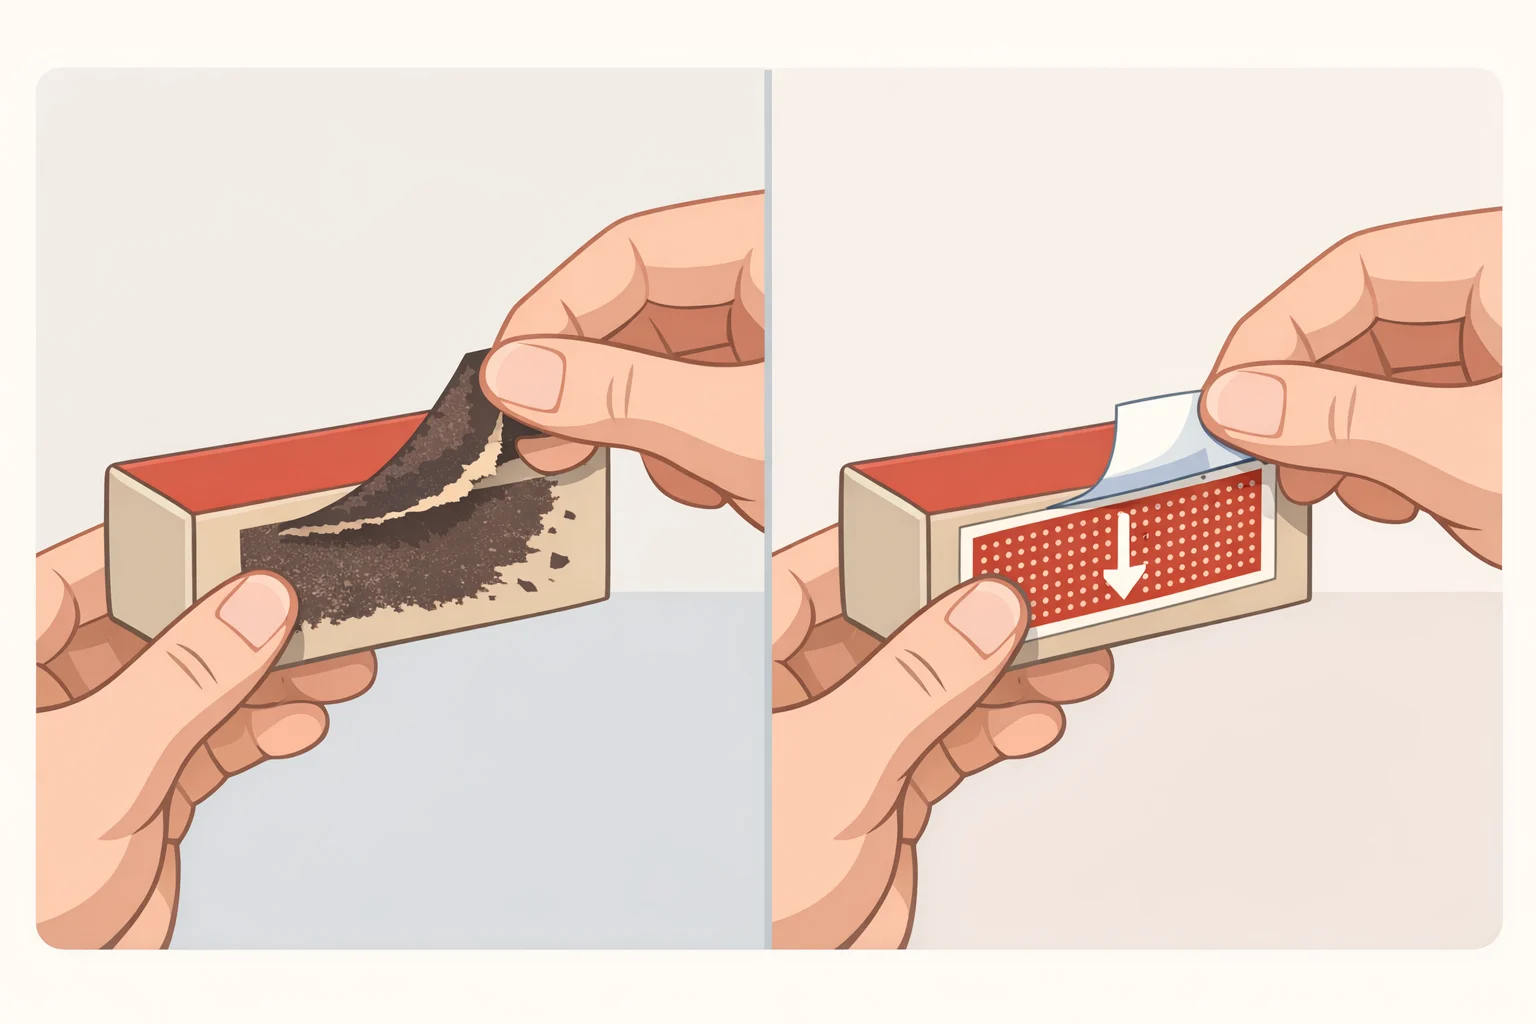
Three problems come up often enough to name.
Sticker peeling at the edges. The two most common causes: surface wasn't fully clean before application, or the sticker extends past the base edge. Strip the old sticker, clean the base with alcohol, let it dry completely, and apply a correctly sized replacement. Sizing within the footprint rather than flush to the edge gives the adhesive the best chance of staying put.
Vessel tips when striking. The base is too small relative to the vessel's height. For future projects, go shorter and wider. If you're already attached to this particular vessel, brace it against a fixed surface when lighting. Workable, just less convenient.
Strike paper stops lighting reliably. Normal wear, not a defect. Peel off the spent sticker, wipe the base with rubbing alcohol, and apply a fresh one, per Apartment Therapy. One pack covers multiple vessels and multiple replacement cycles, so ongoing cost after the initial purchase comes down to whatever you find at the thrift store.
Where this project makes most sense

The candle shelf placement is obvious: matches and candles belong together, and a thrifted glass match striker adds a functional piece that looks deliberate rather than like an afterthought. Apartment Therapy also flagged it as a solid DIY holiday gift option. A vessel with some visual character, stocked with matches and fitted with a clean strike surface, reads as something considered. Most people won't immediately recognize what the sticker on the base is for, which is part of why it works as a gift.
Making multiples brings the per-unit cost down further. A single sticker pack under $10 covers several vessels, so the dominant cost variable becomes whatever you find at the thrift store. The first build runs around $7. After that, it's mostly the cost of the next jar.
The formula stays the same: flat-bottomed glass, clean surface, correctly sized sticker. Find a vessel that passes the stability test and the rest is ten minutes of prep.