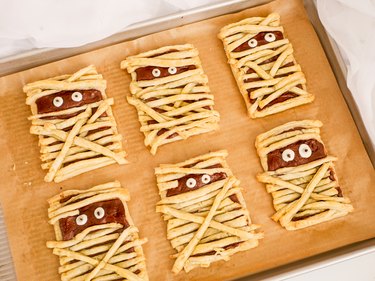
Get into the Halloween spirit with these mummy chocolate mini pies! Using premade pastry sheets, you can whip up these adorable treats with just three ingredients. While this recipe uses chocolate filling, you're welcome to use your favorite pie fillings instead, or you could even use a thick caramel sauce. Keep in mind that the darker the filling you use, the better the mummy's eyes will show in the final product. These mummy treats are perfect for adding a spooky touch to your Halloween parties.
Video: How to Make Mummy Pie Treats
Video of the Day
Quick Recipe Overview
SERVINGS: 6 mummy mini pies
BAKE TIME: 15 –
20 minutes
Things You'll Need
Rolling pin
Small knife
Ruler
Parchment paper
Baking tray
Spoon
Fork
Toothpick
Piping bag and scissors (optional)
Ingredients You’ll Need
- All-purpose flour
- 2 premade puff pastry or pie crust sheets (9 x 9-in. square), thawed
- Nutella or chocolate spread
- 1 to 2 Tbsp. water
- White chocolate
1. Line a baking tray
Line a baking tray with parchment paper and set it aside.
Video of the Day

2. Dust your work space
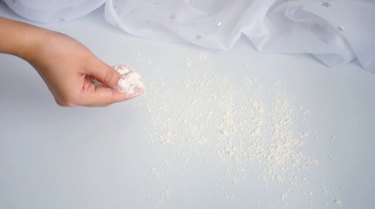
Lightly dust your work surface with all-purpose flour and unfold one premade puff pastry or pie crust sheet.
3. Roll out the pastry sheet
Gently roll out the pastry sheet to create a flatter surface. It should be about 9.5 x 9.5 inches after rolling.
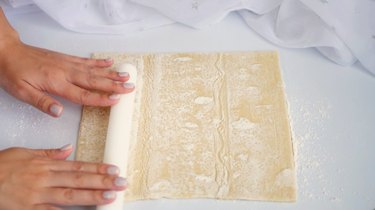
4. Create a crease
Fold the pastry sheet in half and press lightly along the fold to create a center crease. Then, unfold it. The crease will help guide your cuts later, so don't press too hard.
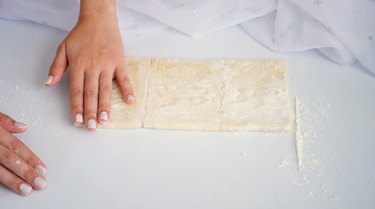
5. Cut the pastry sheet
Cut along the existing folds and the center crease you just made. You should end up with six rectangular pieces.
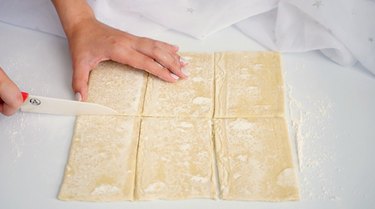
6. Arrange the pastries
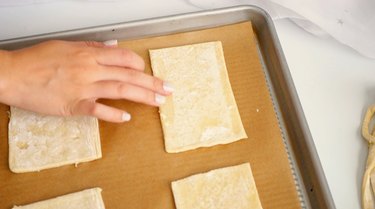
Arrange the six rectangles on the prepared baking tray lined with parchment paper. Refrigerate them while you prepare the rest of the mini pies.
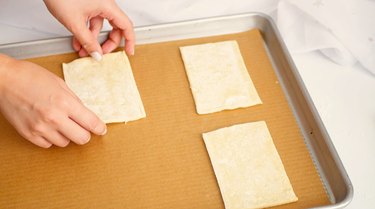
7. Dust your work surface again
Lightly dust your work surface with flour and unfold the second premade pastry sheet. Roll it out gently to achieve a similar 9.5 x 9.5-inch size.

8. Cut strips
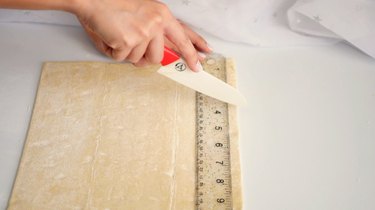
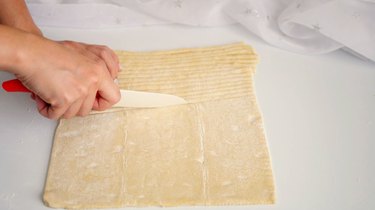
Cut strips that are about 1/4 to 1/2-inch wide from this pastry sheet using a ruler and a small knife. Set them aside.
9. Moisten the edges
Remove the baking tray from the fridge. Using your finger, dab a small amount of water along the edges of each pastry rectangle.
10. Add the chocolate filling
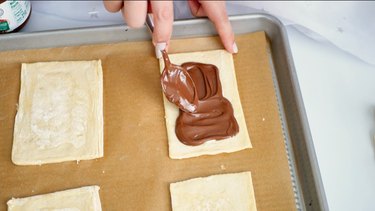
Spread 1 to 2 tablespoons of chocolate filling onto each pastry rectangle, ensuring the filling stays about 1/4 inch away from the edges.
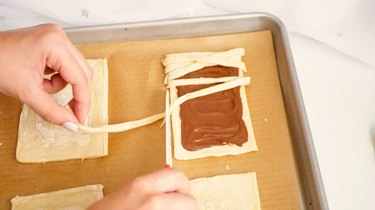
11. Arrange the pastry strips
Preheat the oven to 400°F.
Place the pastry strips you cut earlier on top of the chocolate spread, trimming the edges as needed. Alternate the direction of the strips to mimic the look of mummy bandages, leaving a small gap for the mummy's eyes.
12. Seal the filling
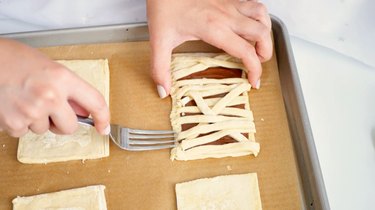
Use a fork to crimp the edges of the pastry, sealing in the filling.
13. Bake the pastries
Bake the pastries for 15 to 20 minutes or until they turn golden brown. Let them cool.
14. Create the mummy’s eyes
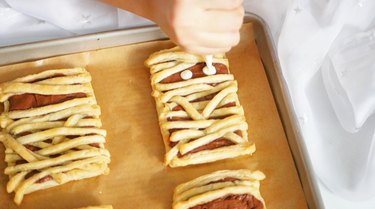
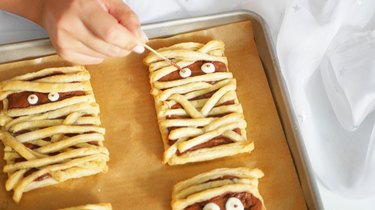
To create the mummy's eyes, pipe two small circles of melted white chocolate in the gap you left earlier. For the pupils, dip a toothpick into the chocolate spread and dab small dots onto the white chocolate circles. Allow the chocolate to set and enjoy your mummy pies!
