
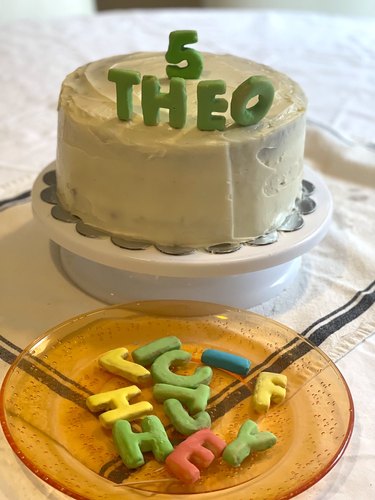
Cake is always a good idea. Whether you're using it to say "happy birthday" or whipping up something wonderful just because, it's tough to beat the sweet and creative vibes of a homemade cake. And when it comes to cake decorating, there are so many delicious ways to personalize your bake beyond classic frosting. With this innovative spirit in mind, we've whipped up a kid-friendly birthday cake using frosted alphabet sugar cookies in primary colors, but this lovely letter cake is versatile enough to work for any occasion (and any recipient!).
Cake decorating? It's elementary! Let's get started on a beginner-friendly tutorial.
Video of the Day
Video of the Day
Things You'll Need
2 1/4 cups all-purpose flour plus extra for dusting pans
1/2 tsp. baking powder
1/4 tsp. salt
3/4 cup unsalted butter (softened to room temperature)
3/4 cup granulated sugar
1 egg at room temperature
2 tsp. vanilla extract
Spatula
Whisk
Hand-held or stand mixer
Mini alphabet and number cookie cutters
Rolling pin
Parchment paper
Plastic wrap
2-3 cookie sheets
Wire rack
1. Whisk dry ingredients
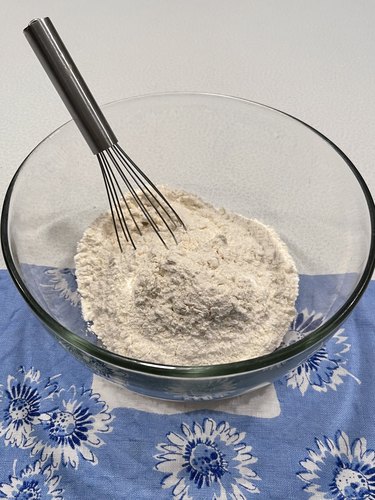
In a large bowl, whisk salt, flour and baking powder.
2. Beat butter and sugar
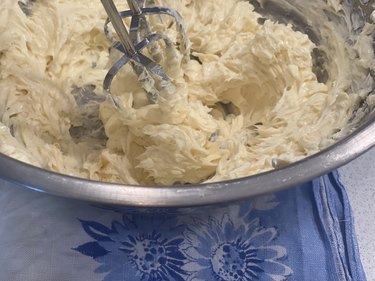
Using a hand-held mixer or the paddle attachment of a stand mixer, beat the butter and sugar on high for 1-2 minutes until smooth.
3. Mix egg and vanilla
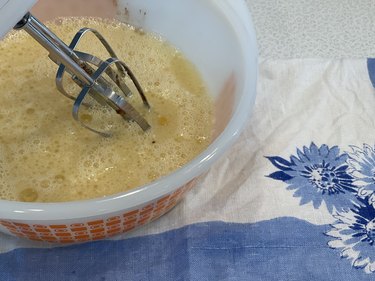
Combine the egg and vanilla and then use a spatula to scrape the batter from the edges of the bowl.
4. Combine dry and wet ingredients

Add the egg and vanilla mixture to the dry ingredients and mix on low until combined. Add about 1 Tbsp. flour if the dough is too sticky.
5. Roll and chill dough
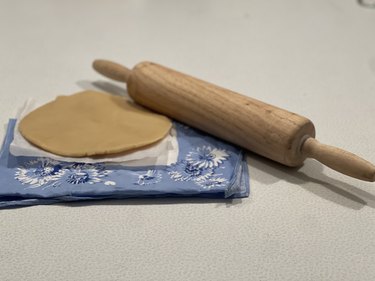
Split the dough in half. Using a rolling pin, roll the dough on a piece of parchment paper about 1/4 in. thick. Cover it in plastic wrap and chill it in the fridge for at least 2 hours but preferably overnight.
Tip
Roll out the dough with a rolling pin before chilling. This makes the dough more pliable and easier to shape.
6. Shape dough
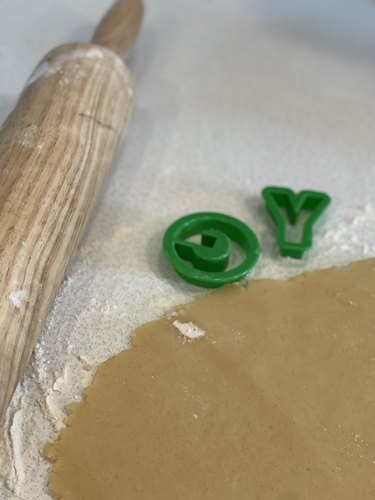
Once the dough is chilled, preheat the oven to 350°F and line cookie sheets with parchment paper. Place the rolled-out dough onto a floured surface. Using cookie-cutter templates, shape letters and numbers by pressing them into the dough.
Continue rolling out the excess dough until you have shaped all the letters and numbers.
Tip
Make 2-3 cookies of each letter and number to vary colors on the cake. Set aside the centerpiece characters and have several of those letters in case of mistakes.
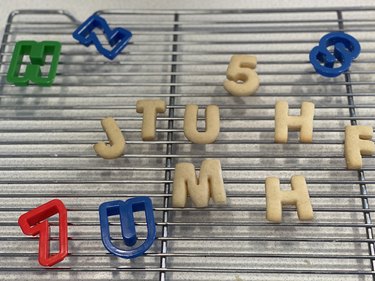
Bake the cookies for 12 minutes or until golden brown. Cool on a wire rack.
Things You'll Need
3 Tbsp. meringue powder
4 cups confectioners sugar
10 Tbsp. water at room temperature
4 small bowls
Gel food coloring in red, yellow, green and blue
Toothpicks
Whisk
Spatula
Plates or cookie sheet
Stand or hand-held mixer with whisk attachment
Dish towels or paper towels
1. Combine ingredients
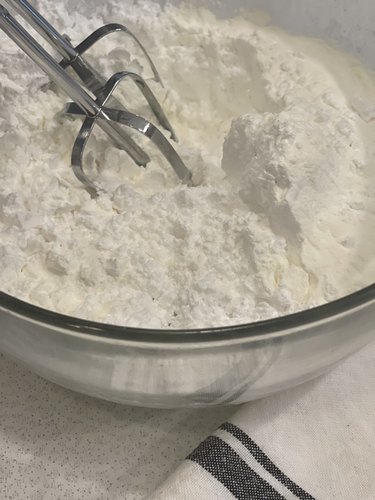
Beat confectioners' sugar, meringue powder and water on a high speed with a whisk attachment for 2 minutes. If the icing is too thick, add more water. If it's too thin, add more sugar or continue whisking.
Tip
Meringue powder is a good substitute for the traditional egg whites in royal icing, as it's super easy to work with and there's no risk of eating raw eggs. You can usually find meringue powder on Amazon.
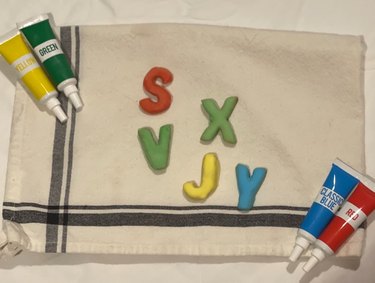
2. Mix colors
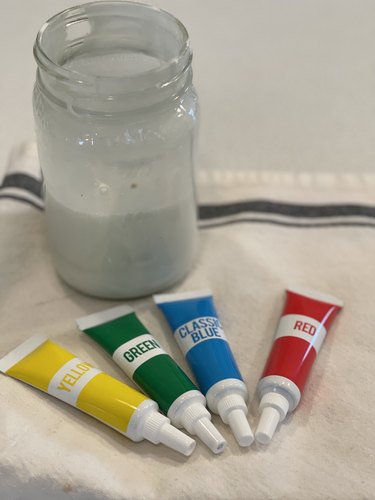
Separate the white royal icing into 4 bowls. Stir 2-3 drops of gel food coloring into each bowl with a whisk or spatula.
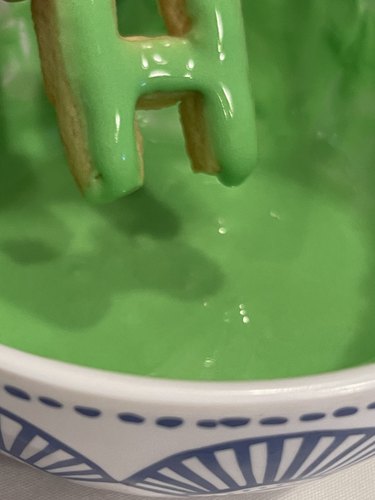
Carefully dip one side of each letter cookie in the icing by submerging it in the bowl. Let the excess frosting drip back into the bowl.
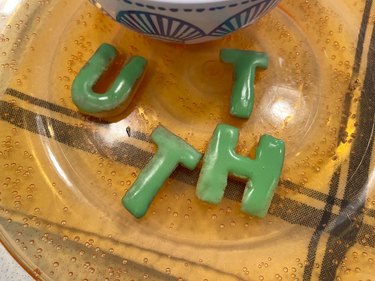
Place the wet-side-up cookies on a cookie sheet or plate and let them dry for 2 hours. Once the first side is dry, dip the other side in royal icing, drip off the excess and dry.
Tip
The setting time for royal icing varies greatly depending on the consistency and room temperature. To speed up the process, place the frosted cookies in the refrigerator between sides.
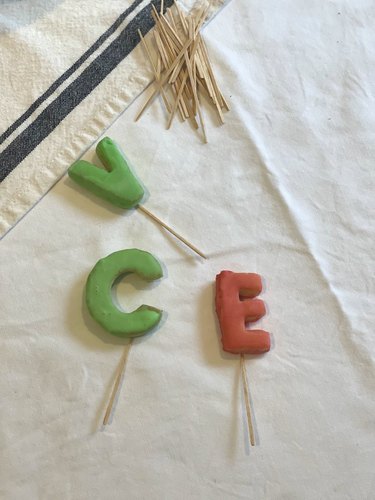
5. Touch up icing
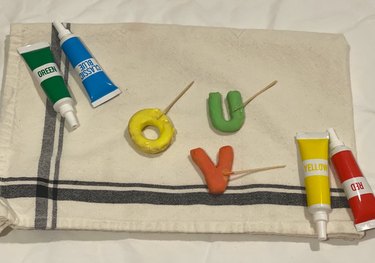
Using a toothpick, fill in the sides of the letters and numbers. The toothpick can also be used to smooth out any bubbles.
Tip
Royal icing can be very messy! Make sure to have extra paper towels or old dish towels available to wipe your hands and workspace as you go.
Assembling Cake
Things You'll Need
Homemade/boxed vanilla or chocolate cake batter with enough for 3 layers
3 8- or 9-in. round cake pans
Parchment paper
1 Tbsp. butter
2 Tbsp. all-purpose flour
Toothpicks
Plastic wrap
6-7 cups buttercream frosting (store-bought or homemade)
Bench scraper
Offset spatula
Rotating cake stand
Cardboard cake round (2-3 in. larger than cake pan size)
Serrated knife
1. Prepare pans and bake
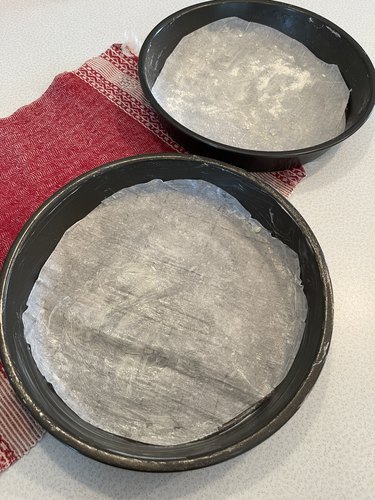
Preheat the oven. Before adding the batter, grease the pans with a layer of butter and flour. Line with parchment paper and grease again with butter and flour. Divide the cake batter evenly (both chocolate and vanilla cake work nicely here) and bake, following the instructions on your recipe.
2. Chill
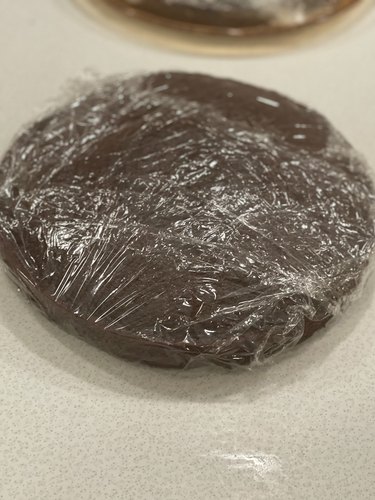
Cover each layer in plastic wrap and let the cake cool in the refrigerator for several hours.
Tip
Want to take this easy cake recipe to the next level? There’s so much room for innovation. Accent the letter cookies with fresh fruit, dollops of whipped cream, a piping-tip buttercream border, themed cake toppers or crushed Oreos for a cookies and cream touch. Creativity is sweet!
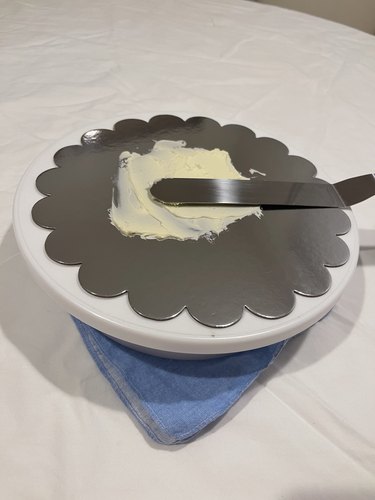
3. Level and layer the cake
Once the cake layers have cooled, level each layer with a serrated knife by cutting off the domed top. This allows for evenly sized layers, which makes them easier to stack.
Add a tablespoon of frosting to the cake board, place the board on a rotating cake stand and attach the first layer of cake. Spread a layer of buttercream frosting on the first layer and then stack the second layer. Repeat before attaching the third layer. Press down on the top of the cake.
Tip
To minimize crumbling when frosting the cake, place the cake layers in the freezer for 20 minutes before frosting.
4. Frost crumb coat
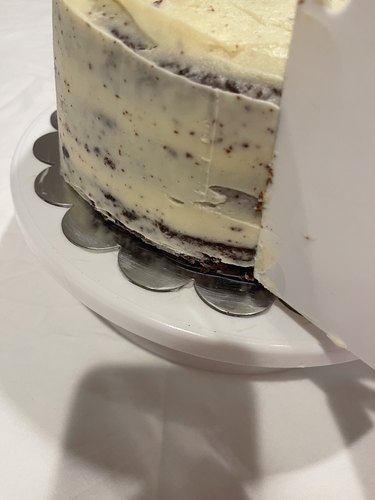
Using an offset spatula, spread buttercream frosting all around the layered cake stack. Next, smooth out the frosting with a bench scraper as many times as needed. Wipe off the excess frosting before going around again. It's OK to see crumbs at this point since this layer acts as a "frosting primer." To smooth, spread the leftover frosting from the edge to the top with an offset spatula.
5. Chill and repeat frosting
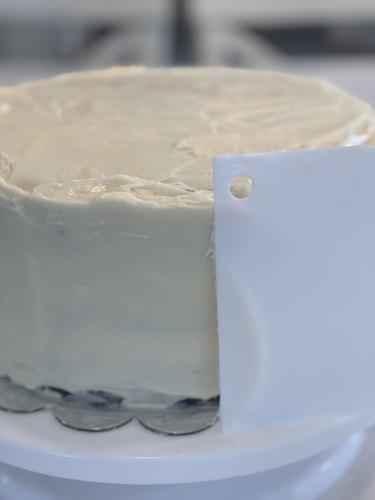
Between frosting the layers, chill the cake in the refrigerator for 20 minutes or in the freezer for 5 minutes. Once chilled, spread a second layer of buttercream frosting with an offset spatula and bench scraper. Make sure you have a lot of frosting here, as this layer should be much thicker than the crumb coat.
Run the bench scraper and offset spatula under hot water and then smooth out the frosting.
Tip
Patch up any crumb spots with extra buttercream frosting.
Set aside the letters and number(s) for the top of the cake. Gently stick toothpicks into the bottom of the letter and number cookies for the centerpiece and then stick them onto the cake top.
7. Decorate cake
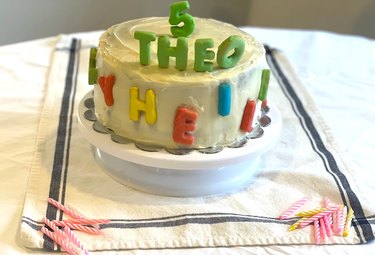
Now that you've followed our step-by-step alphabet cake tutorial, we hope you're feeling confident enough to tackle DIY desserts of all sorts. From cute cupcakes to personalized cookies, there's a whole world of homemade sweets just waiting to be made!