
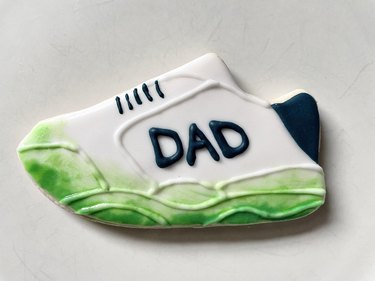
Ever heard the saying that the way to a person's heart is through their stomach? If that's true, these quirky and delicious Father's Day cookies make a perfect gift this year—and might even solidify your spot as the favorite child! Your dad (or dad figure) will love these "Dad Sneakers" cookies that celebrate the fathers who don't mind getting a little messy while spending time with their family, grass stains and all!
Video of the Day
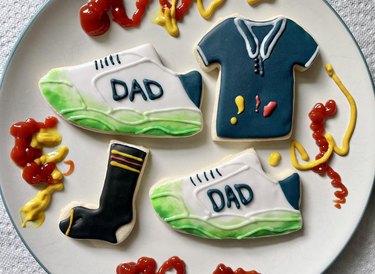
Below, you'll find ingredients and step-by-step instructions for our sneaker-themed sugar cookies and royal icing, but you can also add stained T-shirt and hole-filled socks to your cookie lineup (like we did below) for an extra-playful touch.
Video of the Day

Things You'll Need
1/2 cup granulated white sugar
1/2 cup unsalted butter (softened at room temperature)
1/4 tsp. almond extract
1/2 tsp. vanilla extract
1/2 large egg
1 1/2 cup all-purpose flour
1/4 tsp. salt
1 tsp. baking powder
Measuring cups
Measuring spoons
Stand mixer (optional)
Medium mixing bowl
Baking sheet
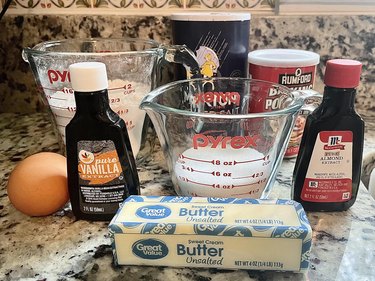
Make things easier on yourself by preheating the oven to 350°F and arranging cookie ingredients before officially diving into cookie dough-making process.
2. Cream butter and sugar
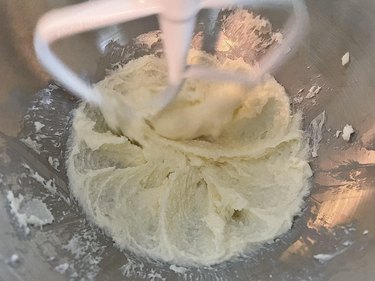
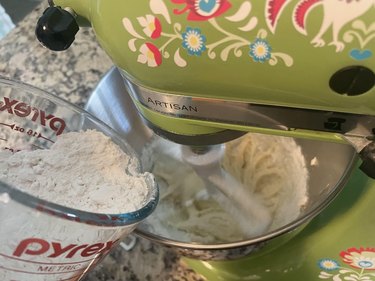
Add butter and sugar to bowl of stand mixer and mix for at least three minutes until consistency resembles creamy mashed potatoes.
3. Add extracts and egg
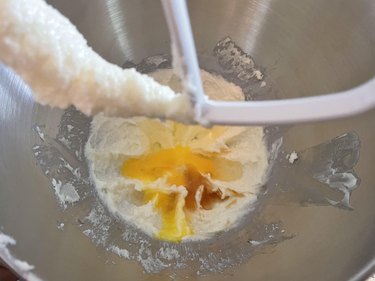
Add half egg and extracts to creamed butter and sugar. Mix together until fully combined.
Tip
If you’re not a fan of almond or vanilla extract, feel free to swap them out for another flavoring of your choice. Just be sure to keep the measurements the same.
4. Slowly pour in dry ingredients
In separate bowl, mix flour, baking powder and salt. Slowly pour dry ingredients into wet ingredients while stand mixer runs on low to medium speed. You'll know the dough is ready once it stops sticking to edges of mixer bowl and has a consistency like Play-Doh.
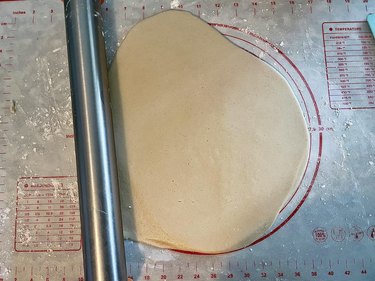
With clean hands, form finished dough into a ball and flatten with rolling pin. Aim for 1/4 in. thickness, which can be more accurately achieved using a rolling pin that includes size rings. Sprinkle a bit of flour on rolling pin or other surfaces if dough begins to stick.
Tip
While most sugar cookie recipes require waiting for finished dough to harden in the fridge, our recipe doesn’t, so you can even whip up these treats as a last-minute Father’s Day cookie gift.

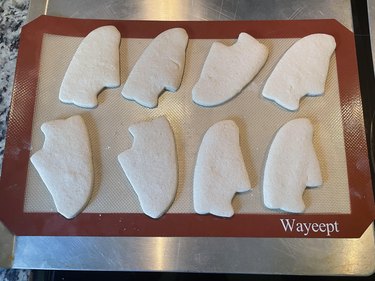
Using sneaker-shaped cookie cutters, push straight down into dough, leaving as little space in between as possible. Carefully transfer shapes onto nonstick baking sheet, roll remaining dough into a ball again, flatten out and repeat until you've used all the dough. Our recipe yields about one dozen cookies.
Place cookies in preheated oven and bake for about 10 minutes. This will ensure cookies are fully baked through while remaining soft. If you prefer a crispier sugar cookie, feel free to bake a few minutes longer.
Part 2: Make Royal Icing
Things You'll Need
1/2 lb. powdered sugar
3 Tbsp. warm water
Extract of your choice (optional)
Measuring spoons
Spoons for mixing
Spatula
1. Measure and combine royal icing ingredients
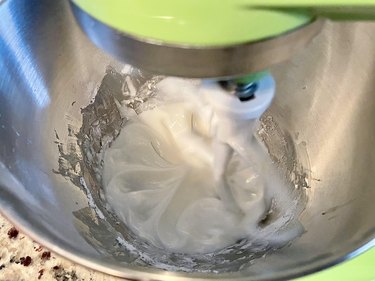
Combine powdered sugar, meringue powder and water in stand mixer. Add a few drops of your favorite liquid extract for additional flavor—just make sure extract is clear in color. Mix together until desired consistency is thick and gluelike.
Tip
You'll use this icing for outlining and flooding, so we recommend the 15-second method. This means if you slice a knife through the icing, it should blend back together in 15 seconds.
2. Separate icing and add gel food coloring

Royal icing is sticky, so use a spatula to scrape it from stand mixer and transfer into three small mixing bowls. Add food coloring to each bowl until reaching desired shades of blue, green and white. Since our Father's Day cookies are mostly white, make the largest amount of white icing, a medium amount of blue and a smaller amount of green.
3. Spoon royal icing into piping bags
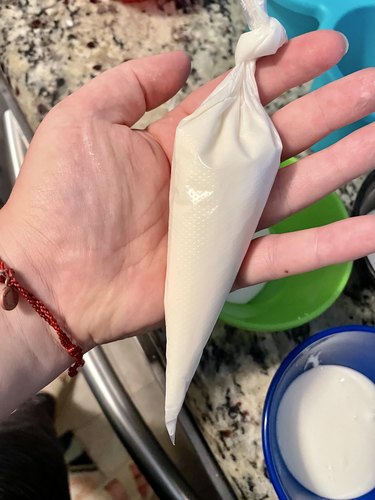
Using a spatula or spoon, transfer completed royal icing into piping bags and tie off bags with a basic knot. Piece of cake! Or, um...cookie.
Things You'll Need
Small mixing bowl
A few drops of water
Icing scribe (optional)
Cookies and royal icing from parts 1 and 2
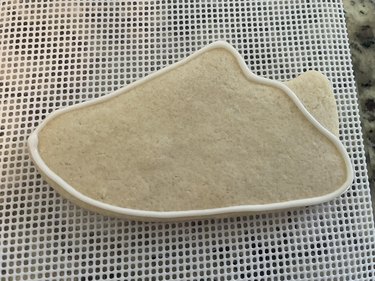
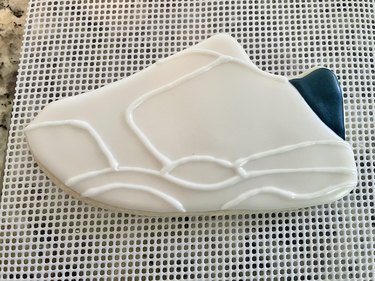
Pinch tip of piping bag in opposite direction of its crease. This will make the tip circular, allowing icing to flow evenly. Cut a tiny hole at the tip and start small to be safe. You can cut the hole a tad larger as you experiment and learn along the way. While outlining, allow icing to hover just above the cookie and fall into place, making for even lines and smoother curves. Outline all of shoe except heel tab (see photo).
2. Flood white sneaker area and outline heel tab
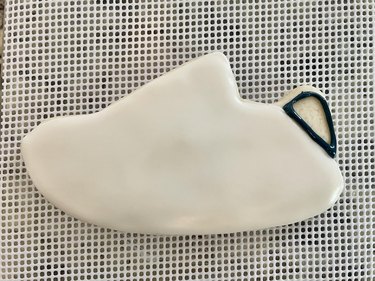
Now that you've learned piping (outlining), it's time to master flooding (filling in). Place tip of piping bag closer to cookie for flooding, as it helps icing spread more easily. Start against inside edge of outline and apply icing along the shape, slowly spiraling until reaching the middle. If you see air bubbles or tiny holes, use an icing scribe or toothpick to lightly swirl around the area until it settles. Finally, outline heel tab with navy blue icing.
3. Flood heel tab
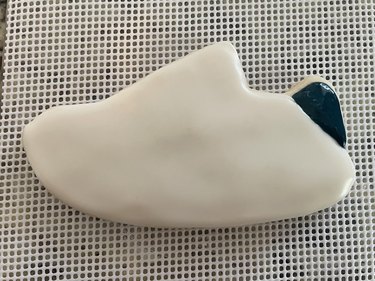
Flood small heel tab with navy blue royal icing.
4. Allow base to dry and add sneaker details
It's very important to let base layer of icing dry before adding details. If not dry enough, icing colors could bleed together, or weight of newly added icing could cause cratering (indentations). If possible, allow to dry overnight, but if you're short on time, let sit for at least one to two hours with a fan gently blowing. When base layer feels firm, use white royal icing to slowly add sneaker details.
5. Pipe shoelaces
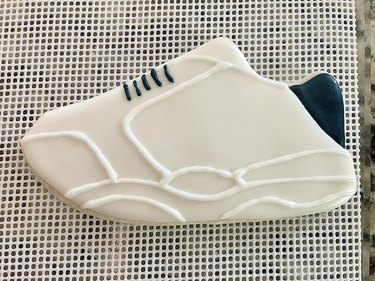
Carefully pipe curved lines where shoelaces would be.
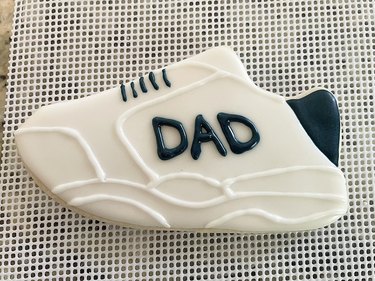
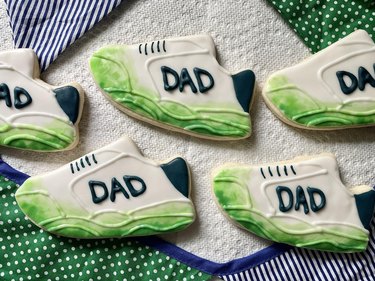
Using navy blue royal icing, write the word "DAD" or any other word that describes the father figure in your life. Grandfathers, uncles, godfathers and even loved ones who've filled multiple parental roles will appreciate this Father's Day gift.
7. Add green royal icing to bowl
Add small amount of green royal icing to bowl. Start with tiny squirt and add more as needed.
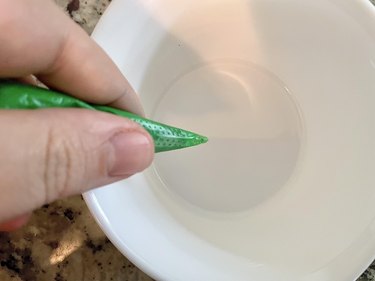
8. Add water to create grass stains
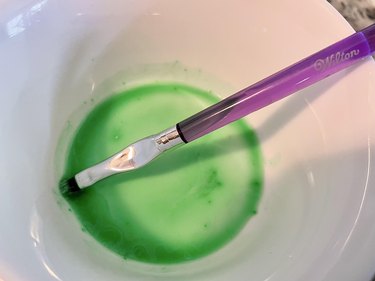
Grass stains tend to be transparent, so thin icing with drops of water to create a watercolor effect. Again, add more drops (or more paint) as needed.
9. Paint on grass stains with brush
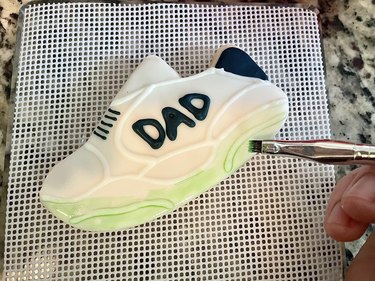
The first layer of green will dry lighter, so feel free to add more layers until you're pleased with results. Make grass stains as light, dark, thin or thick as you like. Let each layer dry before adding additional layers and have fun!
You did it! We hope these custom cookies were batter than expected. Let your gourmet cookies dry overnight or for a full eight to 10 hours, especially if you plan on gifting them in a cookie tin. Stacking decorated cookies on top of one another before fully dry could cause smudging, and you worked too hard on your Father's Day gift to let that happen.
These creative cookies look great on their own, but you could also combine them with similar sweet treats (brownies, pretzels, chocolate-covered strawberries...the list continues) in a Father's Day gift basket. We paired ours with more fun dad-inspired designs, including condiment-stained polo shirts and holey socks.
We hope the father figure in your life has a fulfilling and happy Father's Day! Create a gift box of these special cookies to prove that nobody could ever fill their shoes.