When it comes to inspiration for new crafts, there's no place like home. This is especially true in the case of our address stamp tutorial, which will teach you how to create a carved rubber block stamp in the shape of your house or another beloved building. Personalize it with a family name, address or motto—all with the use of a surprisingly accessible medium: block printing.
You've probably seen block printing on hip vintage-inspired concert posters, stylish wares and savvy stationary, but we're bringing the craft down to earth with a homey craft and plenty of personalization. Just about any type of carving block will work to create the hand-carved stamp in this tutorial, but we'll be using the Speedball Speedy Carve. It's fantastically flexible and feels similar to a fresh, soft eraser. It's also tremendously satisfying to carve.
Video of the Day
Video of the Day
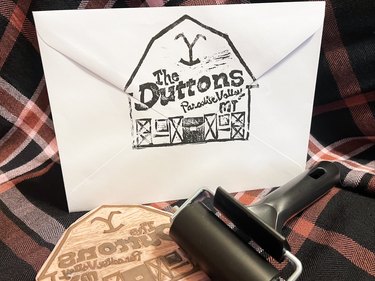
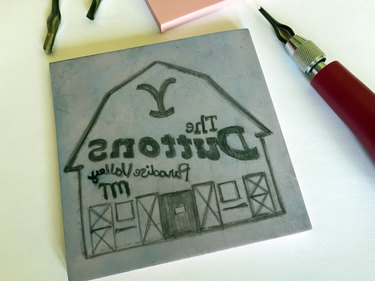
To keep things recognizable and fun, our tutorial takes a cue from pop culture with a stamp version of the iconic barn from Yellowstone. And while most fans of the show will recognize the big ranch Y symbol, we'll add the Duttons' family name and hometown just to be sure. The finished product? A distinct, handcrafted piece that lets everyone know the Duttons' homestead is full of heart. Your own abode will look just as lovely in custom stamp form.
Tip
Be prepared for messiness and handle tools with care, as stamp-making and block printing can get grungy. Set up an area that will have some room and tolerance for equipment, smudges, smears, shavings and ink. You’ll need a clear, flat surface and room to carve. Keep in mind that stamp-carving tools are very sharp, so you’ll want to keep kids and clumsy folks away.
Things You'll Need
Carving tools (These “lino cutters” often come with a “chuck handle” and interchangeable lino cutter tips)
Pencil
Pen
Tracing paper
Carbon paper (optional)
X-Acto blade or craft knife
Ink pad or block printing inks
Ink roller/brayer (optional)
Paper for printing
Small wooden block (optional for stamp backing)
Part 1: Prepare Stamp Design
1. Select source photo
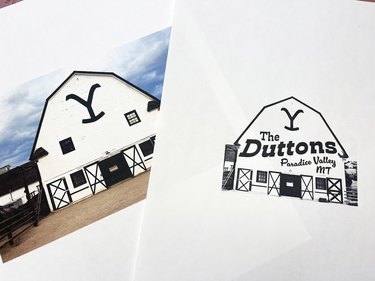
To get started, pick a shape and plan text or images for your stamp. Choose a source photo or drawing with a clear shape and recognizable outline—block prints get their look from strong lines. Use image-editing software to make the image black and white, then adjust contrast to emphasize essential lines for tracing.
2. Add lettering
Freehand the stamp's lettering or use the same software to place text for your stamp. Have fun with this part! We played around with curving and warping text to create a more customized look. Keep in mind that anything small or intricate will take more skill and time to carve. Draw or print final design in the same size you want your completed block print to be.
Tip
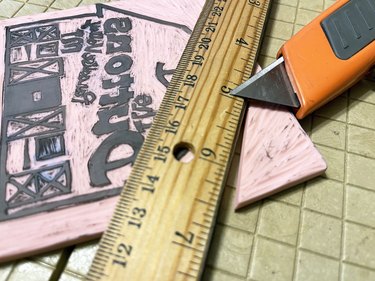
Soft, easy-to-carve rubber blocks often come in sizes large enough to make multiple stamps. Trim them using a sharp box-cutter blade and ruler as a guide. Save your scraps! They're great for carving tool practice.
3. Trace design
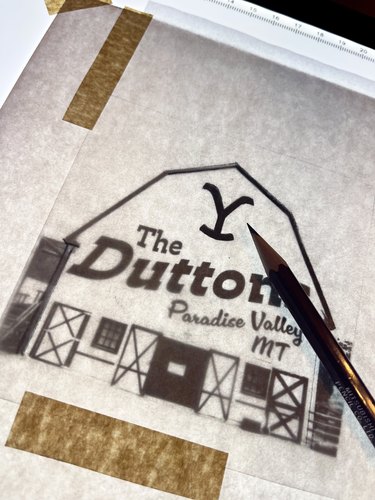
Use a pencil to trace design onto tracing paper. A lighted tracing board is great for this, but not necessary. You won't want to skip this step, since all images and text carved into a rubber block will print in reverse and tracing paper will make it easy for you to flip the design over and transfer the text properly. After tracing, take a step back to review. Use this time to adjust, simplify or personalize any last lines, shapes and curves. This will be your guide for carving!
Tip
If you have the ability and equipment, you can also use a printer to print your design directly on the Speedy Carve block or even use a laser print transfer.
4. Position design on rubber block
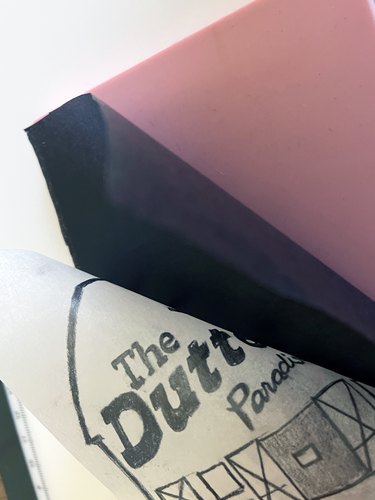
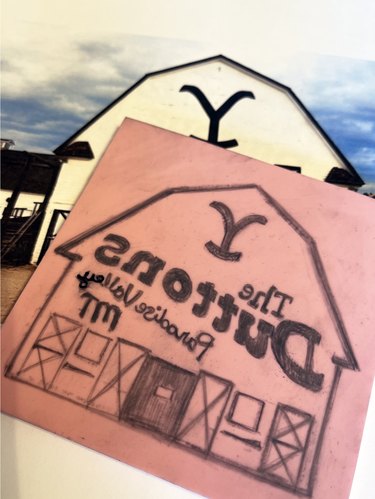
Now you'll want to transfer your design onto the rubber block. Remember that all images and text will need to be carved in reverse so the stamp will print legibly. You can achieve this reversal easily by flipping over the tracing paper with your design so the drawn-on side faces the block.
5. Remove tracing paper
Make sure the image is positioned just the way you want over your carving block, then press over lines using your fingers or the side of a pen or pencil. The pink rubber on the Speedball Speedy Carve block is surprisingly clingy to graphite, so the design should appear on block when you lift tracing paper. You can also use a sheet of carbon paper over the block and retrace the design.
6. Adjust design
Once again, take a moment to review and adjust your design. You can use a pencil or pen directly on the rubber block to refine and darken any lines. This is particularly helpful for any small or tricky areas.
Part 2: Carve Stamp
1. Select tools
Take time to explore carving tools and materials. Many lino-carving tools come with multiple blade heads. Test them out so you'll know which cutter to use for detailed, curved and large areas. If that's not in your budget or toolkit, it's okay! You can carve a great stamp with a simple "V" cutter and an X-Acto knife. Just test out your technique on a scrap of rubber block.
Tip
Use a big sheet of newsprint or scrap paper underneath your block while carving to make it easier to clean up the rubber shavings.
2. Prepare block surface
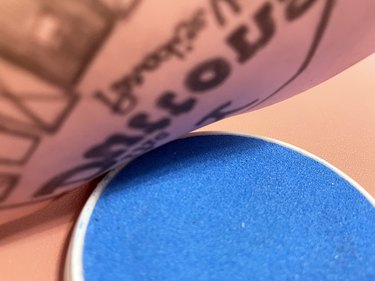
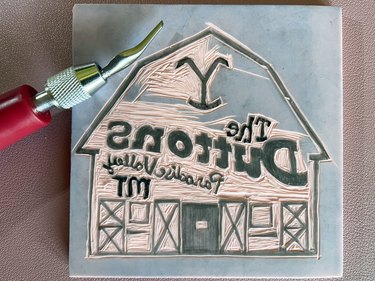
Before carving your design, you have the option to prep the entire block surface using a colored ink pad to stain the surface a contrasting color. We chose blue for our pink block. This will make it much easier to see areas that have already been carved.
3. Finalize carving pattern
Place rubber block with customized design on a flat surface. Have a piece of scrap paper at least a few inches larger than the block nearby. This will be handy for gently turning the block while carving. Some carvers prefer to move and turn the rubber block instead of trying to curve their lino tool. Test this out on your scrap block too.
Determine which parts of your design you want to show up in ink on your final print—also known as "positive." These are the parts of your design you won't carve. You'll carve out all the rubber outside positive areas. Notice that we let the barn outline and letters serve as positive space for our Yellowstone-inspired design.
Tip
Use photo-editing software to preview how your design will look if you reverse positive and negative space.
4. Carve rubber block
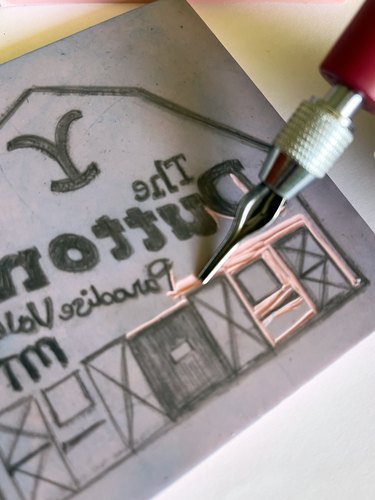
There are no hard and fast rules for carving out your design—just suggestions! Most people find it best to carve around positive parts first, then go back, switch to a larger tool and carve out larger areas. Carve firmly but not deep. The most important thing is to maintain control of your carving tool.
Placing the side of the V-shaped cutter up against the line of your design will create a smooth, accurate carve. Take breaks and check your work, as it's better to require additional carving to than over-carve or gouge. The only downside to making your own rubber stamps is that you can't put back what's already been carved out. If you're having trouble with a particular area, leave it for our next step.
Part 3: Start Stamping
1. Test on scrap paper
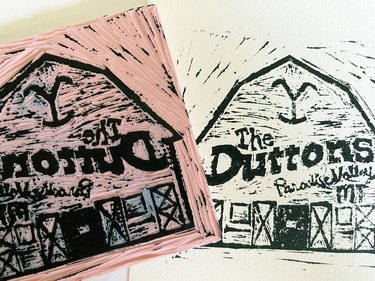
After you've carved out all of the negative areas of your design as best you can for the first pass, take out inks or stamp pad and print your stamp on a piece of scrap paper. This is the best way to assess work and design.
2. Adjust design
You can see in our test print that some lines appear in the negative space and some letters lack definition. Depending on design, you might actually like the look of random, thin lines, as they give the print a hand-carved look. We chose to slightly reduce the amount that appeared in our print, so we took a larger U-shaped linoleum cutter and cleared out more negative space.
Another decision to make after your test print is whether you want the block shape to show outside your design. In our test print, it's clear the stamp is on a square block. We used a cutting mat, ruler and sharp craft knife to cut away the stamp edges so that just the barn design was left. Repeat the test print to fine-tune your design as many times as desired.
Tip
Adding more definition to letters can get tricky. As you work in finer detail, you may find that the rubber isn’t as cooperative. To make it easier, place the block in the freezer for 10-20 minutes.
3. Print with ink
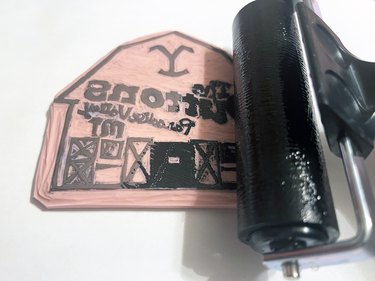
When you're satisfied with the final carving and stamp shape, it's time to print your custom homey design. Load up carving with a thin, even layer of ink from an ink pad or roll-on ink like Speedball Block Printing Ink. Gently press into fine paper. Experiment with colors and inks—watercolor brush pens also work well on rubber stamps.
Tip
Add wood or another stiff material to the back of your stamp if you plan to use it frequently with an ink pad. Attach a piece of wood the same size as your stamp with a glue gun or wood glue. You can even create a print of your design on the wood (before gluing wood to the back) to make it easier to identify and center the design when stamping. Spray or coat with clear acrylic sealer so the design stays put.
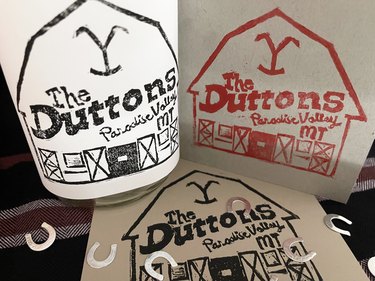
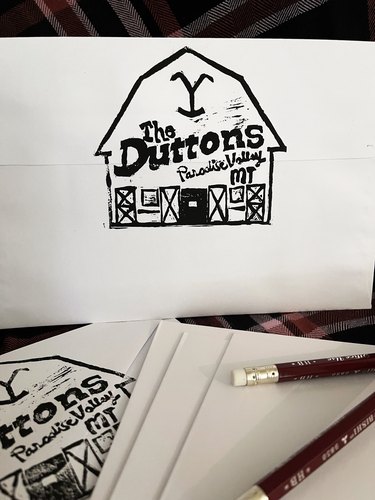
And that's it! You've created your very own custom rubber address stamp with plenty of personal touches. Gently wash your block with water and mild soap after use. With proper care, it will last for years and might even become a craft heirloom.
Experiment with the myriad of places to use your stamp: Scrapbooks, stationery, wrapping paper, note cards, labels, stickers and even fabric are all fantastic options. Who knows? You might find stamp-making so fun that you'll be carving out time to create more.