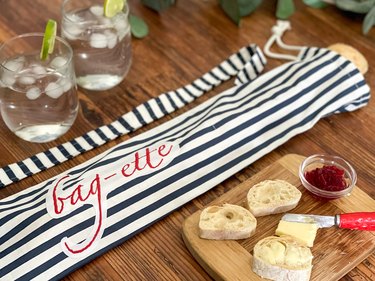
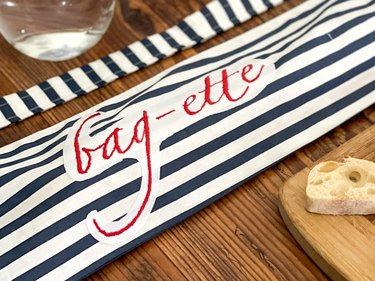
Calling all French fashion lovers and foodies! We've got an imaginative way to combine your adoration for France with your passion for good eats: a DIY "bag-ette" bag to pull out the next time you hop on your bicycle to pedal to the bakery. As you slip a perfectly crusty loaf of artisanal bread into this reusable (and stylish!) loaf bag, all eyes will be on you. Not only will this carrier add a dash of French panache to your shopping routine, it'll also keep bread fresh and beautiful.
We love a good "re-fashion" project here at ehow—and this reusable bread bag is no exception. Our tutorial has everything you need to transform a standard pillowcase into a drawstring bag that's stylish and fun to craft. Sounds magnifique to us!
Video of the Day
Video: Bakery Chic! A French-Inspired Baguette Bag
Part 1: Sew the Baguette Bag
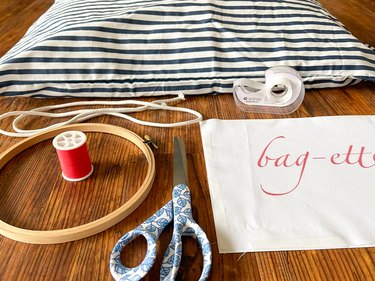
Things You'll Need
Sewing machine
Sharp scissors
Safety pin
White cotton cord
8 1/2 x 11 in. piece of white cotton fabric
Cellophane tape
Red thread
How to make a Baguette Bag:
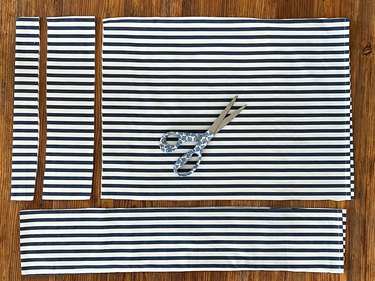
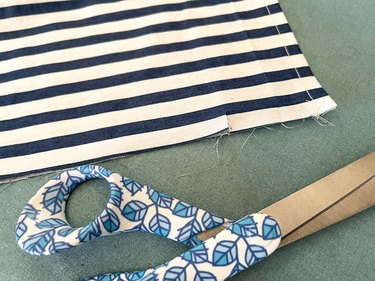
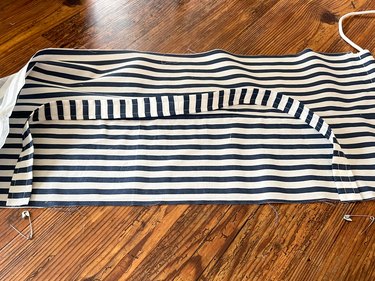
1. Measure and cut pillowcase
For the body of bag, measure and cut 5 in. off side of a pillowcase (we used a case with blue and white stripes to emphasize the French vibes). You'll end up with one long open side and one long folded side. You'll also have one short open side and one short closed side.
To cut fabric for handle of baguette bag, remove folded edge from bottom of pillowcase and cut a 4 in.-wide piece through both layers of the case.
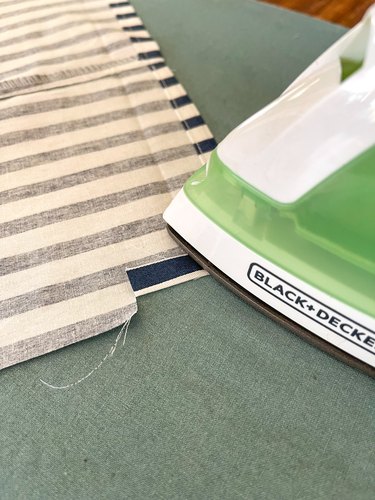
2. Create casing for drawstring cord
Measure 2 in. down from top edge of the bag and make a 1/4-in. slit through both layers with a sharp pair of scissors.
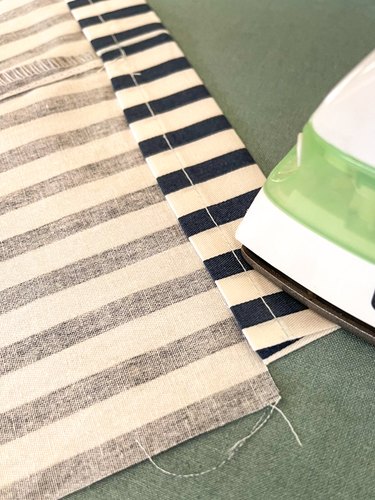
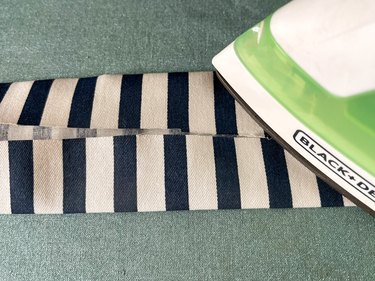
Next, open bag, and with the "wrong" side facing up, fold and press 2-in. section toward center of bag with a hot iron. Do this on both edges.
Then fold, press and sew 1 in. down from top.
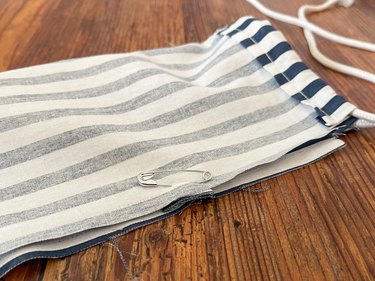
3. Insert drawstring
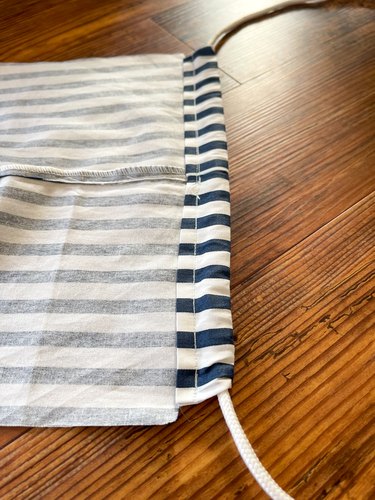
Attach large safety pin to the end of a 20-in. piece of white cotton cord. Thread cord through casing and pull through until you have an equal amount of cord on either side of casing.
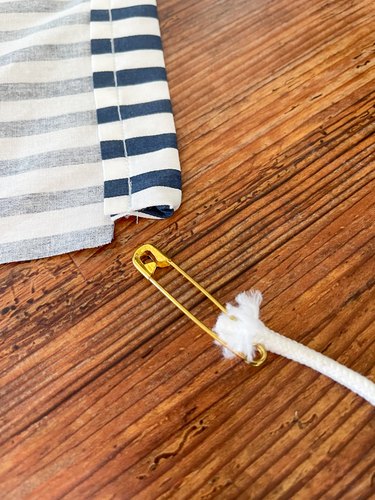
Set this aside while you create the bag's handle.
4. Create handle
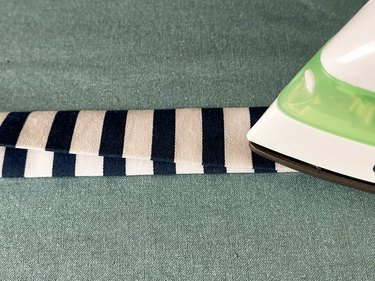
Use the 4-in. strip of fabric you cut from the pillowcase to create a bag handle. Fold strip of fabric in half lengthwise and press with a hot iron. Open up strip of fabric, fold each side into center and press again.
Fold and press strip in half lengthwise again, so the raw edges are inside and you have four layers of fabric.
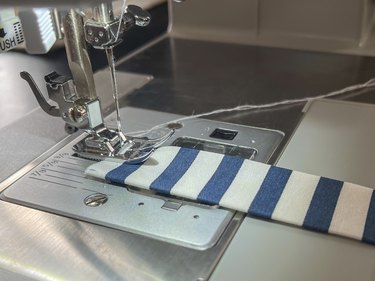
Sew a 1/4-in. seam down both sides of handle.
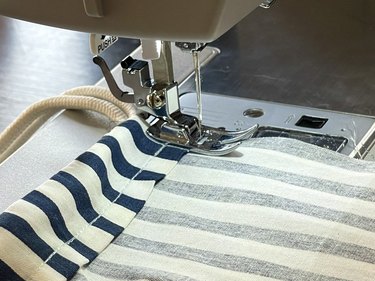
5. Attach handle
Place each end of handle 4 in. from top and bottom on raw edge of bag's body. Fold over other side of bag so the handle is sandwiched inside. Line up raw edges and pin handle in place.
Sew a 1/2-in. seam along edge of bag. Remove pins as you sew.
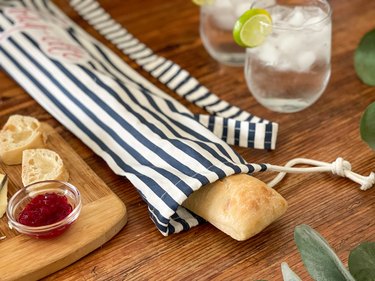
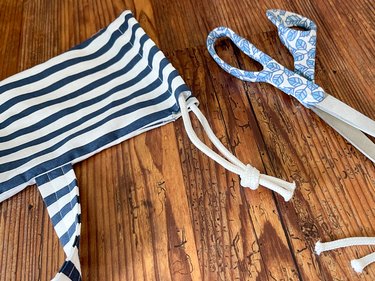
Turn bag right side out, then tie a knot in the cord and trim ends.
Part 2: Add Embroidery
How to make Baguette Bag Embroidery:
1. Prepare fabric for printing
Can you print on fabric using your home printer? You might be surprised to learn that the answer is a resounding "Yes!" With a few precautions and tips, you can create something amazing with a normal ol' printer. Once you've decided which font, color and size you'd like to use for the word on your baguette bag, it's time to prepare fabric for printing.
Tip
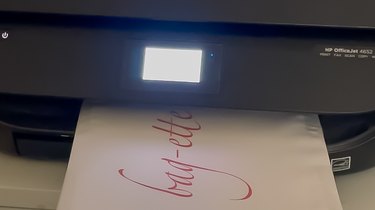
We suggest running a test paper through your printer before running fabric-covered paper through. This way, you'll be able to see exactly where the word will be placed and how to load paper into the printer. For example, in our printer, we placed the fabric side down so it loaded into the printing area correctly.
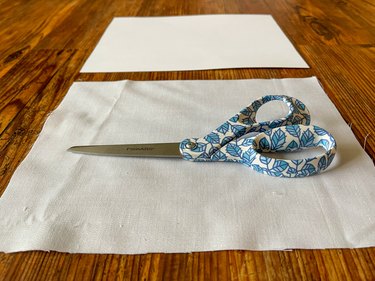
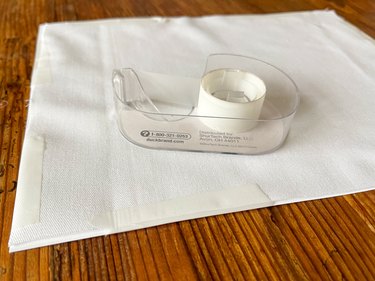
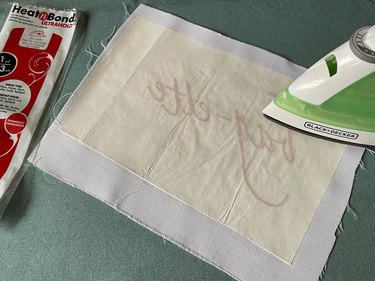
Cut a section of white fabric slightly smaller than an 8 1/2 by 11-in. piece of card stock. Use cellophane tape to secure edges of material to paper. This will keep the fabric from becoming tangled inside the printer. Next, load fabric-covered paper into the printer and print just as you would normally.
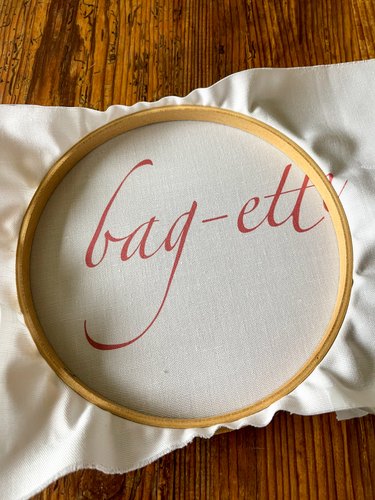
2. Place fabric into embroidery hoop
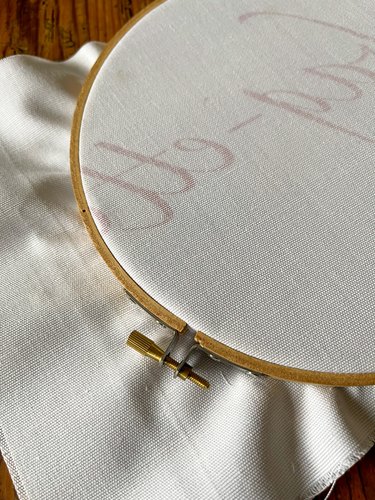
After running fabric through the printer, remove the paper and tape. Place material inside an embroidery hoop with the image facing up at the bottom so it will sit flat on the floor of your sewing machine as you sew over the word.
Tighten embroidery hoop so fabric is taut. Tight fabric will result in even stitching.
3. Use sewing machine to embroider words on fabric
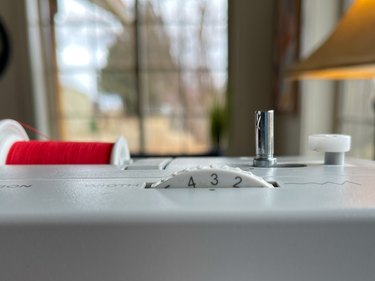
Place fabric into your regular sewing machine. Adjust stitch length to shortest length, and change stitch design to zigzag. Start sewing very slowly, adjusting stitch width as you sew to coordinate with the width of letters. Move fabric along, turning as each letter turns.
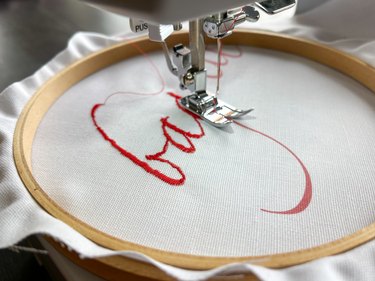
If the stitching doesn't seem complete, you can sew over the letters one more time to get a lovely, finished-looking embroidery. When you've finished sewing, remove fabric from the embroidery hoop.
Tip
If the embroidery hoop doesn't fit into your sewing machine, you might need to remove the needle and presser foot. Most machines have a small screwdriver to help you remove and reattach presser foot, making the process simple.
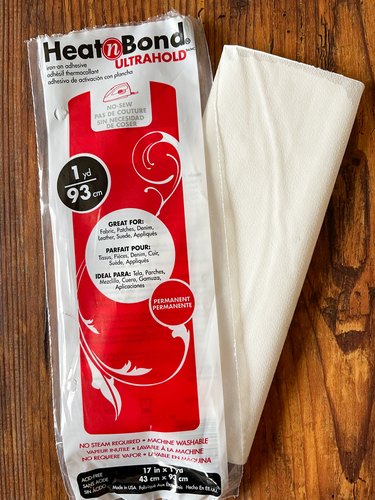
4. Attach iron-on adhesive to embroidery
Cut a piece of iron-on adhesive slightly larger than lettering. Turn embroidered fabric so the "wrong" side is up. Place iron-on adhesive with shiny side facedown onto material and paper liner facing up.
Press a hot iron with no steam onto paper liner for two seconds, then lift and place down onto another section for two more seconds. Repeat until entire surface is bonded.
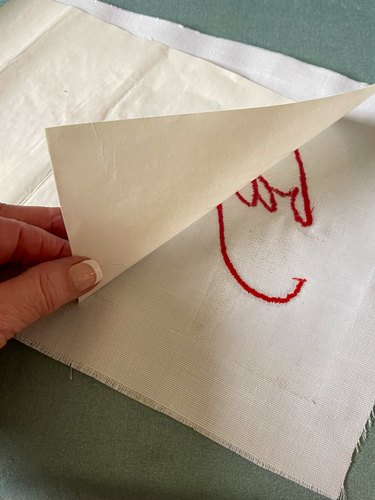
5. Attach embroidery to baguette bag
Peel off paper liner from back of embroidered fabric. Cut around embroidery with a sharp pair of scissors. Place side with adhesive down onto center of baguette bag.
Press and hold iron for eight seconds on each section of embroidered fabric until entire piece is bonded.
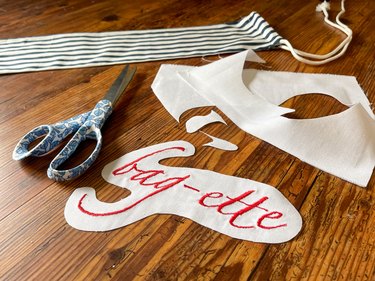
Voilá! You've got a baguette bag that will turn heads at the bakery and beyond.

Hold handmade or store-bought bread in this fun storage bag to keep your food fresh. It eliminates the need for plastic bags, paper bags or plastic wrap and will prevent your baguette from drying out.

Tip
If you're still feeling crafty, use the rest of the pillowcase to create bread storage for a boule loaf or your own homemade bread. Crusty sandwich bread can also be stored in one of these DIY satchels.
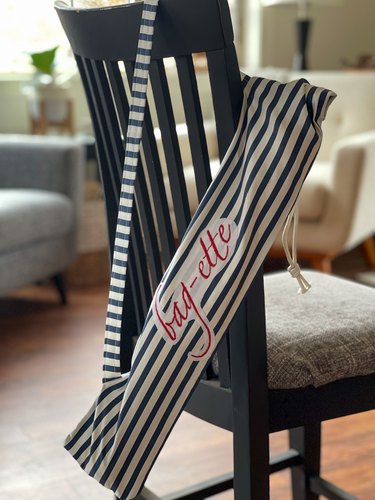
Even if you're simply displaying your DIY'd baguette bag on the back of a chair or on a kitchen hook for a touch of French-inspired decor, it's sure to draw compliments. You'll be living your Parisian fantasy in no time!