In any given year, you'll have lots of opportunities for gift-giving, from birthdays and anniversaries to the big ones like Christmas and Valentine's Day. A lot of us struggle to come up with gifts that will be genuinely appreciated and feel personal. Something handmade definitely feels personal. Something chocolate will almost always be appreciated. So why not give homemade chocolate truffles? They're easier to make than you probably think, and don't need a lot of ingredients or fancy equipment. You will need a guide to the process and a handful of basic kitchen items, though, and we've got you covered for both.
Making Basic Truffles
Video of the Day
The very simplest truffles require only two ingredients and a few things you may already have on hand. Let's look first at the process, and then at the things you'll need to make truffles happen.
Video of the Day
- Chop or grate your chocolate finely, and place it in a heatproof bowl.
- Pour hot cream over your chopped chocolate. Let it sit for a minute or two, for the chocolate to soften.
- Whisk the chocolate mixture until it's smooth and glossy (chocolate ganache).
- Let the ganache cool and set to room temperature.
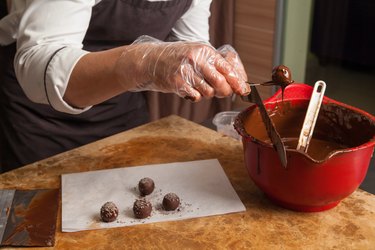
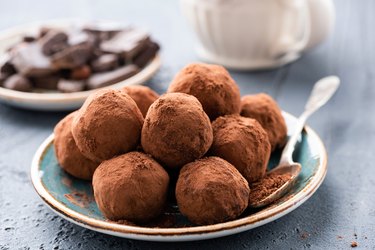
- Scoop it into small balls (these are your truffles).
- For classic old-school truffles, roll them in good-quality cocoa.
Now that you know the basics, here's what you'll want to have on hand before you get started.
1. Good-Quality Chocolate
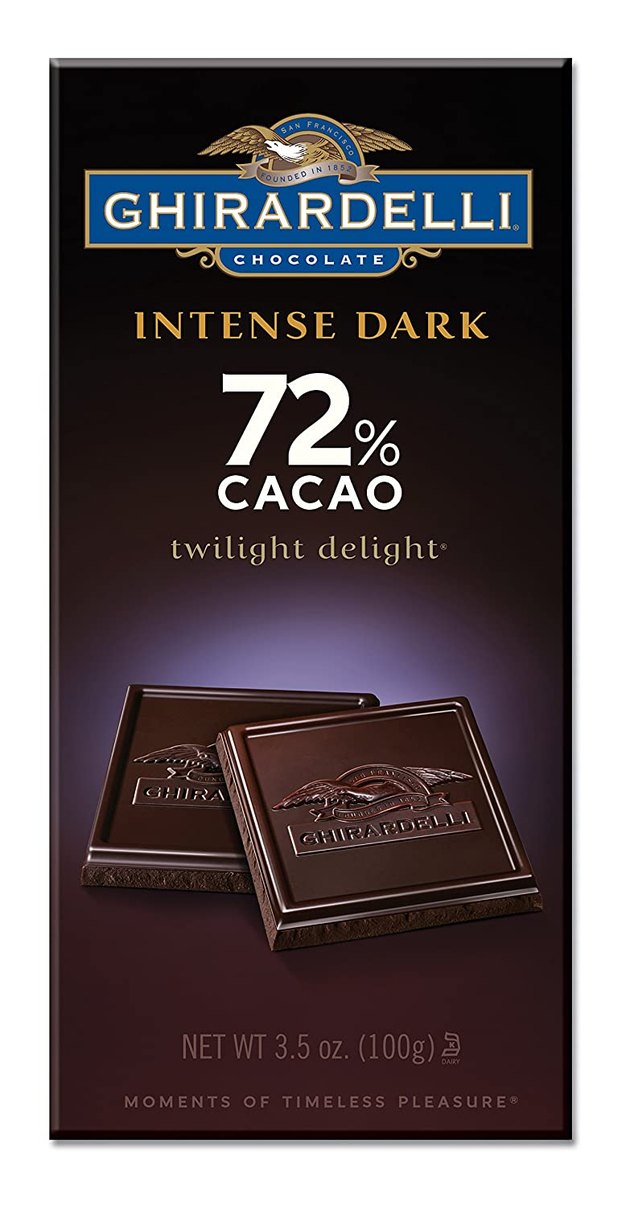
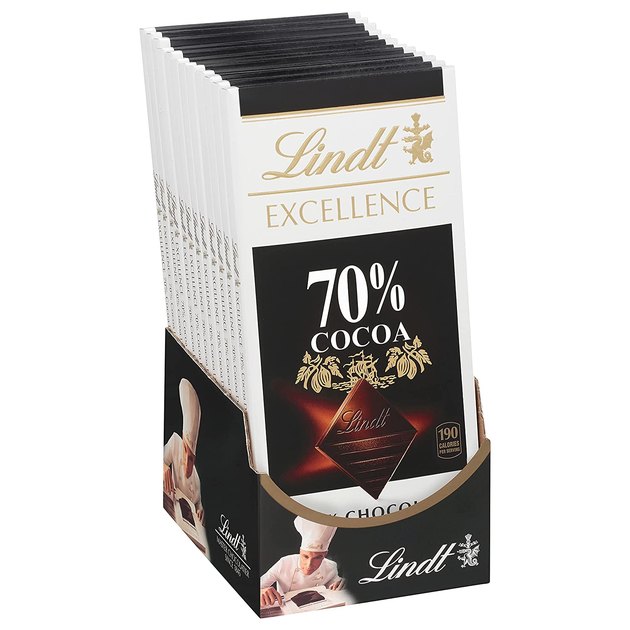
Your truffles will stand or fall on the quality of their chocolate, so this is where you want to splurge a little. Don't get us wrong, you can make acceptable truffles with chocolate chips, but they're not the greatest chocolate to begin with, and they contain added ingredients to help them hold their shape. That means you won't get the ideal silky-smooth texture and rich chocolate flavor of a premium truffle (and really, is "acceptable" all you're shooting for?). Splurge instead on a 3.5-ounce bar of high-cocoa chocolate from a company like Ghirardelli or Lindt. Anything in the range of 60-70% cocoa is ideal for an intensely-flavored truffle.
Tip: Professional chocolatiers use a similar grade of chocolate called couverture, sold in large blocks or small pellets (callets or pistoles). You won't normally find them sold outside of specialty shops, but if you have a chocolatier in your neighborhood, they may be willing to sell you a half-pound if you ask nicely.
2. Heavy Cream
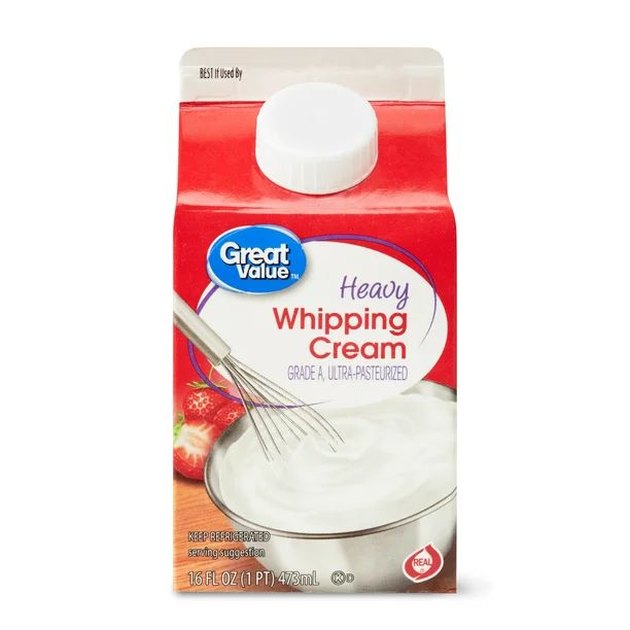
The other basic ingredient in truffles is heavy cream, or whipping cream (it'll usually come in at around 35% or 36% butterfat). We've opted for a national store brand that's available pretty much everywhere, but if you have a local brand you prefer—or an artisan dairy with a premium product—by all means, feel free to support them. Just be aware that your choice of cream will have a lower impact than your choice of chocolate, so it's up to you how much of a premium you want to pay. If heavy cream isn't something you'll use regularly, it's also available in tetra-packs in shelf-stable, ultra-pasteurized form. You can keep a couple in the pantry, and then refrigerate any unused portion after it's opened.
3. A Microwaveable Measuring Cup
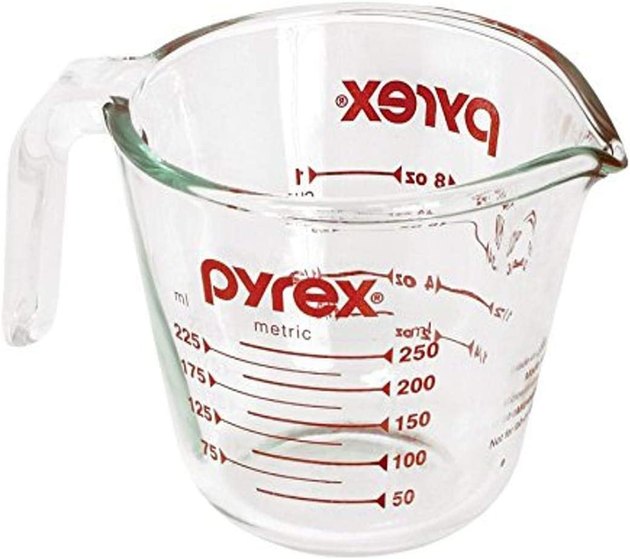
You're going to need to heat that cream, so you can use it to melt your chocolate. You could do it on the stovetop over medium heat, but it will take longer, dirty a pot, and you'll run the risk of scorching your cream and needing to discard it. The microwave is a better option, and you'll need a reliable, microwaveable measuring cup to get the job done. Pyrex is the default choice in that category for most of us, and you can't go wrong adding this versatile 1-cup measuring cup to your collection if you don't already have one. Alternatively, you might opt for the money-saving set of three (1, 2 and 4 cups) that was a top pick in our recent roundup of measuring cups.
4. A Mixing Bowl and Whisk

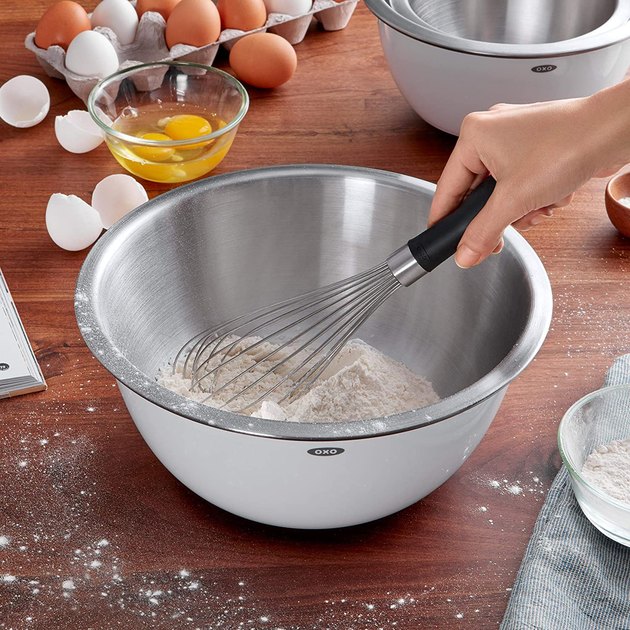
You can use pretty much any mixing bowl for this, but with stainless steel, glass or ceramic bowls, there's a risk your chocolate mixture will cool too quickly and the chocolate won't all melt. You can work around it by wrapping a towel around your bowl as it rests, or—if the ambient temperature in your kitchen is low— by gently warming the bowl ahead of time. Alternatively, you can simply use a BPA-free plastic mixing bowl like these handy ones from Cook With Color. OXO's Good Grips Balloon Whisk is a well-designed option for whisking the chocolate mixture, with one of the brand's signature extra-comfy handles. If you prefer to mix the chocolate with a spatula (which will help you get every drop from the bowl,) you can't go wrong with a Get It Right silicone spatula, which (yes) Gets It Right.
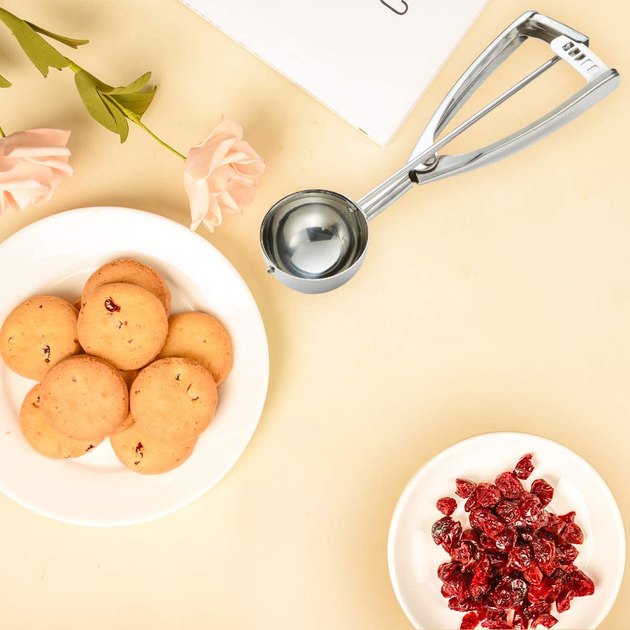
You can use a regular kitchen spoon to scoop up your ganache, but for the sake of speed (and consistent sizing) it's a lot easier to use a disher. That's the industry term for the thumb-operated portioning tools you may know as ice cream scoops or cookie scoops, the kind with a spring-loaded scraper that helps eject your ganache (or dough, or ice cream) from the scoop. They're sized by how many scoops make up a quart, meaning this one—a #100—makes balls just 2 teaspoons in size and 1 inch in diameter. That's a good size for truffles, and the sleek all-steel design is easy to handle and clean. If you're keen on smaller servings, the company also makes a #110 scoop that yields more compact (but still wonderful) truffles.
6. A Sheet Pan
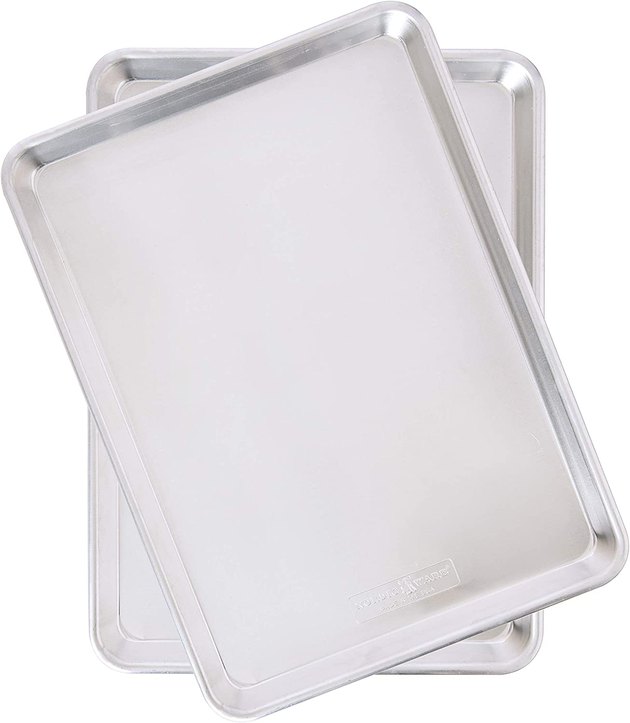
As you scoop your truffles, you'll need a place for them to go, and the easy answer is a big sheet pan lined with either parchment paper or wax paper. The largest size that's practical for most home kitchens is a half-sheet pan, which is why they were the focus of our recent roundup of the best baking sheets. This two-pack from Nordic Ware was our top pick, and if you don't already have a couple of good sheet pans in your arsenal, you can't go wrong with these. They're exactly the kind of pan used by most professional kitchens, but they're easily available for home cooks. If you have a small kitchen, and big half-sheet pans won't be a good fit, Nordic Ware's smaller quarter-sheet pans are every bit as good.
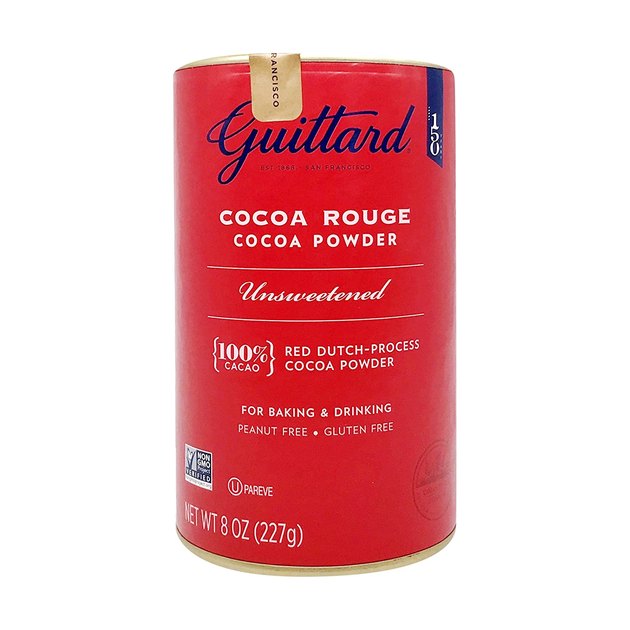
Technically, those balls of ganache are truffles just as they sit, but they'll look a bit naked if you serve or gift them as-is. The simplest way to finish them is to roll them in good-quality cocoa powder, then shake off the excess. That's the classic European-style finish for chocolate truffles, and it's what completes their resemblance to the famous black truffles of France (the fungus). Some forgotten chocolatier or pastry chef did it as a playful "take" on the well-known delicacy, and we're forever grateful. If you're using premium chocolate, it makes sense to also use premium cocoa (or "cacao," if you prefer), like this one from legendary chocolate maker E. Guittard, but whatever kind you already have in your pantry will also work.
Making Next-Level Truffles
If your ambitions go beyond a basic truffle, there are several things you can do to up your ganache game. They'll require a bit of extra effort and in some cases a lot of practice, but your truffle-making skills (ganache panache?) mean that your gifts will always be eagerly welcomed by chocolate lovers. For practical purposes, those added steps can be divided into a) things to add to your ganache; and b) ways to "dress" your finished truffles.
Things you might add to your ganache include:
- Unsalted butter, for added richness, or corn syrup to help preserve their silky texture.
- Flavorings such as vanilla extract, espresso powder, rum extract, liqueurs or spirits or even peppermint.
- Textural elements such as crushed or chopped nuts, finely chopped dried fruit or crushed pieces of other candies.
- Pressing a contrasting center into each truffle, such as a small cube of fudge or a whole hazelnut.
Ways to dress up your finished truffles include:
- Rolling them in powdered sugar, crushed nuts, cake or cookie crumbs or even sprinkles.
- Coating them in chocolate (and, optionally, rolling them in one of those previously-discussed powdered coatings).
- Dipping them in chocolate for a professional chocolatier-style finish.
Dipping is the most difficult of those alternatives, so it will (deservedly) earn you the most respect if you're ambitious enough to master it. So now that you know what to do, here are the few extra pieces of equipment you'll need for top-tier truffles.
8. Disposable Kitchen Gloves
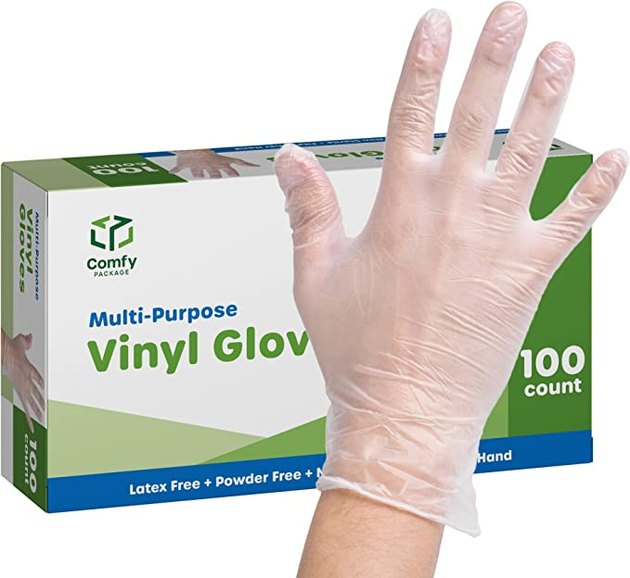
The simplest way to coat your truffles is to put a bit of melted chocolate (again, use high-quality chocolate) on your palms, and roll each truffle between them. As you would expect, that's really, really messy. You're better off buying a box of disposable kitchen gloves like these, and wearing them as you roll your truffles. Then, once they're coated, you can place them back on the sheet pan to set, or else roll them in crushed nuts, sprinkles or some other coating first. A full box is more gloves than you'll need for a batch of truffles, but they're handy in the kitchen for handling things like raw meat, for cleaning up pet messes, and lots of other purposes.
9. A Small Ladle
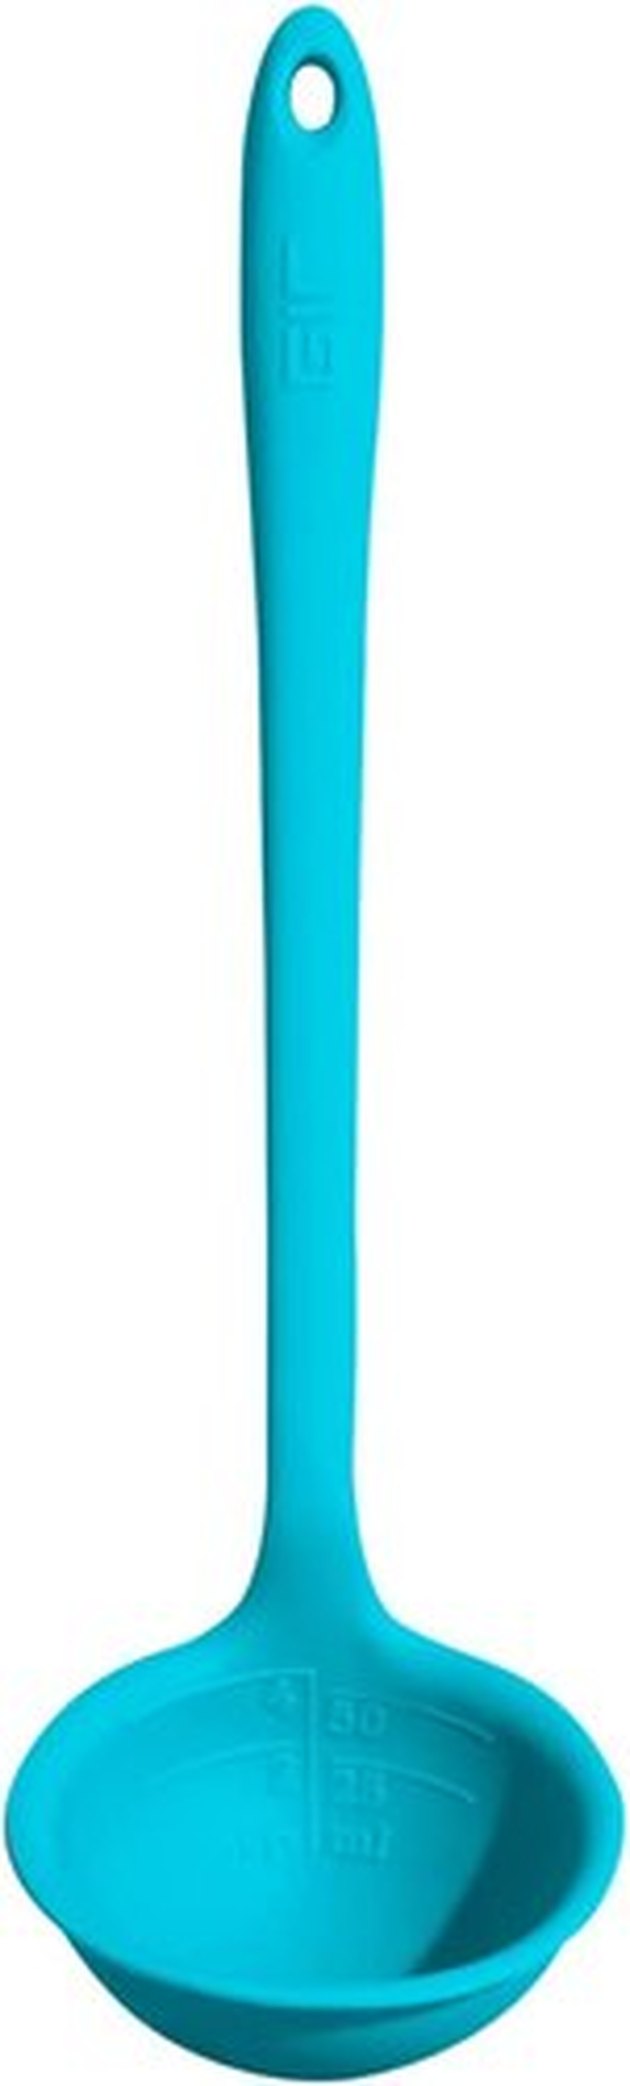
There's a more hands-free alternative for coating your truffles in chocolate if you fear that even a gloved hand is likelier to end up "sharing" chocolate with your clothing. Instead of coating your palms (gloved or not) with chocolate, spoon some into a small ladle like this one from Get it Right. Hold it upside down over your bowl of chocolate to let the excess run out, then drop a truffle into the bowl of the ladle and swirl until it's coated. Do a couple more, until the chocolate has been used up, then repeat. It's tidier and keeps your hands clean, though you still might want to wear a good apron.
10. Chocolate Dipping Tools
If you want to really go for the gusto, get yourself a set of dipping tools like this one and shoot for professional-looking dipped truffles. You'll need a small bowl of tempered chocolate (we'll get to that momentarily), and your parchment-lined sheet pan for the dipped truffles to go onto. Ideally, you should put a wire rack over the pan, so any excess chocolate can drip down onto the parchment instead of puddling around the bottom of your truffle (a "foot"). Drop a truffle into the melted chocolate, roll it around until it's lightly coated, then scoop it up with one of these forks and hold it for a moment so the excess chocolate can drain away. Gently slide the fork across the edge of your bowl to remove the glop of chocolate that's gathered there, and gently slide it onto the sheet pan (or its wire rack). If you get it right, you'll be rewarded with sleek, good-looking truffles (and if you don't, just roll them in a topping to hide the evidence).
A Few Final Tips to Get You Started
There are plenty of chocolate truffle recipes out there on the internet, and if you search "best chocolate truffles" or "easy chocolate truffles," you'll get more results than you can reasonably deal with. Instead of going that route, we'll leave you with a handful of tips to send you on your way and—hopefully—give you better results.
- For truffles made with bittersweet chocolate (dark chocolate in the range of 60-70% cocoa) a good ratio to start with is 1/2 cup of cream to 1/2 pound of chocolate (bear in mind that "4-ounce" bars now weigh 3.5 ounces). You may need to add or subtract a tablespoon or two of cream to get the optimal texture, but you'll be pretty close. The same range is a passable starting point for semisweet chocolate (most chocolate chips, or dark chocolate that doesn't specify a percentage).
- For truffles made with milk chocolate or white chocolate, you'll typically need up to three standard-sized bars (rather than two) per 1/2 cup of cream.
- If your ganache is too soft to scoop and roll into balls after it sets, refrigerate it for an hour or two. Let it set at room temperature first, though, because too-rapid cooling can alter the truffles' silky texture.
- If your ganache starts to look oily or grainy, it's trying to separate (usually because your cream was too hot). Whisk in a couple of tablespoons of cold cream, and it should come back together.
- Tempering chocolate involves raising and melting it to a very specific temperature, then cooling it, then gently reheating it to a slightly lower temperature. It's an exacting process and even pros struggle with it some days, but there's a workaround. If you take already-tempered chocolate—which is what you get in bar form—and warm it until it's just melted, it will stay "in temper." Use that to dip or roll your truffles, and the chocolate coating will harden properly and have a nice sheen.
- The chocolate-flavored "candy melts" sold in many stores have a pretty low chocolate content and won't make good truffles, but—if you want an easy option for dipping—you can use those to coat your truffles. They've got lots of added ingredients to help them melt smoothly and cool to a hard and glossy texture, so your chances of success are much higher. Your truffle centers will pack enough rich chocolate flavor to mask this shortcut.
- Think about aesthetics if you're going to roll your truffles in some kind of chopped or crumbled coating. Crushed almonds or hazelnuts look fine, for example, but pistachios will bring a little something extra because of their color.
Finally, you may want to have a supply of miniature foil cups to place your creations in, which adds to their appearance and—if you've made several different types of truffles—gives you a way to color-code them. Keeping some any-occasion gift boxes on hand to package up your finished truffles is a good idea as well.