When it's back to school season, that means it's time for a whole new stack of school textbooks. The thought of reading all those school books (and being tested on them) probably doesn't thrill too many students. But one thing crafty students can look forward to is being able to make custom book covers. DIY book covers not only protect the books but they help identify which are yours when the entire class has the same textbooks. And, of course, it's a great opportunity to showcase your unique personality.
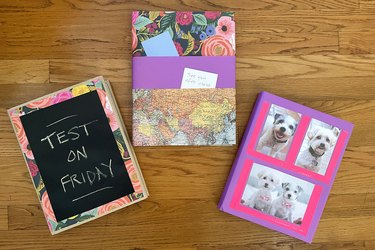
This tutorial will show you how to trick out a book cover three different ways—all beautiful and also all functional. One book cover has tiered pockets for papers. Another book cover has a chalkboard surface to write notes to yourself. And the third book cover doubles as a photo frame for some of your favorite pics. These book covers will definitely give you an A+ in creativity.
Video of the Day
Video of the Day
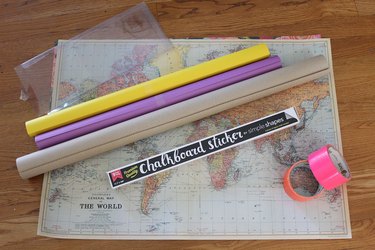
Things You'll Need
Tape measure
Wrapping paper
Scissors or hobby knife
Tape
Kraft paper or brown paper bag
Glue or glue stick
Clear plastic
Duct tape
Idea #1: Tiered Pocket Book Cover
1. Cut patterned paper
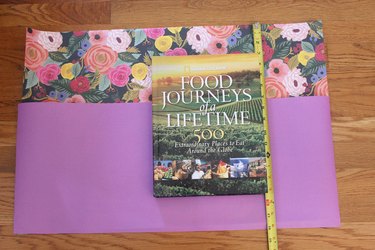
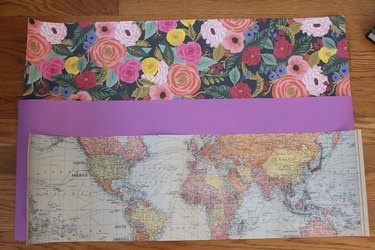
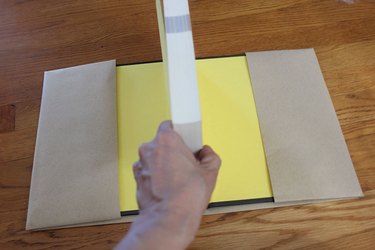
For this DIY project, you'll need to select three different colors and/or patterns of paper. I used two styles of gift wrap and one solid-color paper. Let's start with the first paper. Measure the size of the book and cut the paper so it extends past the book by 3 inches at both the top and bottom. The measurements for the horizontal length of the paper does not need to be so exact; it just needs to be long enough to create a flap at both ends.
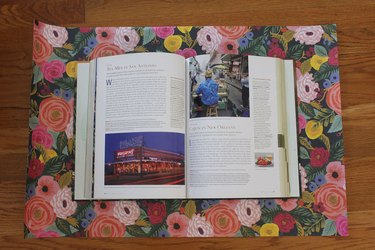
Moving on to the second sheet of paper, cut it so that it extends past the bottom edge of the book by 3 inches and is shorter than the top edge of the book by about 3 inches. This way, it will cover the middle third of the textbook.
Then, line up the third sheet of paper to the bottom edges of the first two papers and trim it so that it will cover the bottom third of the book.
2. Create the folds
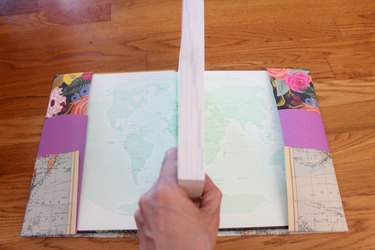
Turn the three sheets of paper upside down, making sure that the bottom edges of all three line up. Fold the three bottom edges together to create a 3-inch flap.
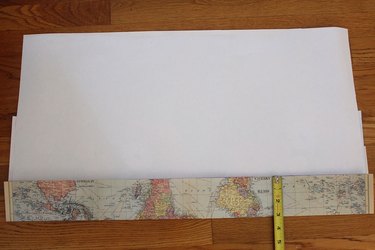
Fold the first sheet of paper down to create a 3-inch flap on top. At this point, make sure that the height of the folded sheets of paper are just longer than the height of the book. Make adjustments as necessary.
3. Wrap the book
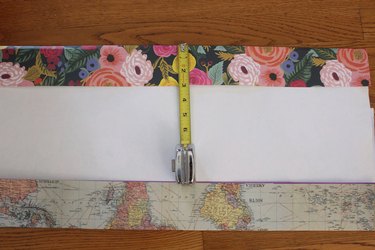
Wrap the book cover around the textbook, folding in the edges of the paper around the front cover and the back cover. These folded edges will create the flaps that the covers will slide into.
Slide the front cover and back cover of the textbook into the flaps.
Tape the three separate papers in the flap together.
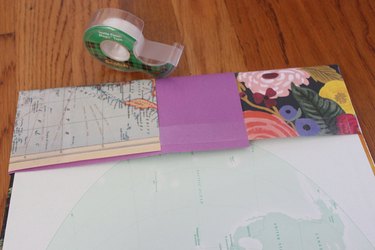
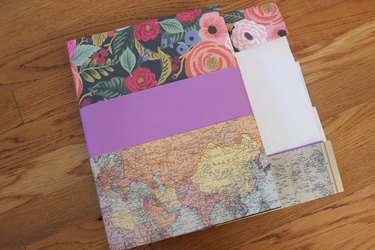
Your book cover now has two pockets in the front for notes, schedules or any other pieces of paper you want to keep handy.

Idea #2: The Chalkboard Book Cover
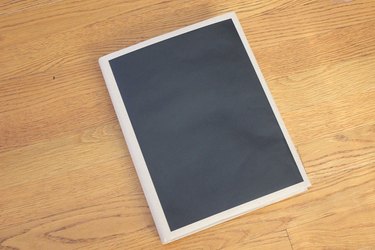
1. Wrap the book in kraft paper
For this creative book cover, start with a sheet of kraft paper. You can also use a brown paper bag from the supermarket. Similar to what you did with the first sheet of paper in the tiered pocket book wrap, cut the kraft paper so it extends 3 inches from the top and bottom edges of the book.
Fold the top and bottom edges of the paper to create 3-inch folds.
Wrap the kraft paper around the book and slide the end flaps into the front and back covers.
This is your basic paper bag book cover, and you can decorate it in endless ways using stickers, markers or crayons. We're using chalkboard contact paper.

2. Chalk it up to creativity
You can find chalkboard contact paper on Amazon, and you can also use plain black contact paper, as that will work just fine as well. Cut a piece of the contact paper so it will fit within the front cover of your textbook.
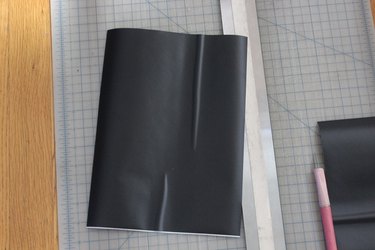
Remove the adhesive backing and position the chalkboard paper on the front cover.
3. Take the chalkboard from zero to hero
To spruce up the book cover, let's resurrect some pieces of paper left over from the tiered pocket book wrap project. Cut half-inch strips that will cover the edges of the chalkboard paper.
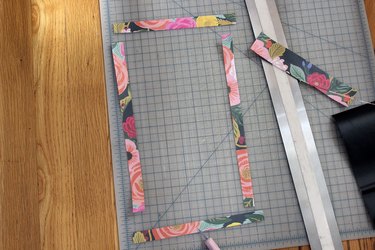
With glue or a glue stick, apply the strips of paper around the chalkboard.
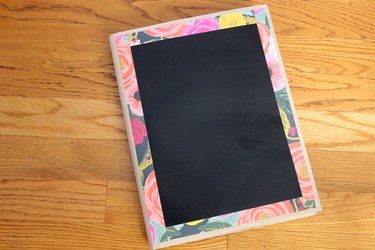
You can also cut a thin piece of the chalkboard contact paper to place on the book spine.

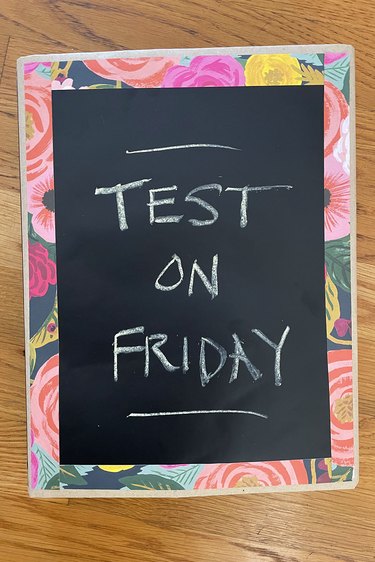
The gift wrap border totally elevates the utilitarian chalkboard on this book cover. Now you can write notes to yourself, play tic-tac-toe or write "I will not text in class" 100 times on the chalkboard.
Idea #3: The Photo Frame Book Cover
1. Start wrapping
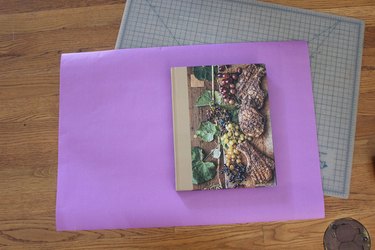
Creating a DIY book cover with clear plastic slots to insert photos will take your textbook game to the next level. Start by cutting a sheet of paper (I used some purple wrapping paper) so it extends 3 inches past the top and bottom edges of the book.
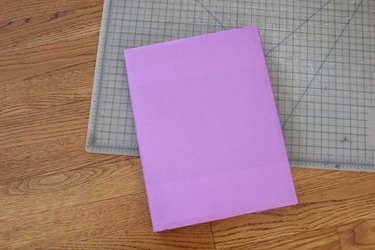
Fold two 3-inch flaps at the top and bottom.

Wrap the textbook in the book cover, sliding the front and back covers into the flaps.
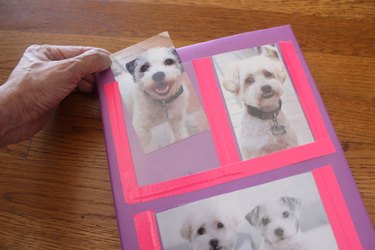
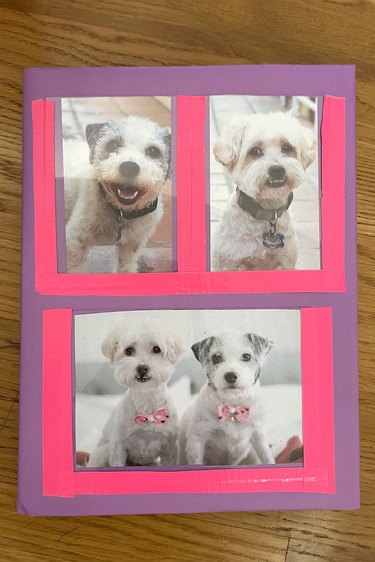
2. Make the photo frames
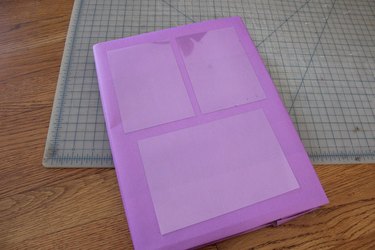
Cut pieces of clear plastic to the sizes you want. I decided to cut three clear plastic rectangles to fit on the book cover. You could choose two for larger photos or four for smaller photos. For clear plastic, I used some old plastic packaging, as I like to save it for craft projects. Plastic from report covers would also work.
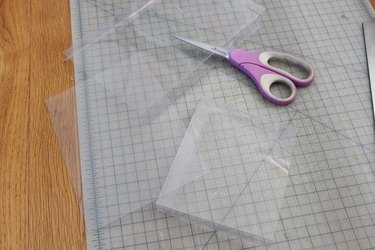
Position the pieces of plastic on the book cover to make sure you like the sizes and arrangement.
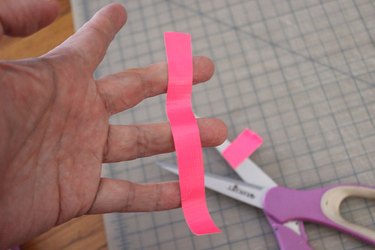
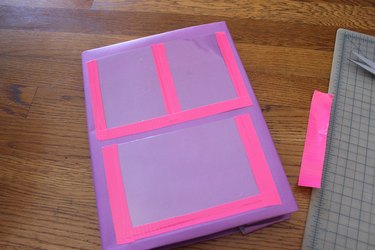
Cut strips of colorful duct tape that will surround the plastic pieces on the book cover.
Apply the duct tape around three sides of the photo frames, leaving the top edge uncovered.
3. Pick and choose your photos
Now, you can slip photos in each frame to show off your pets, selfies, friends and family.
These beautiful yet functional DIY book covers just might make you look forward to going back to school again.
Well, maybe...