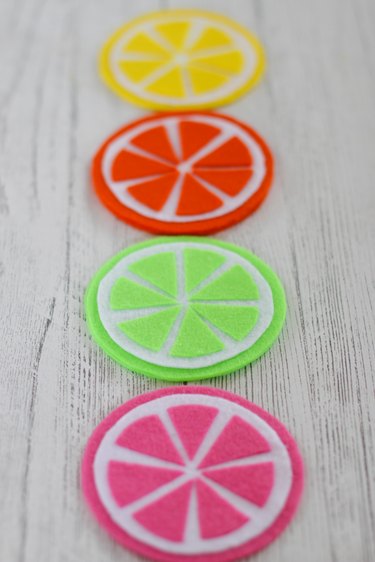
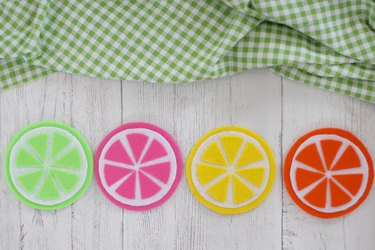
Nothing says summer like a nice slice of zesty citrus fruit. There's just something about the tang on your tongue when you bite into a juicy, ripe orange or squeeze a mouthwatering lemon into a cold glass of iced tea. Bring the taste of summer into your home all year and create a feast for your eyes with these delightful, simple-to-make felt fruit-slice coasters.
Video of the Day
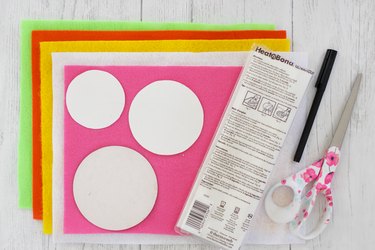
Things You'll Need
1 sheet of colored felt
1 sheet of white felt
3-, 3 1/2- and 4-inch cardboard circles
Marking pen
Sharp scissors
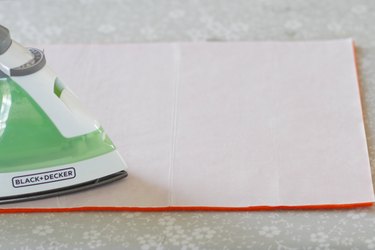
Step 1
Place the shiny side of the HeatnBond iron-on adhesive on the back of a colored piece of felt and on the back of a white piece of felt. Preheat your iron to a wool setting with no steam. Hold the iron on the surface for 2 seconds and then move it to a new section until the entire piece is adhered to the felt. Let it cool before cutting.
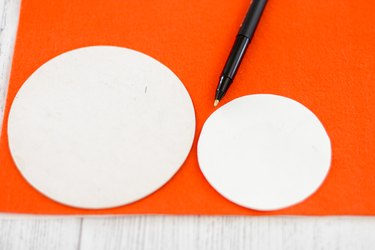
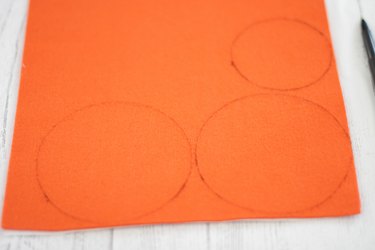
Step 2
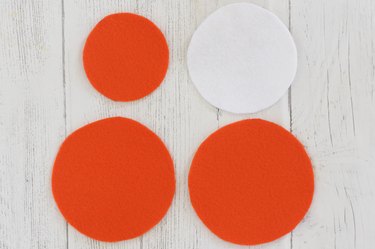
On the colored piece of felt, trace around the largest circle twice and the smallest circle once. Trace around the medium circle on the white felt. Cut out the pieces.
Step 3
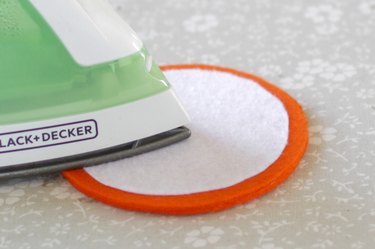
Peel the paper from the back of the two large colored circles and place them together with the sticky sides facing each other. Press them together with the iron. Remove the paper from the back of the white felt circle and place it in the center of the colored circle. Press with the iron to adhere.
Step 4
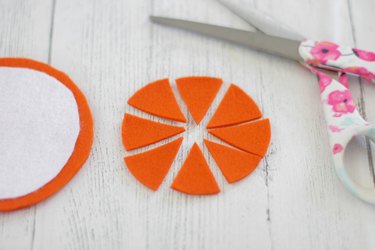
Cut the smallest circle of colored felt into eight equal pieces. Set one of these pieces aside since you will only be using seven of the sections. Remove the paper backing from each piece and place them onto the white circle in even increments. Use the iron to adhere them in place.
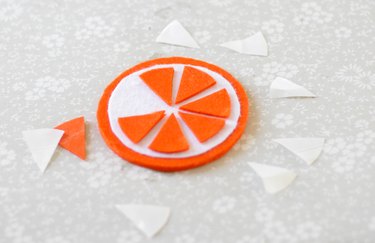
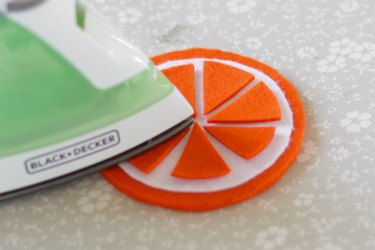
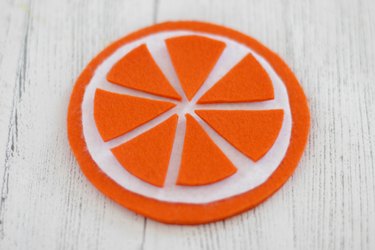
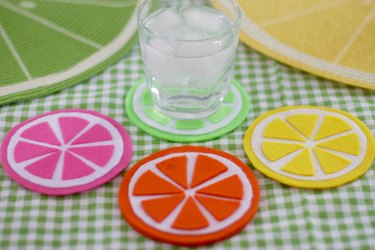
They are simply the "zest"!