Buttonholes can be one of the scariest undertakings when learning how to sew. They are usually one of the last steps in a project and if not sewn correctly, can actually ruin a design. But we're here to tell you, fear not the buttonhole, because with a little practice you can master this skill. Many new sewing machines have a special buttonhole attachment which makes sewing a buttonhole fairly easy when you follow the machine's directions. But no worries — if your machine only has a straight and zig zag stitch, you can still get the hang of making professional looking buttonholes.
Video of the Day
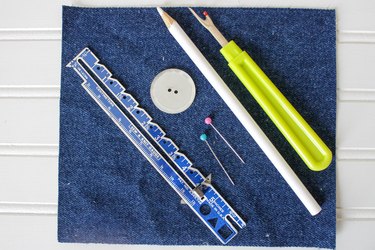
Things You'll Need
Button
Marking pencil or chalk
Measuring straight edge
Straight pins
Seam ripper
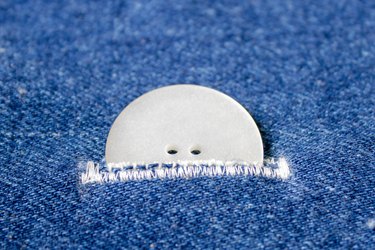
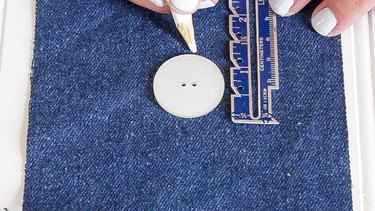
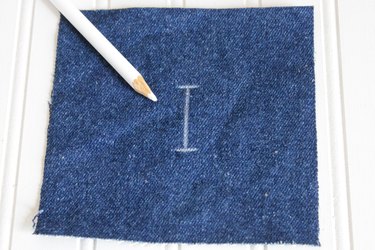
Step 1
Measure your button length. Add a 1/8-inch to the length to allow for a proper opening. Mark the top, bottom and center of the buttonhole.
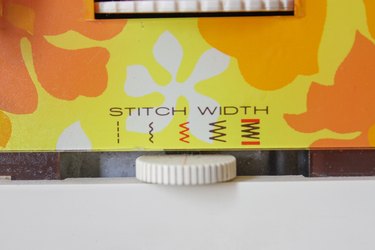
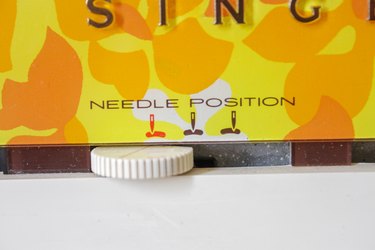
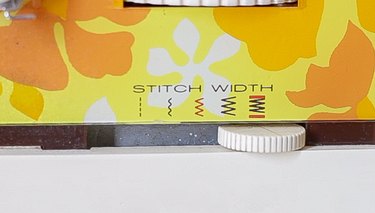
Step 2
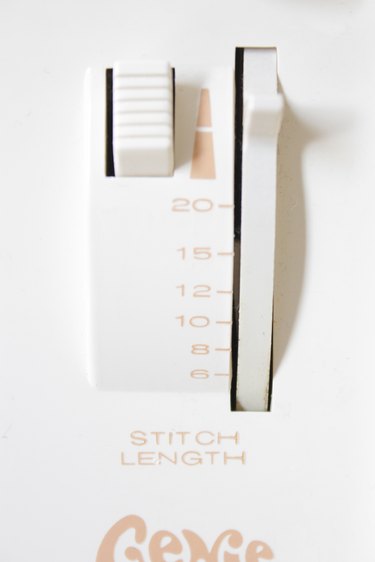
Set your machine to the medium zig zag stitch width. Set the needle position to the left. Set the stitch length to the smallest possible.
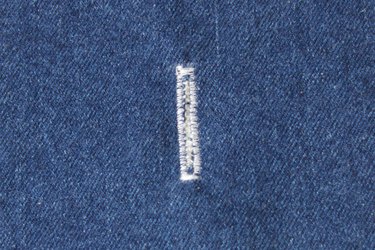
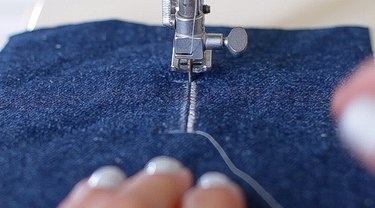
Step 3
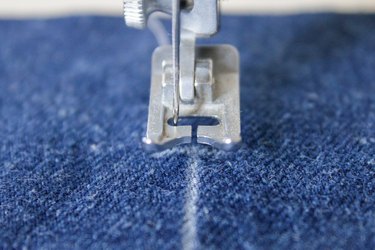
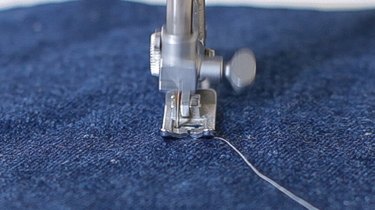
Place the fabric under the needle, align the center marking of the buttonhole with the slot in the presser foot. Position the needle to the left of the center marking, lower the foot and stitch along the left side of the line to the end of the mark.
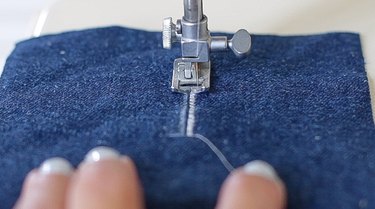
Step 4
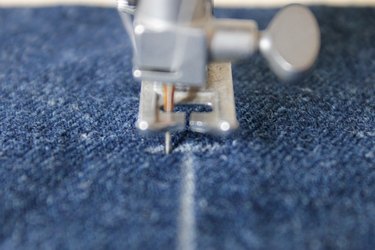
When you get to the end, leave the needle down, lift the presser foot and pivot the fabric. Lower the presser foot. Take one stitch without changing the width setting so your needle is all the way over to the left. Change the zig zag stitch width to the wider setting. Take at least 6 stitches to create the bar tack. Make sure your needle is in the far left position when you stop.

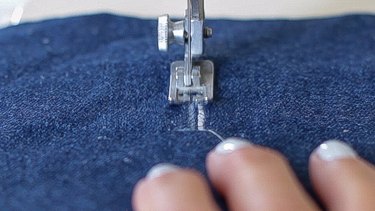
Step 5
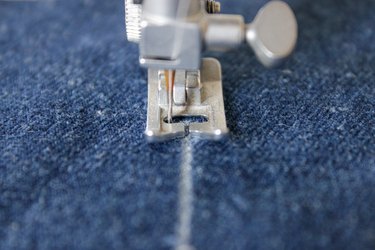
Change the zig zag stitch width back to the medium setting. Make sure the slot in the presser foot is aligned with the center mark on your fabric and sew down the other side of the mark. Make sure you don't overlap the other row of stitching so you have correct cutting space.

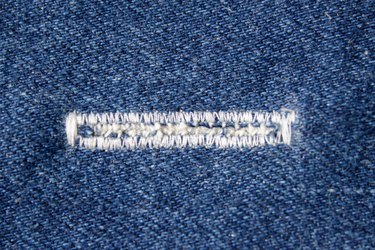
Step 6
When you are almost to the end of the marking, change the zig zag stitch width back to the widest setting and take at least 6 stitches to create the other bar tack.
Step 7
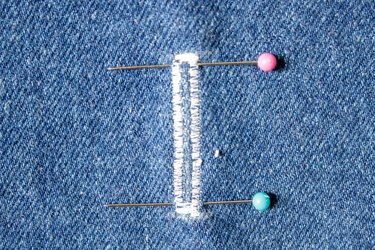
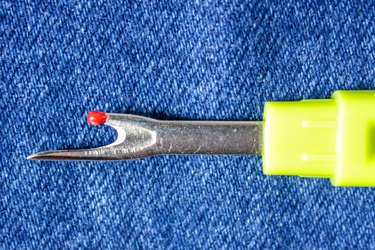
Remove the fabric from the machine and trim the thread ends. Place pins through each bar tack to ensure that you don't cut through the ends. Cut the opening using a sharp seam ripper.
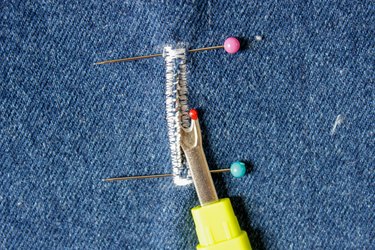
Remove the pins, trim any excess threads and your buttonhole is ready.